
Previa Van LE 4WD L4-2438cc 2.4L DOHC SC MFI (1997)
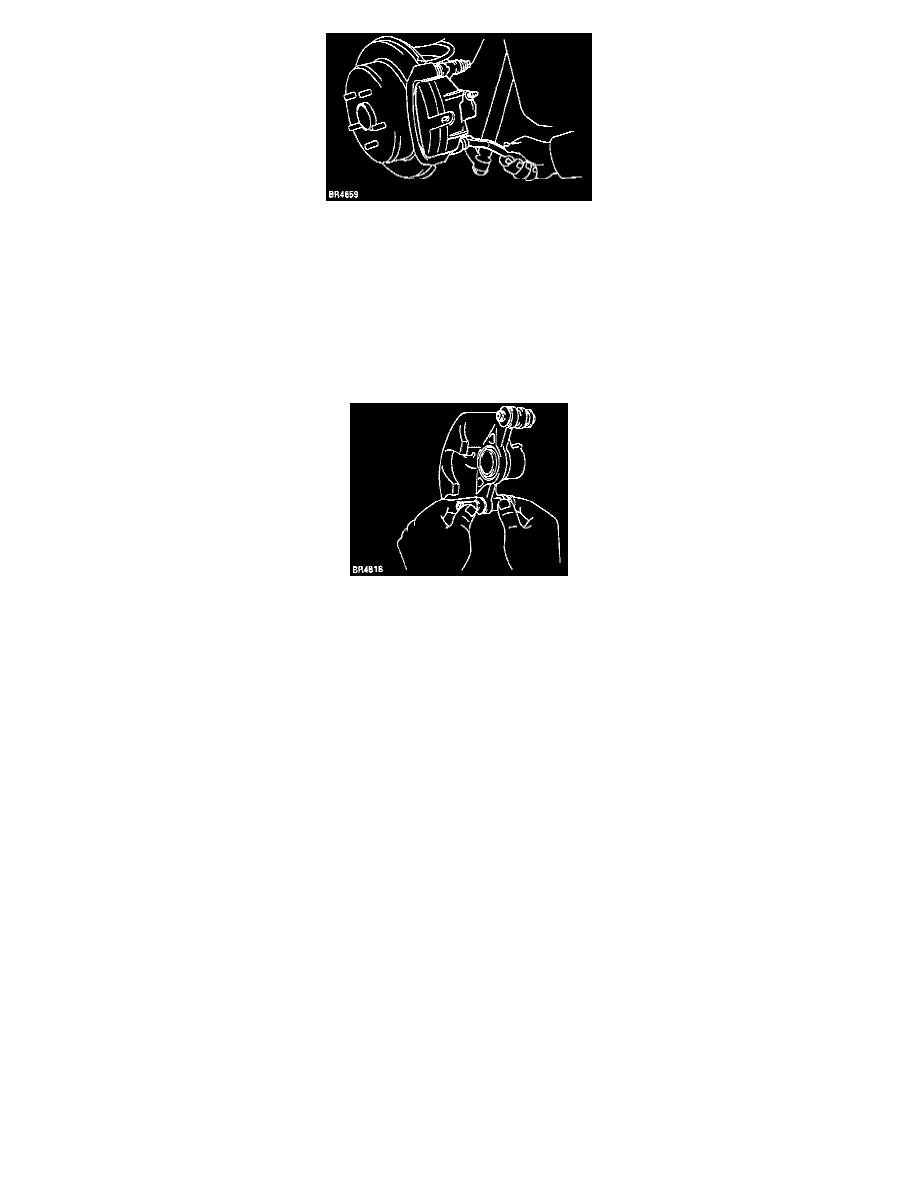
Remove Installation Bolts And Caliper
Remove the 2 installation bolts and Caliper.
Torque 25 Nm (18 ft. lbs.)
3. Remove these parts:
(a) 2 Brake Pads with anti-squeal shims.
(b) 4 pad support plates.
DISASSEMBLY
1. Remove sliding bushings.
Remove Sliding Bushings
Remove the 2 sliding bushings from the Caliper.
REASSEMBLY NOTE: Ensure that the boots is secured firmly to the Caliper grooves.
2. Remove dust boots.
Remove the 4 dust boots.
REASSEMBLY NOTE: Use 2 socket wrenches and a vise. Press in new dust boots.
3. Remove set ring and cylinder boot. See: Front
4. Remove piston.
5. Remove piston seal.
ASSEMBLY
Assembly is in the reverse order of disassembly.
NOTE: Apply lithium soap base glycol grease to the parts indicated by the arrows in the EXPLODED VIEW.
INSTALLATION
Installation is in the reverse order of removal.
NOTE: After installation, fill brake reservoir with brake fluid, bleed brake system. See: Brake Bleeding/Service and Repair
Check for leaks.