
Previa Van LE 4WD L4-2438cc 2.4L DOHC SC MFI (1997)
Evaporator Case: Service and Repair
Cooling Unit
Front
FRONT EVAPORATOR REMOVAL
1. DISCHARGE REFRIGERANT FROM REFRIGERATION SYSTEM
INSTALLATION HINT: Evacuate air from refrigeration system. Charge system with refrigerant and inspect for leakage of refrigerant.
See: Service and Repair/Discharging & Evacuating System/Evacuating System
See: Service and Repair/Charging the System
See: Testing and Inspection/Initial Inspection and Diagnostic Overview/Initial Inspection/Leakage of Refrigerant
Specified amount:
w/o Rear A/C
900 ± 50 g (31.74 ± 1.76 oz.)
w/ Rear A/C
1.150 ± 50 g (40.56 ± 1.76 oz.)
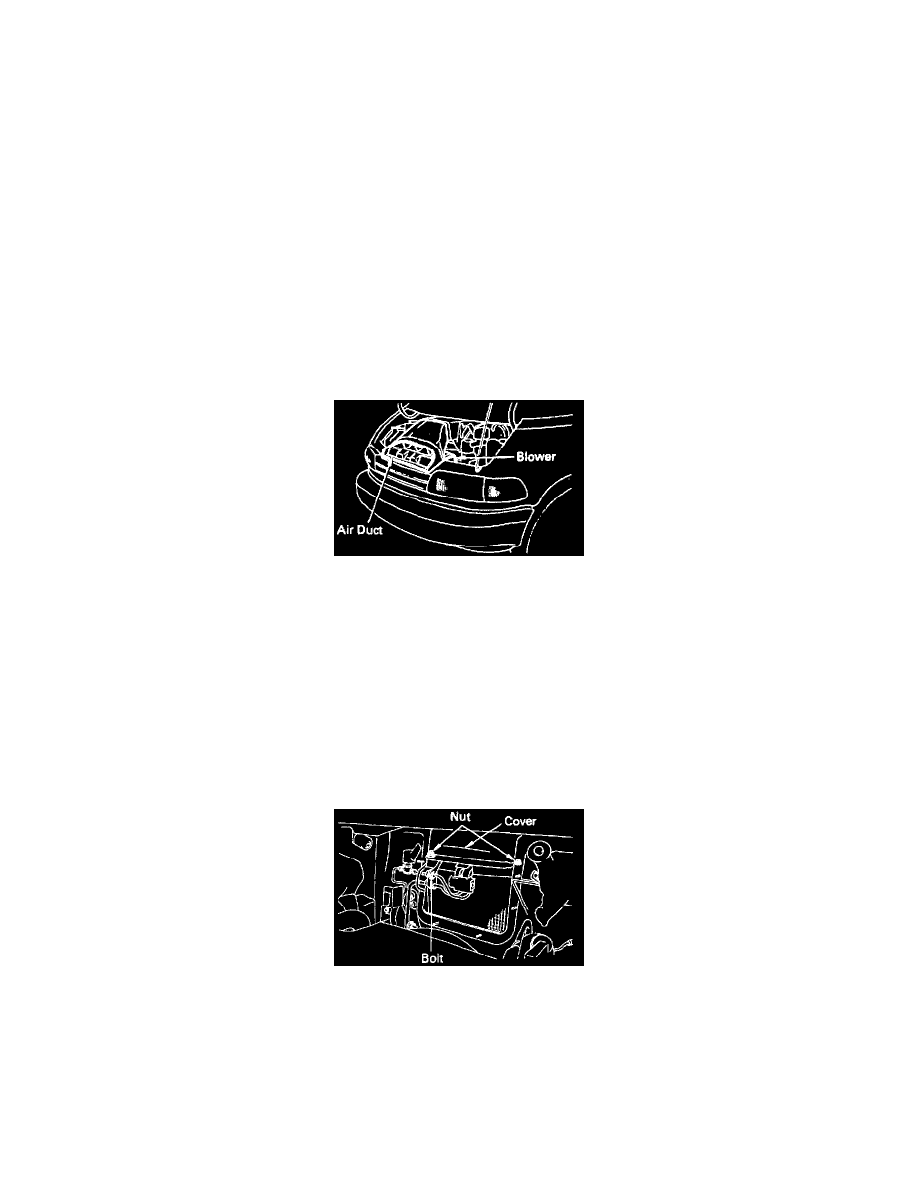
2. REMOVE AIR DUCT
3. REMOVE BLOWER
4. DISCONNECT CONNECTORS
5. DISCONNECT SUCTION AND LIQUID TUBES
Torque: 17 N.m (175 kgf.cm. 13 ft.lbf)
REMOVAL NOTE: Cap the open fittings immediately to keep moisture or dirt out of the system.
INSTALLATION HINT: Lubricate 2 new O-rings with compressor oil and install the tubes.
6. REMOVE FRONT EVAPORATOR
a. Remove the bolt. 2 nuts and the cover.
b. Remove the evaporator.
INSTALLATION HINT: If evaporator was replaced, add compressor oil to compressor
Add 40 - 50 cc (1.4 - 1.7 fl.oz.)
Compressor oil:
ND-OIL 8 or equivalent