
Previa Van LE 4WD L4-2438cc 2.4L DOHC SC MFI (1997)
Distributor: Service and Repair
DISTRIBUTOR REMOVAL AND INSTALLATION
DISTRIBUTOR REMOVAL
1. Remove exhaust pipe heat insulator.
Remove the 3 bolts, ground strap and heat insulator.
2. Disconnect high-tension cords from distributor cap.
3. Disconnect distributor connector.
4. Disconnect 2 air hoses.
5. Remove distributor cap and packing.
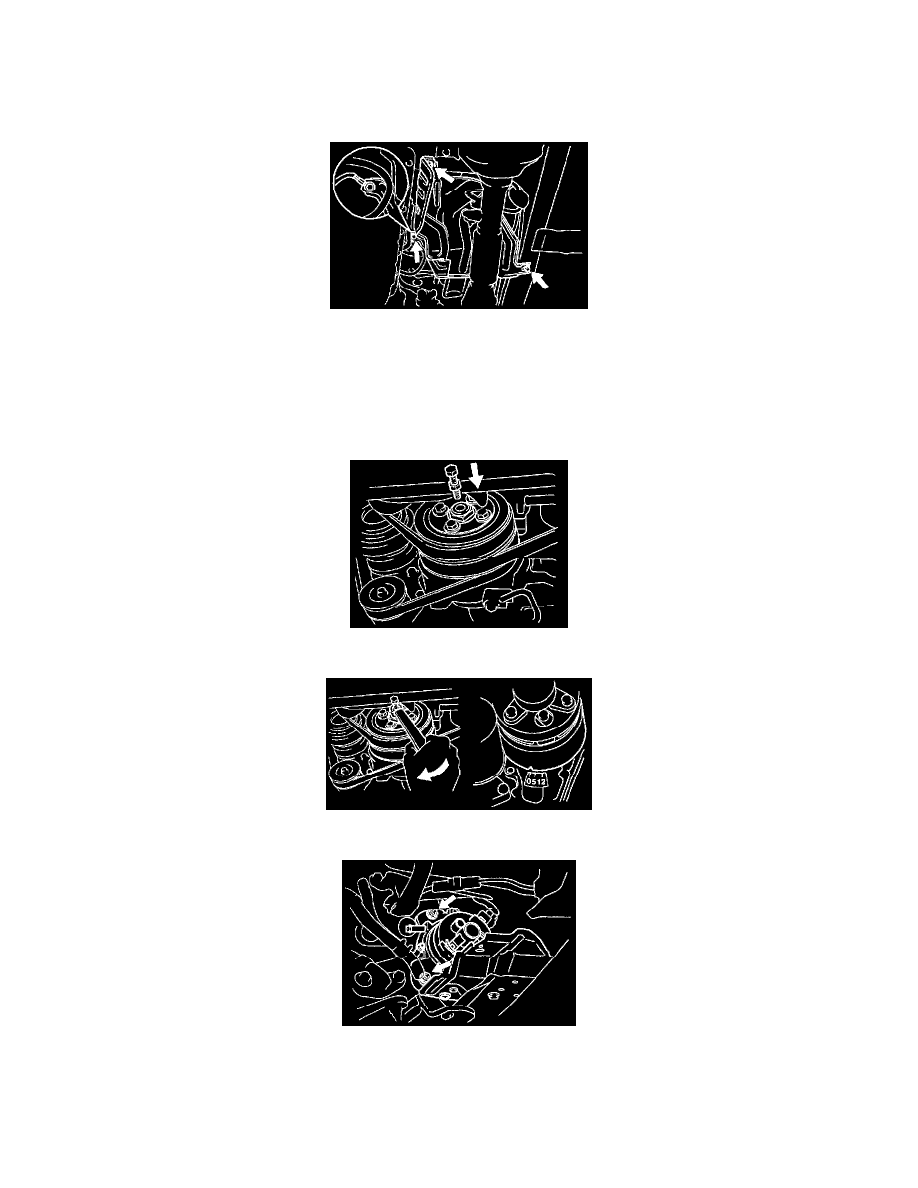
6. Set No.1 cylinder to TDC/compression.
(a) Install the service bolt (dia.: 12 mm, pitch: 1.25 mm) and nut to the equipment drive pulley.
(b) Turn the equipment drive pulley until the timing mark is aligned with the "0" mark on the timing chain cable.
(c) Check that the distributor rotor direction is as shown. If not, turn the equipment drive pulley one complete revolution.
7. Remove distributor.
(a) Remove the 2 hold-down bolts.
(b) Pull out the distributor from the cylinder head.
(c) Remove the O-ring.