
Previa Van LE 4WD L4-2438cc 2.4L DOHC SC MFI (1997)
Control Arm: Service and Repair
Front
Removal and Installation
REMOVAL WITH LOWER BALL JOINT
1. Remove front wheel.
Torque: 103 Nm (76 ft. lbs.)
2. Remove under cover.
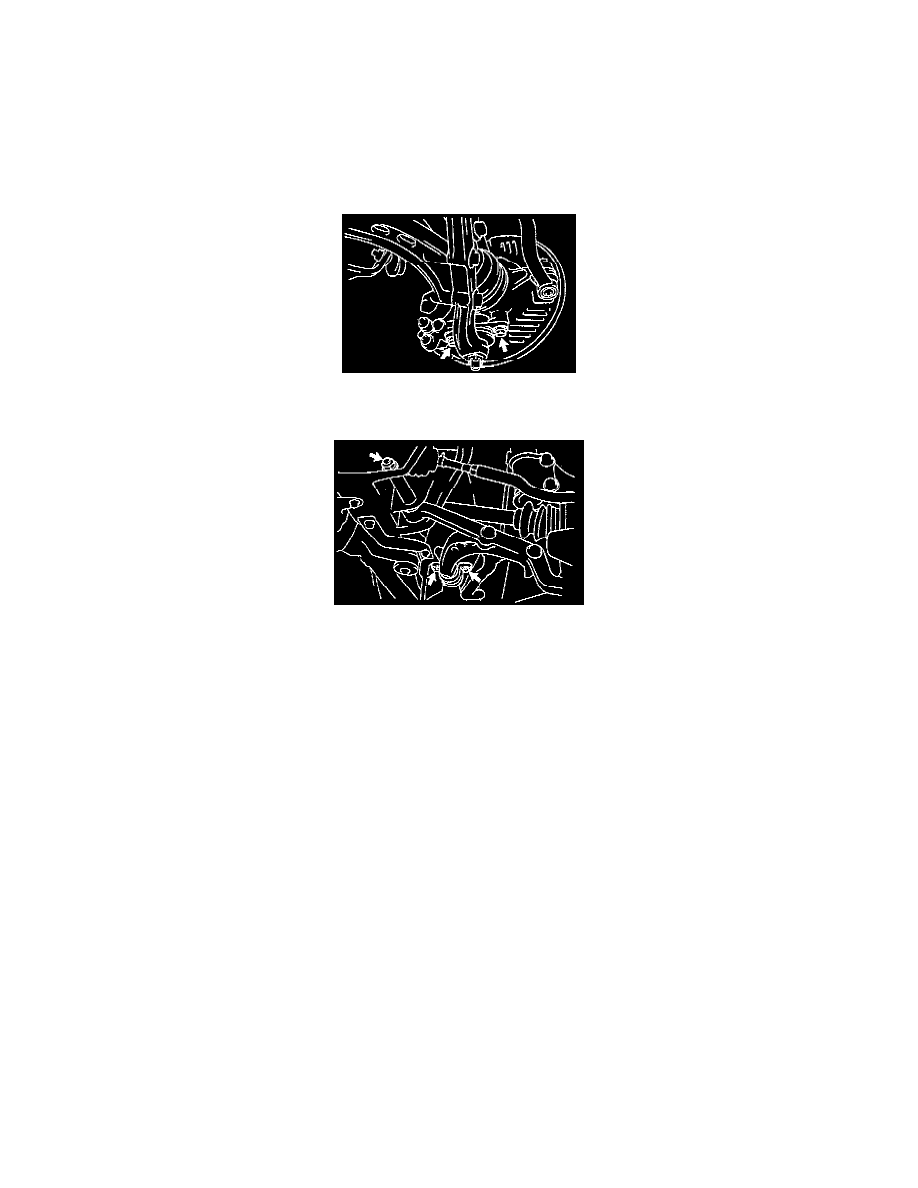
3. Disconnect lower ball joint from steering knuckle. Remove the 2 bolts and disconnect the lower ball joint from the steering knuckle.
Torque: 127 Nm (94 ft. lbs.)
4. Remove lower suspension arm with lower ball joint.
a. Remove the 2 bolts and lower suspension arm bracket.
Torque: 142 Nm (105 ft. lbs.)
INSTALLATION HINT: After stabilizing the suspension, torque the 2 bolts.
b. Remove the nut and arm shaft.
Torque: 164 Nm (121 ft. lbs.)
INSTALLATION HINT: After stabilizing the suspension, torque the nut.
c. Remove the lower suspension arm with lower ball joint.
INSTALLATION
Installation is in the reverse order of removal.
HINT: After installation, check the front wheel alignment.
Disassembly and Assembly
DISASSEMBLY
1. Remove lower ball joint.
a. Remove the cotter pin and nut.
Torque: 103 Nm (76 ft. lbs.)