
Previa Van LE 4WD L4-2438cc 2.4L DOHC SC MFI (1997)
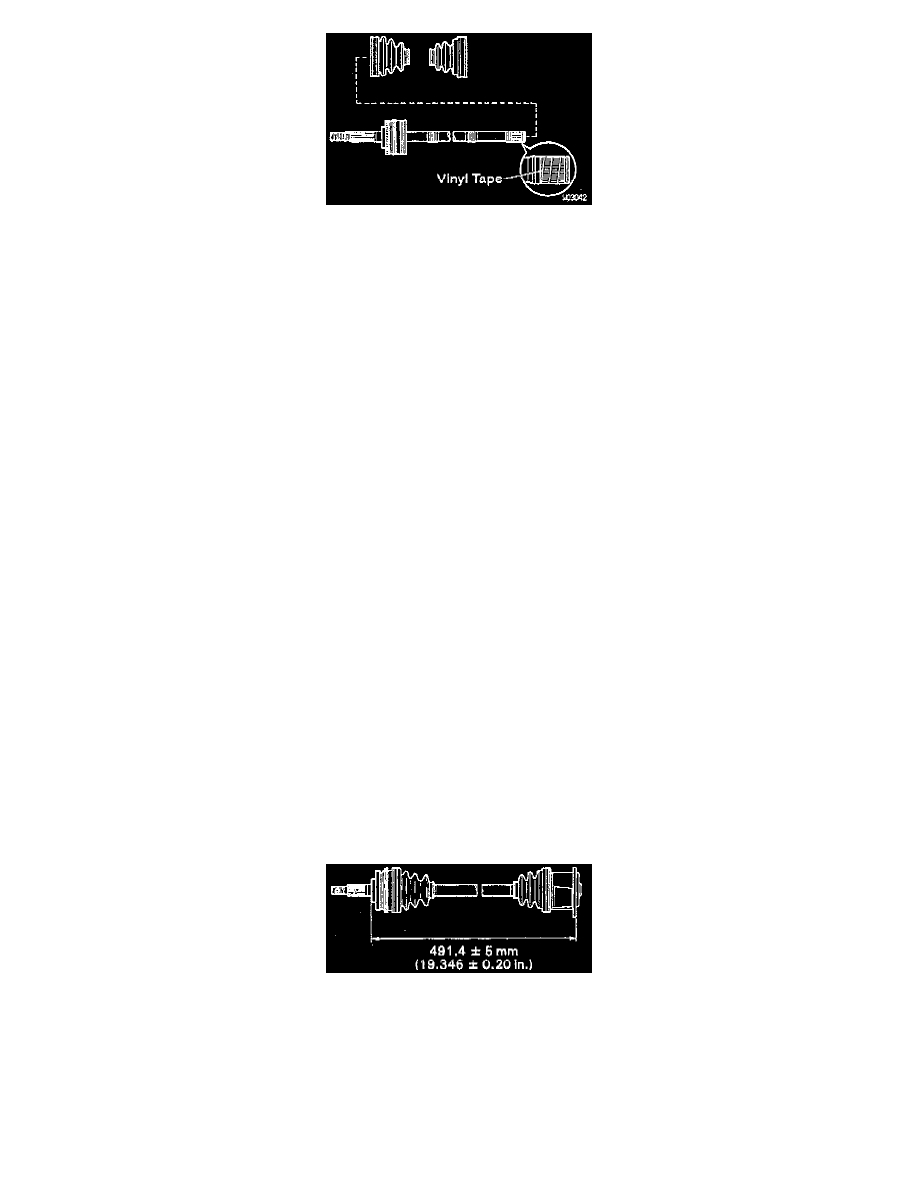
a. Before installing the boot, wrap vinyl tape around the spline of the drive shaft to prevent damaging the boot.
b. Temporarily install a new outboard joint boot to the drive shaft.
c. Temporarily install a new inboard joint boot to the drive shaft.
2. Install outboard joint boot.
a. Pack the boot and outer race with grease in the boot kit.
NOTICE:
^
Keep grease off the joint connection groove of the boot.
^
Pack in grease all over the ball contact surface inside the joint.
b. Install the boot to the outboard joint.
NOTICE:
^
Be sure the boot is on the shaft groove and outboard joint groove.
^
Install the boot without twisting it.
3. Install inboard joint.
a. Align the matchmarks on the inboard joint and shaft.
b. Using a brass bar and hammer, install the inboard joint.
NOTICE: Do not tap the roller.
c. Using a snap ring expander, install a new snap ring.
4. Install inboard joint outer race.
a. Before assembling the inboard joint outer race, pack in grease in the boot kit.
NOTICE:
^
Keep grease off the joint connection groove of the boot.
^
Pack in grease all over the roller contact surface inside the joint.
b. Align the matchmarks on the outer race and shaft, and install the outer race.
5. Install inboard joint boot.
a. Install the boot to the inboard joint.
NOTICE:
^
Be sure the boot is on the shaft groove and inboard joint outer race groove.
^
Install the boot without twisting it.
b. Set the length of the drive shaft to that shown in the illustration.
c. Install 4 new boot clamps to the inboard and outboard joint boots.
HINT: Bend the band and lock it.
NOTICE: Be careful not to damage the boot.