
Supra L6-2997cc 3.0L DOHC MFI (1998)
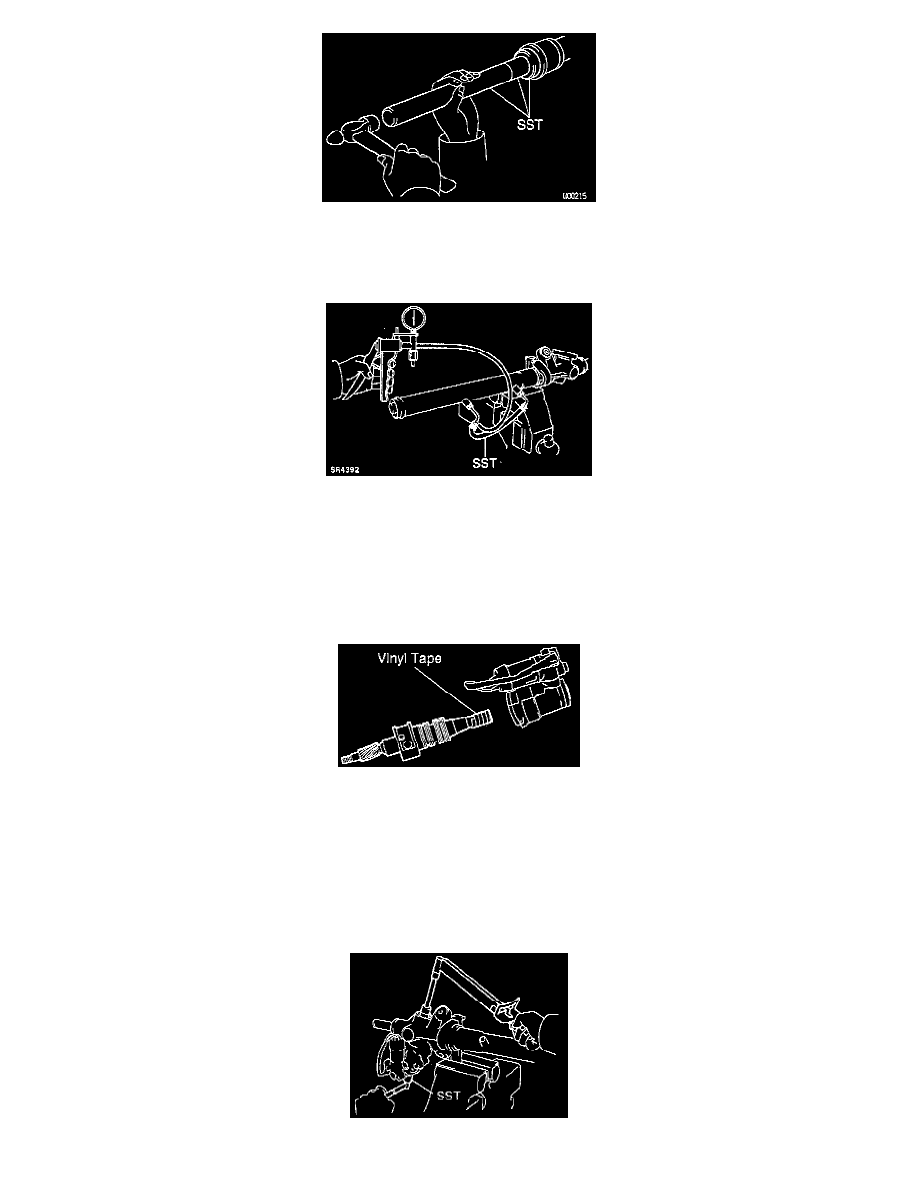
a. Using SST 09950-60010 (09951-00270, 09951-00340, 09952-06010), 09950-70010 (09951-07200) or equivalents, and a hammer, drive in the
stopper.
b. Using snap ring pliers, install the snap ring to the rack housing.
6. Air tightness test.
a. Install SST 09631-12071 or equivalent, to the rack housing.
NOTICE: Do not install union seats.
b. Apply 53.3 kPa (15.75 inch Hg) of vacuum for about 30 seconds.
c. Check that there is no change in the vacuum. If there is change in the vacuum, check the installation of the oil seals.
7. Install control valve assembly.
a. Coat the teflon rings with power steering fluid.
b. To prevent oil seal lip damage, wind vinyl tape on the serrated part of the control valve shaft.
c. Install the valve assembly into the valve housing.
NOTICE: Be careful not to damage the teflon rings and seal.
8. Install control valve housing with control valve assembly.
a. Coat a new O-ring with power steering fluid, and install it to the housing.
b. Using a (6 mm) hexagon wrench, torque the two bolts.
Torque: 18 Nm (13 ft. lbs.).