
Supra L6-2997cc 3.0L DOHC MFI (1998)
Torque: 7.8 Nm (69 inch lbs.).
b. Remove the three bolts and disconnect the wire harness clamp to prevent the wire harness from being damaged when removing or installing the
through bolt of the upper suspension arm.
Torque: 5.4 Nm (48 inch lbs.).
4. Remove front fender splash shield.
5. Left hand side only: Move washer tank.
a. Remove the two washer tank set bolts.
b. Move the washer tank away from the body.
6. Disconnect upper suspension arm.
a. Remove the bolt and nut and disconnect the upper suspension arm from the subframe.
Torque: 164 Nm (121 ft. lbs.).
HINT: At the time of installation, after stabilizing the suspension, torque the nut.
b. Support the upper suspension arm securely.
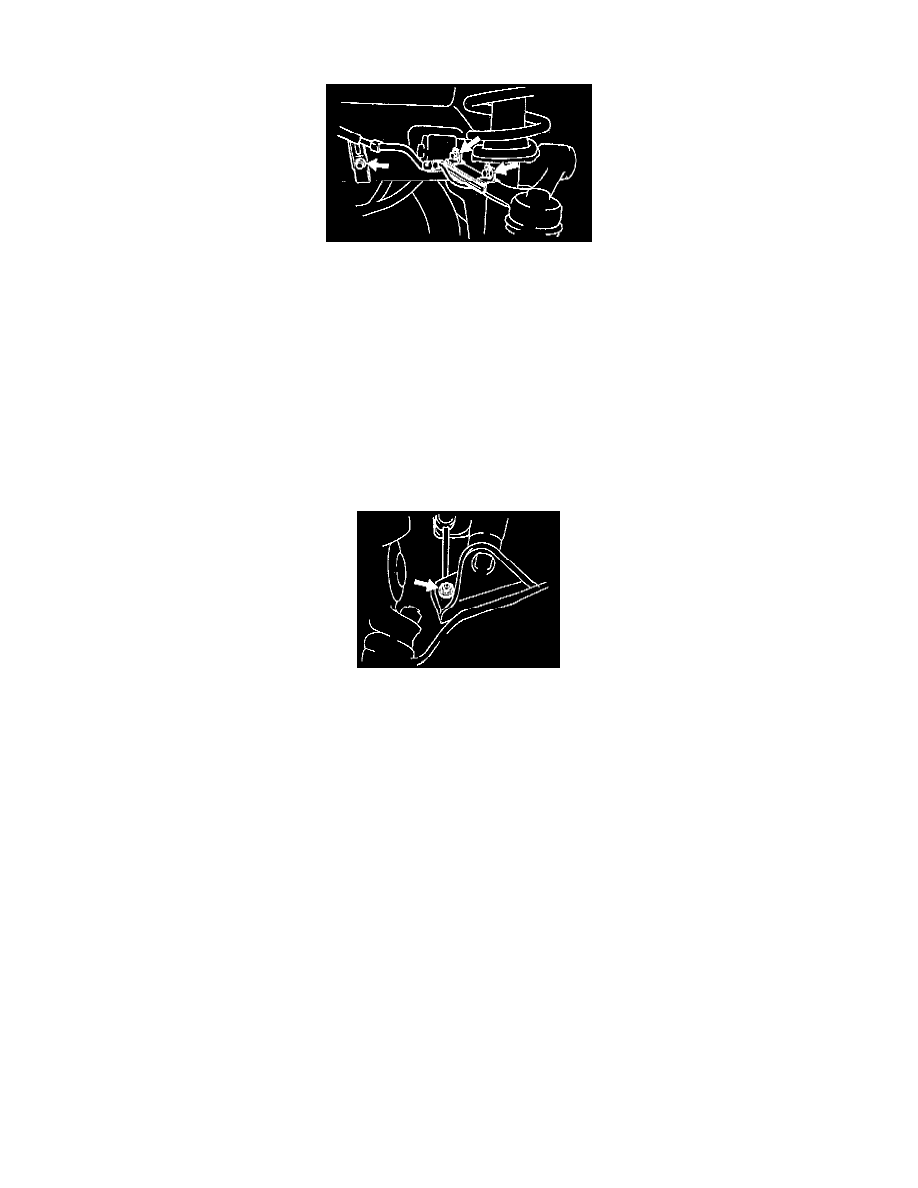
7. Disconnect stabilizer bar link.
Remove the nut and disconnect the stabilizer bar link.
Torque: 74 Nm (54 ft. lbs.).
HINT: If the ball joint stud turns together with the nut, use a hexagon wrench to hold the stud.
8. Remove shock absorber.
a. Remove the bolt and nut and disconnect the shock absorber from the lower suspension arm.
Torque: 143 Nm (106 ft. lbs.).
HINT: At the time of installation, after stabilizing the suspension, torque the nut.
b. Remove the plug from the support.
c. Loosen the lock nut in the middle of the suspension support.
NOTICE: Do not remove the nut.
Torque: 29 Nm (22 ft. lbs.).