
Supra L6-2997cc 3.0L DOHC MFI (1998)
a. Remove the two bolts and the brake caliper from the rear axle carrier.
Torque: 104 Nm (77 ft. lbs.).
b. Support the brake caliper securely.
4. Disconnect rear stabilizer bar link.
Remove the nut and disconnect the stabilizer bar link from the lower suspension arm No. 2.
Torque: 74 Nm (54 ft. lbs.).
5. Remove shock absorber with coil spring.
a. Remove the nut and bolt on lower side of the shock absorber.
Torque: 137 Nm (101 ft. lbs.)
HINT: At the time of installation, after stabilizing the suspension, torque the nut.
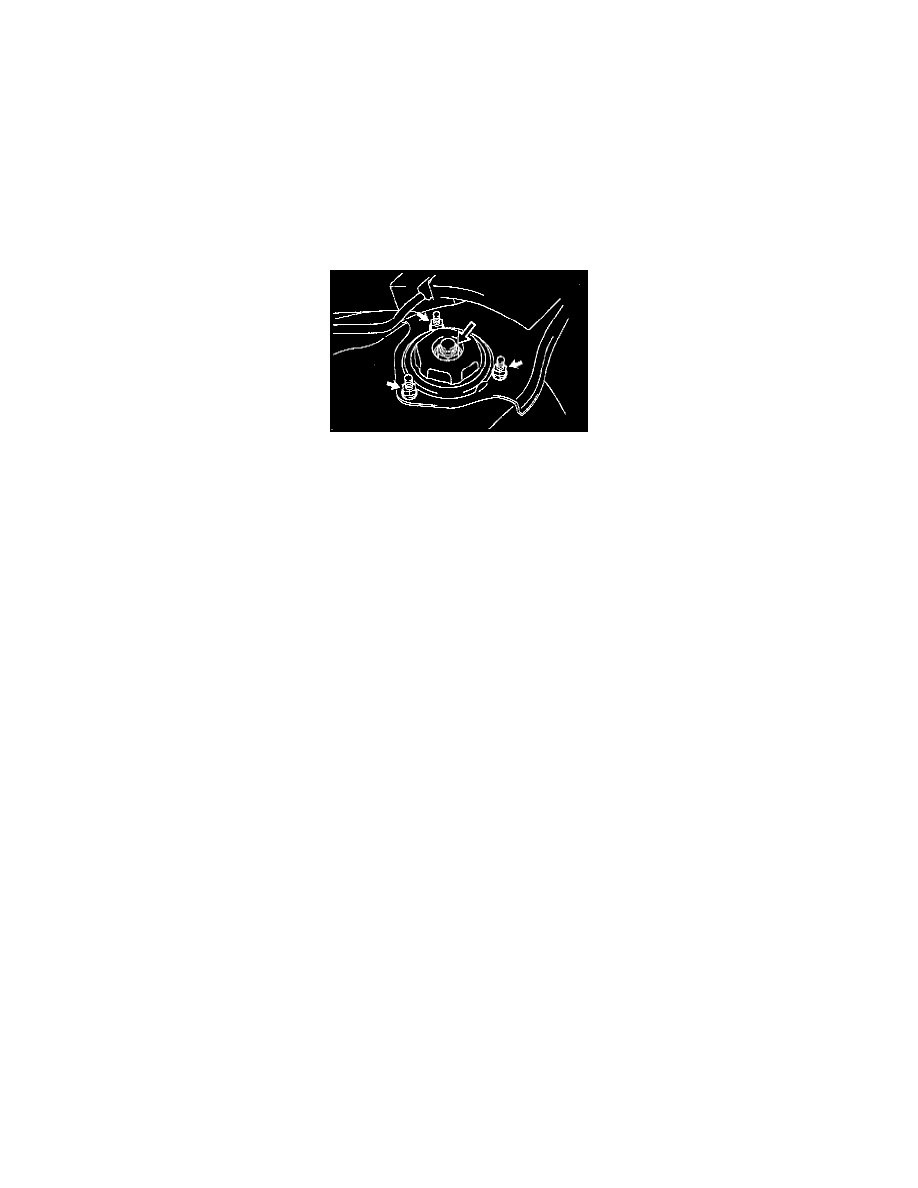
b. Remove the quarter wheel house inner cover.
c. Remove the three nuts and the shock absorber cap.
Torque: 10 Nm (96 inch lbs.).
d. Loosen the nut in the middle of the suspension support.
NOTICE: Do not remove the nut.
Torque: 27 Nm (20 ft. lbs.).
e. Remove the three nuts and shock absorber with the coil spring.
Torque: 26 Nm (19 ft. lbs.).
INSTALLATION
Installation is in the reverse order of removal. After installation, check rear wheel alignment.
Disassembly and Assembly