
Supra Liftback L6-2997cc 3.0L DOHC MFI Twin-Turbo (1997)
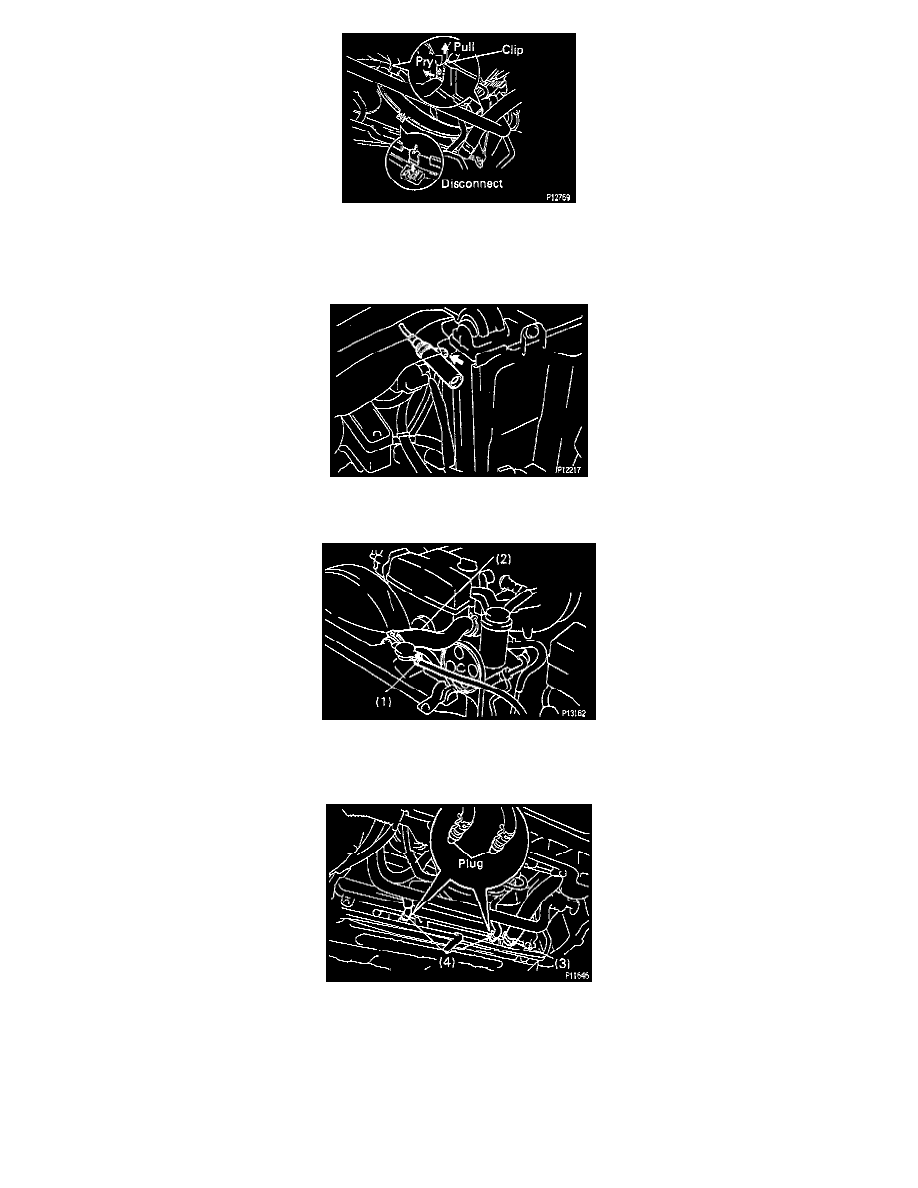
5. Remove the two No.2 fan shroud clips, then disconnect the claw of the No.2 fan shroud from the hook of the No.1 fan shroud, and remove the
No.2 fan shroud.
6. Remove air cleaner duct.
7. Remove No.5 air hose.
8. Remove LH Headlight beam angle gauge screw and beam angle gauge.
9. Disconnect the following hoses from radiator:
-
Reservoir inlet hose (1).
-
Upper radiator hose (2).
-
Lower radiator hose (3).
-
Two Automatic Transmission (A/T) oil cooler hoses (4).
NOTE: Plug the A/T hose ends.
10. Remove radiator assembly as follows:
(a) Disconnect the ECT switch (for electric cooling fan connector) and wire harness.
(b) Disconnect the two electric cooling fan connectors and wire harness.
(c) Remove the bolt and upper radiator support. Remove the two upper radiator supports.
(d) Lift out the radiator assembly.