
Supra Liftback L6-2997cc 3.0L DOHC MFI Twin-Turbo (1997)
3. Install engine to suitable engine stand.
4. Remove alternator.
5. Remove crankshaft position sensor as follows:
(a) Disconnect the sensor connector from the clamp bracket.
(b) Disconnect the sensor connector from the wiring connector.
(c) Remove the bolt and position sensor.
6. Remove timing belt, refer to Timing Components.
7. On models with manual transmission, remove the drive belt tensioner bracket.
8. On all models, remove idler pulley, to Timing Components.
9. Remove crankshaft timing pulley, to Timing Components.
10. Remove oil dipstick and guide as follows:
(a) Remove the bolt.
(b) Pull out the dipstick guide together with the dipstick
(c) Remove the O-ring from the dipstick guide.
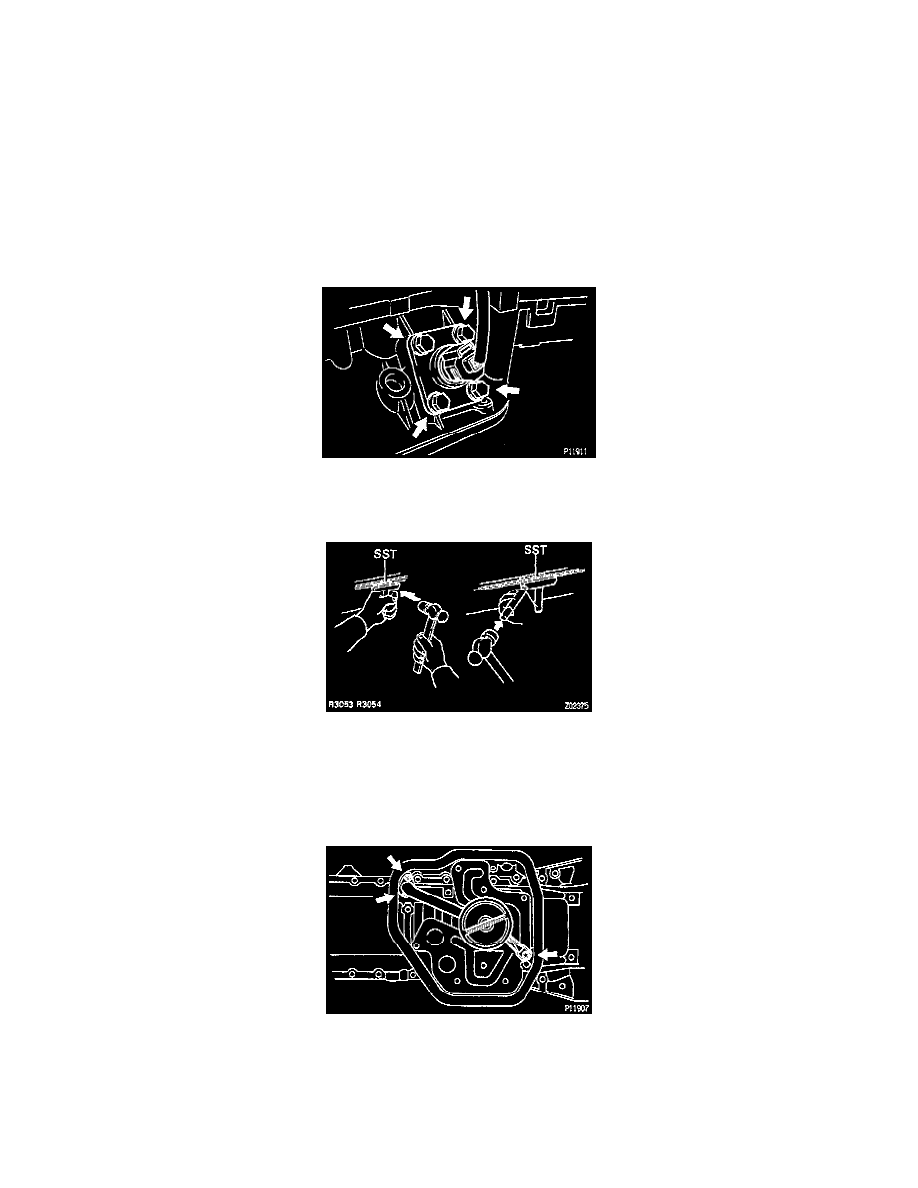
11. Disconnect the oil level sensor connector, then remove the 4 bolts and level sensor. Remove the gasket from the level sensor.
NOTE: Be careful not to drop the oil level sensor when removing it.
12. Remove the 14 bolts and 2 nuts retaining the No. 2 oil pan, then using seal cutter Special Service Tool (SST) No. 09032-00100, or equivalent,
insert the blade of cutter between the No.1 and No.2 oil pan, break the seal and remove the No.2 oil pan.
NOTE:
^
Be careful not to damage the No.2 oil pan contact surface of the No.1 oil pan.
^
Be careful not to damage the oil pan flange.
13. Remove oil strainer bolt and 2 nuts, then the strainer and gasket.