
Supra Liftback L6-2997cc 3.0L DOHC MFI Twin-Turbo (1997)
-
Avoid applying an excessive amount to the surface.
-
Parts must be assembled within 5 minutes of application. Otherwise the material must be removed and reapplied.
-
Immediately remove nozzle from the tube and reinstall cap.
(c) Install the No.2 oil pan with the 16 bolts and 2 nuts, tighten to 8.8 Nm (90 kg. cm., 78 inch lbs.).
6. Position a new gasket to the oil level sensor, then install the sensor with the 4 bolts and tighten to 5.4 Nm (55 kg. cm., 48 inch lbs.). Connect the
level sensor connector.
7. Install oil dipstick guide and dipstick as follows:
(a) Install a new O-ring on the dipstick guide.
(b) Apply soapy water on the O-ring.
(c) Push in the dipstick guide into the guide hole of the No.1 oil pan.
(d) Install the dipstick guide with the bolt.
(e) Install the dipstick.
8. Install crankshaft timing pulley, refer to Timing Components.
9. Install idler pulley, refer to Timing Components.
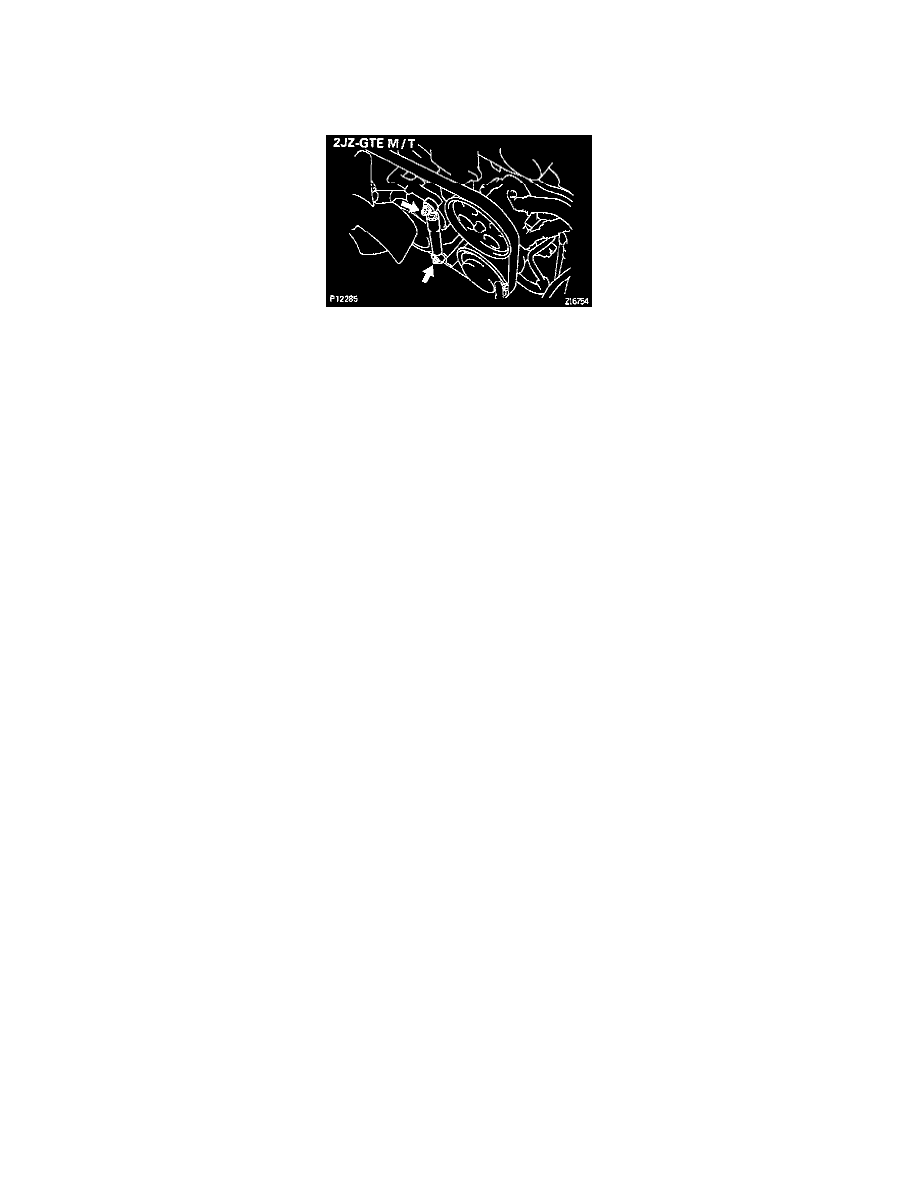
10. Install drive belt tensioner bracket, then tighten to 27 Nm (280 kg. cm., 20 ft. lbs.).
11. Install timing belt.
12. Install crankshaft position sensor, tighten to 8.8 Nm (90 kg. cm., 78 inch lb.).
13. Install alternator, tighten to 37 Nm (380 kg. cm., 27 ft. lbs.).
14. Remove engine from engine stand.
15. Assemble engine to transmission.
16. Install engine with transmission into vehicle.