
Supra Liftback L6-2997cc 3.0L DOHC MFI Twin-Turbo (1997)
Oil Pan: Service and Repair
Number Two (Lower) Oil Pan
REMOVAL
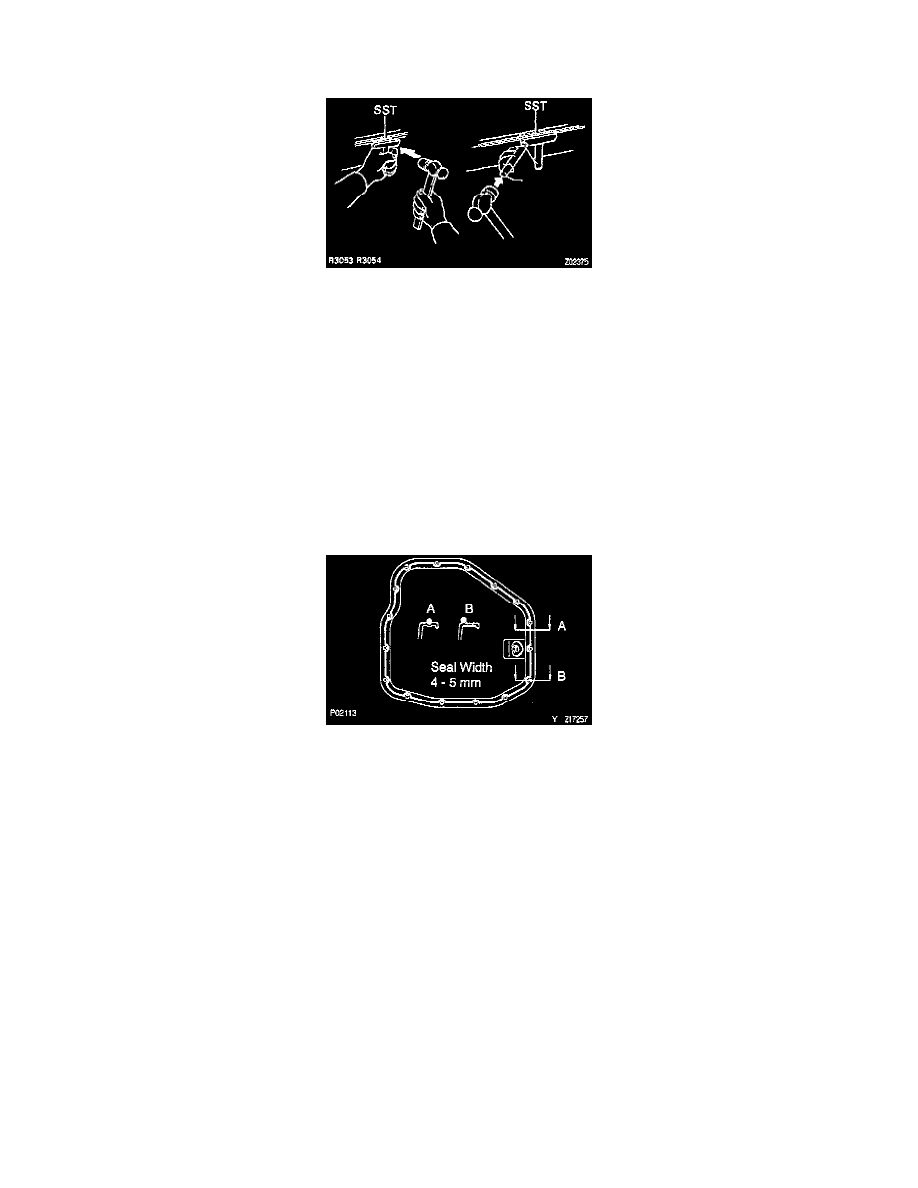
Remove the 16 bolts and 2 nuts retaining the No. 2 oil pan, then using seal cutter Special Service Tool (SST) No. 09032-00100, or equivalent,
insert the blade of cutter between the No.1 and No.2 oil pan, break the seal and remove the No.2 oil pan.
NOTE:
^
Be careful not to damage the No.2 oil pan contact surface of the No.1 oil pan.
^
Be careful not to damage the oil pan flange.
INSTALLATION
1. Remove any old packing (FIPG) material and be careful not to drop any oil on the contact surfaces of the No.1 and No.2 oil pans.
-
Using a razor blade and gasket scraper, remove all the old packing (FIPG) material from the gasket surfaces and sealing groove.
-
Thoroughly clean all components to remove all the debris.
-
Using a non-residue solvent, clean both sealing surfaces.
NOTE: Do not use a solvent which will affect the painted surfaces.
2. Install a nozzle that has been cut to a 4-5 mm (0.160- 0.200 inch) opening to a tube of seal packing part No. 08826-00080, or equivalent, then
apply to the No.2 oil pan as shown in the illustration.
NOTE:
-
Avoid applying an excessive amount to the surface.
-
Parts must be assembled within 5 minutes of application. Otherwise the material must be removed and reapplied.
-
Immediately remove nozzle from the tube and reinstall cap.
3. Install the No.2 oil pan with the 16 bolts and 2 nuts, tighten to 8.8 Nm (90 kg. cm., 78 inch lbs.).