
Supra Liftback L6-2997cc 3.0L DOHC MFI Twin-Turbo (1997)
Vehicle Speed Sensor: Service and Repair
VEHICLE SPEED SENSOR
ON-VEHICLE REPAIR
1. REPLACE NO.1 VEHICLE SPEED SENSOR
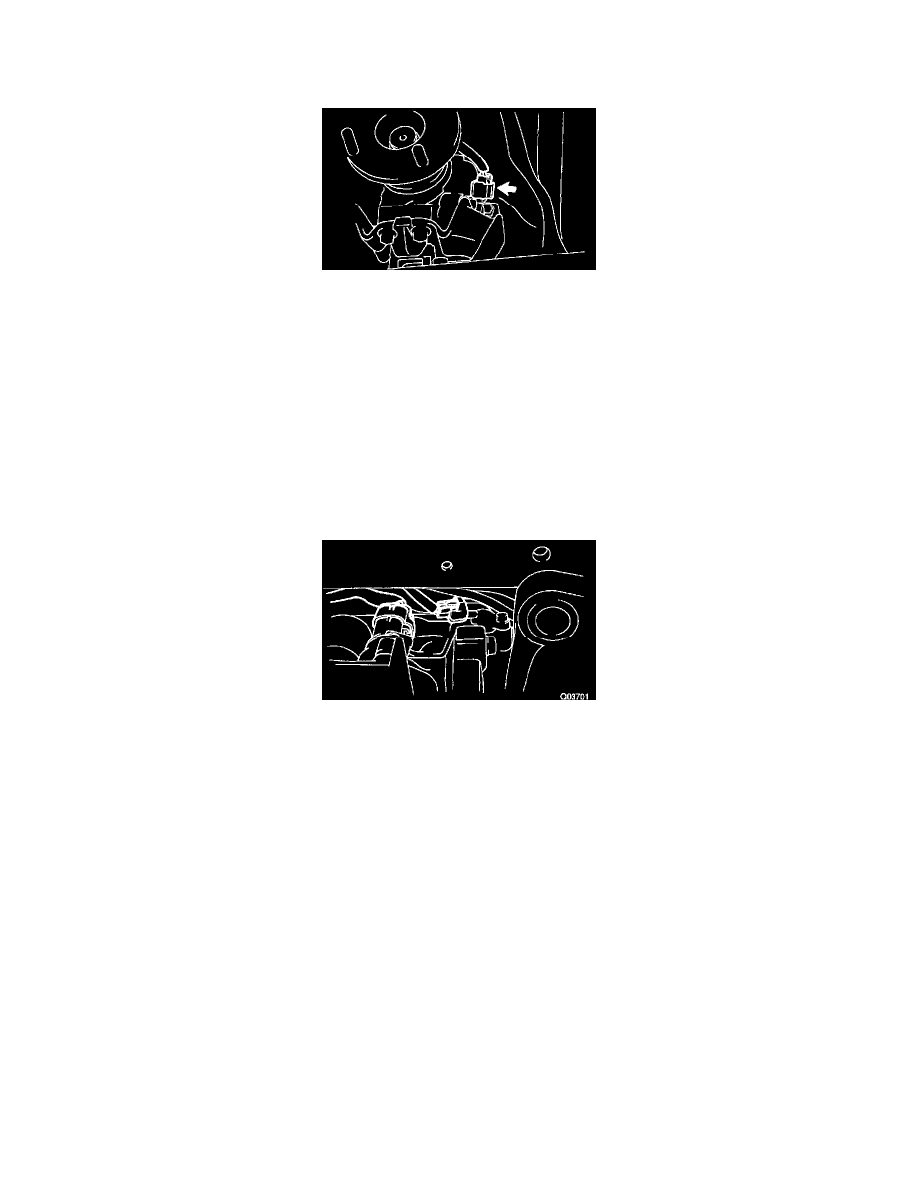
a. Disconnect the No.1 vehicle speed sensor connector.
b. Remove the No.1 vehicle speed sensor assembly.
1) Remove the bolt the No.1 vehicle speed sensor assembly.
2) Remove the speedometer driven gear from the No.1 speed sensor.
3) Remove the O-ring from the No.1 vehicle speed sensor.
c. Install the No.1 vehicle speed sensor assembly.
1) Coat a new O-ring with Automatic Transmission Fluid (ATF) and install it to the No.1 vehicle speed sensor.
2) Install the speedometer driven gear to the No.1 vehicle speed sensor.
3) Install the No.1 vehicle speed sensor to the extension housing and torque the bolt.
Torque: 16 Nm (160 kgf-cm, 12 ft. lbs.)
d. Connect the No.1 vehicle speed sensor connector.
2. REPLACE NO.2 VEHICLE SPEED SENSOR
a. Disconnect the No.2 vehicle speed sensor connector.
b. Remove the No.2 vehicle speed sensor.
1) Remove the bolt and No.2 vehicle speed sensor.
2) Remove the O-ring.
c. Install the No.2 vehicle speed sensor.
1) Coat a new O-ring with ATF and install it to the No.2 vehicle speed sensor.
2) Install the No.2 vehicle speed sensor to the extension housing and torque the bolt.
Torque: 5.4 Nm (55 kgf-cm, 48 inch lbs.)
d. Connect the No.2 vehicle speed sensor connector.