
Supra Sport Roof L6-2997cc 3.0L DOHC MFI (1998)
a. Remove the nut, washer and bolt, then disconnect the shock absorber from the lower suspension arm No. 2.
Torque: 137 Nm (101 ft. lbs.).
HINT: At the time of installation, after stabilizing the suspension, torque the nuts.
b. Remove the nut and disconnect the stabilizer bar link from the lower suspension arm No. 2.
Torque: 74 Nm (54 ft. lbs.).
c. Loosen the nut.
Torque: 150 Nm (110 ft. lbs.).
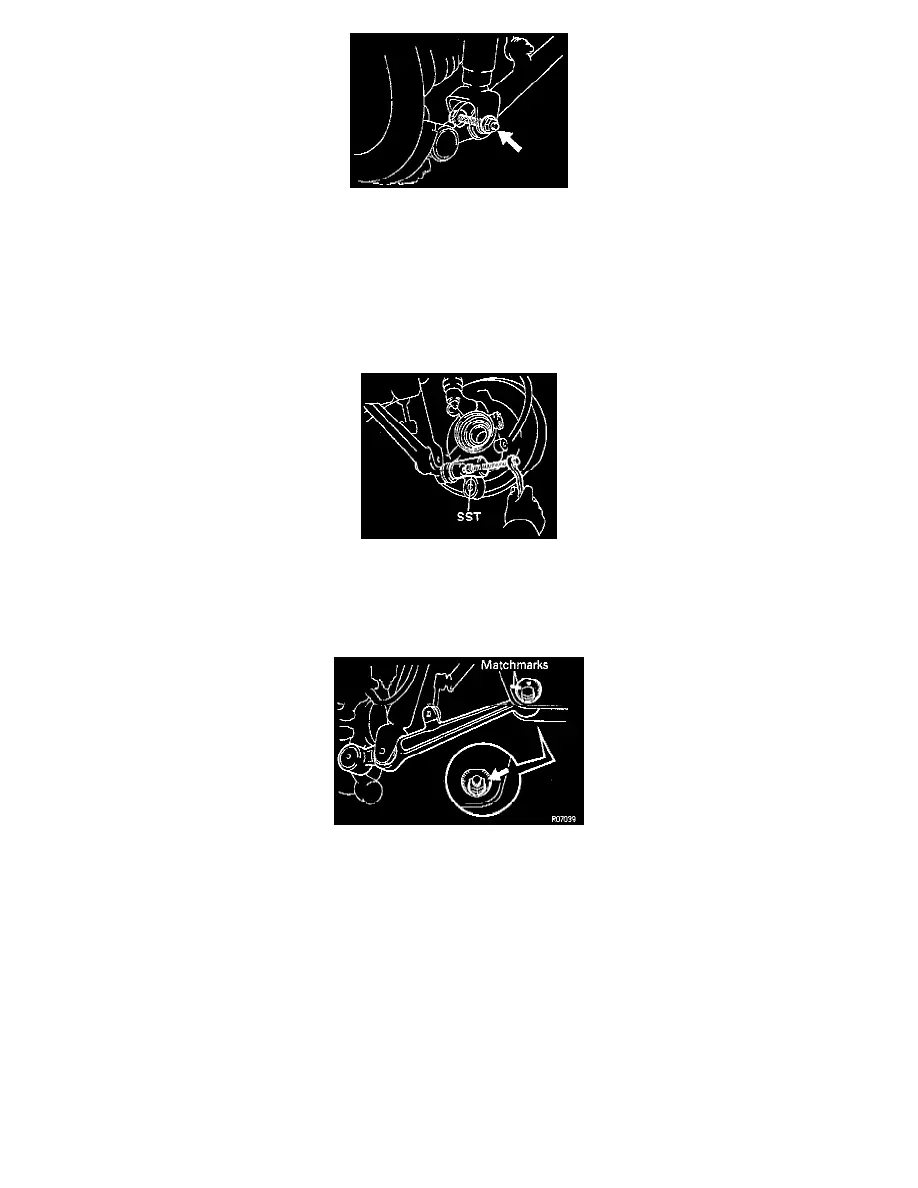
d. Using SST 09610-20012 or equivalent, disconnect the lower suspension arm No. 2 from the rear axle carrier.
NOTICE: Be careful not to damage the ball joint bolt.
e. Remove the nut.
f.
Place matchmarks on the adjusting cam and subframe.
g. Remove the nut, adjusting cam and lower suspension arm No. 2.
Torque: 184 Nm (134 ft. lbs.).
HINT: At the time of installation, after stabilizing the suspension, tighten the nut.
INSPECTION
1. Inspect ball joint for rotation condition.