
Supra Sport Roof L6-2997cc 3.0L DOHC MFI (1998)
(1) Install the dust boot.
NOTICE: Assemble after wrapping vinyl tape around the spline so it will not damage the boot.
(2) Apply grease to the spline.
Grease: Molybdenum disulfide lithium base, NLGI No.2.
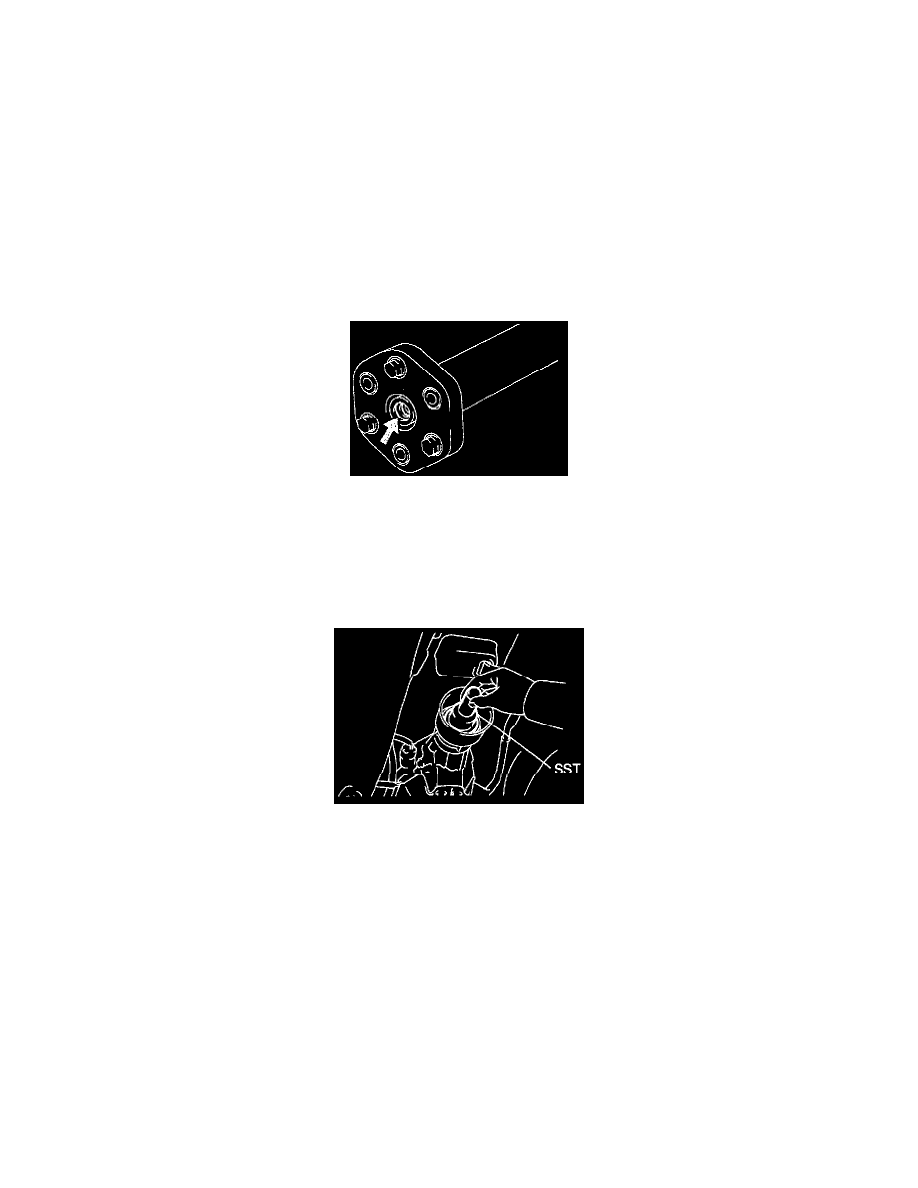
(3) Align the matchmarks and assemble the intermediate shaft and propeller shaft.
(4) Cover the adjusting nut with the dust boot.
(5) Tighten the adjusting nut fully by hand.
INSTALLATION
1. 2JZ-GE:
INSTALL PROPELLER SHAFT
(a) Apply grease to the flexible coupling centering bushings.
Grease: Molybdenum disulfide lithium base, NLGI No.2.
(b) Remove the SST.
(c) Install the propeller shaft to.the transmission.
(d) Insert the propeller shaft from the vehicle's rear and connect the transmission and differential.
NOTICE: Support the center support bearing by hand so that the transmission and intermediate shaft1 and propeller shaft and differential,
remain in a straight line.
(e) Temporarily install the 2 center support bearing set bolts with the adjusting washers.
HINT: Use the adjusting washers which were removed.
(f) Align the matchmarks and install the propeller shaft on the differential with the 3 bolts, washers and nuts.
NOTICE: Bolts should be inserted from the propeller shaft side.
Torque: 79 N.m (805 kgf.cm, 58 ft.lbf)