Tacoma Extra Cab 4WD L4-2693cc 2.7L DOHC MFI (1997)

Engine Oil: Testing and Inspection
Oil Pressure Check
1. Check engine oil quality.
Check the oil for deterioration, entry of water, discoloring or thinning.
If the oil quality is visibly poor, replace it.
2. Check engine oil level.
The oil level should be between the "L" and "F" marks on the dipstick.
If low, check for leakage and add oil up to the "F" mark.
3. Remove engine under cover.
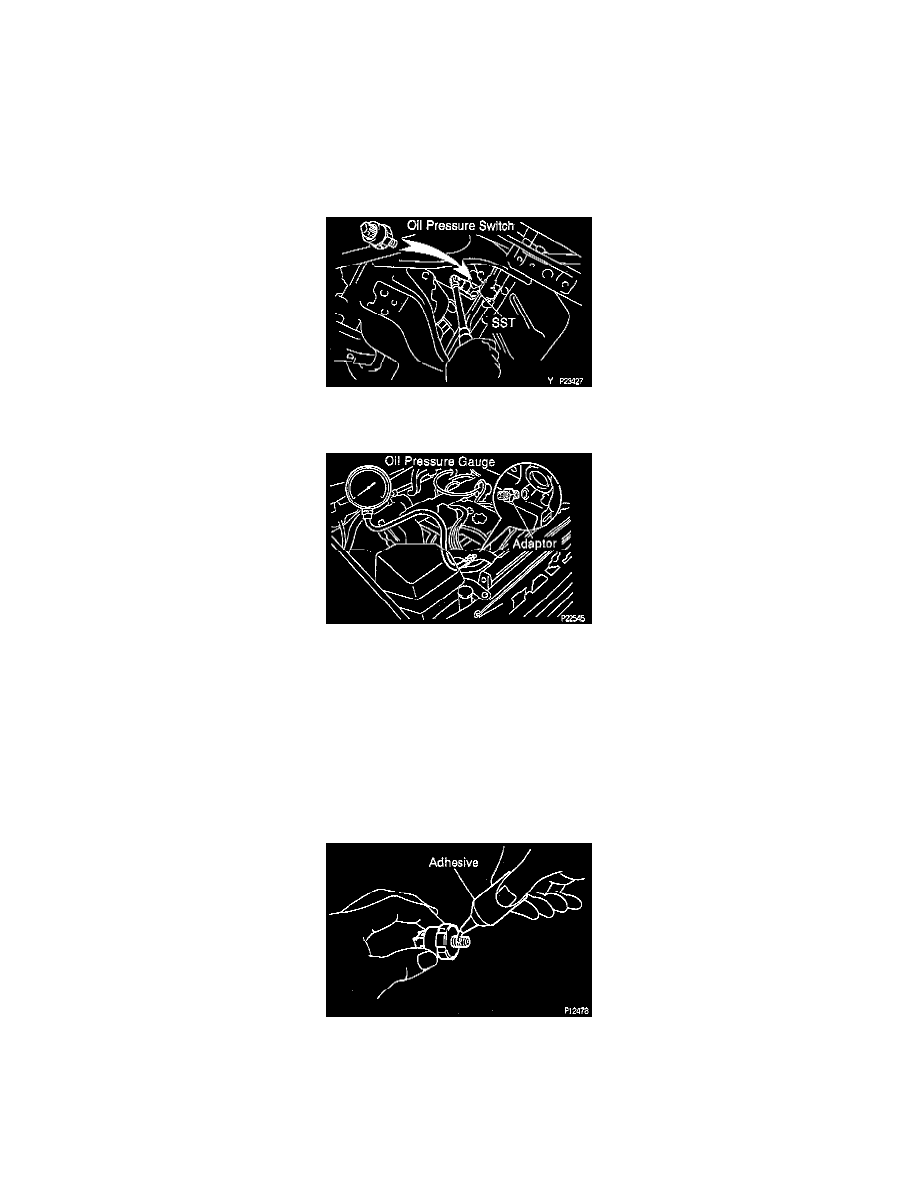
4. Remove oil pressure switch.
Using Special Service Tool (SST) Oil Pressure Switch Socket # 09816 - 30010 or equivalent, remove the oil pressure switch.
5. Install oil pressure gauge.
Install an oil pressure gauge to an adaptor.
6. Warm up engine.
Allow the engine to warm up to normal operating temperature.
7. Check oil pressure.
Oil pressure:
At idle speed: 29 kPa (4.3 psi) or more
At 3,000 rpm: 245 - 490 kPa (36 - 71 psi)
8. Turn engine off.
9. Remove oil pressure gauge.
10. Reinstall oil pressure switch.
(a)
Apply adhesive to 2 or 3 threads of the oil pressure switch.
Adhesive: Part No. 08833 - 00080, THREE BOND 1344, LOCTITE 242 or equivalent.
(b) Using SST Oil Pressure Switch Socket # 09816 - 30010 or equivalent, install the oil pressure switch.
11. Reinstall engine under cover.
12. Start engine and check for leaks.
