
Tacoma Extra Cab 4WD L4-2693cc 2.7L DOHC MFI (1997)
d. Install the shift fork in the groove of the sleeve holding it by hand and install the case in the carrier.
HINT: Make sure that there is backlash between the ring gear and drive pinion.
9. Install bearing caps. Align the matchmarks on the cap and carrier. Screw in the 2 bearing cap bolts 2 or 3 turns and press down the bearing cap by
hand.
HINT: If the bearing cap does not fit tightly on the carrier, the adjusting nuts are not threaded properly. Reinstall the adjusting nuts if necessary.
10. Adjust side bearing preload.
a. Torque the 4 bearing cap bolts to the specified torque, then loosen them to the point where the adjusting nuts can be turned by hand.
Torque to 78 Nm (58 ft. lbs.)
b. Fully tighten the 4 bearing cap bolts by hand.
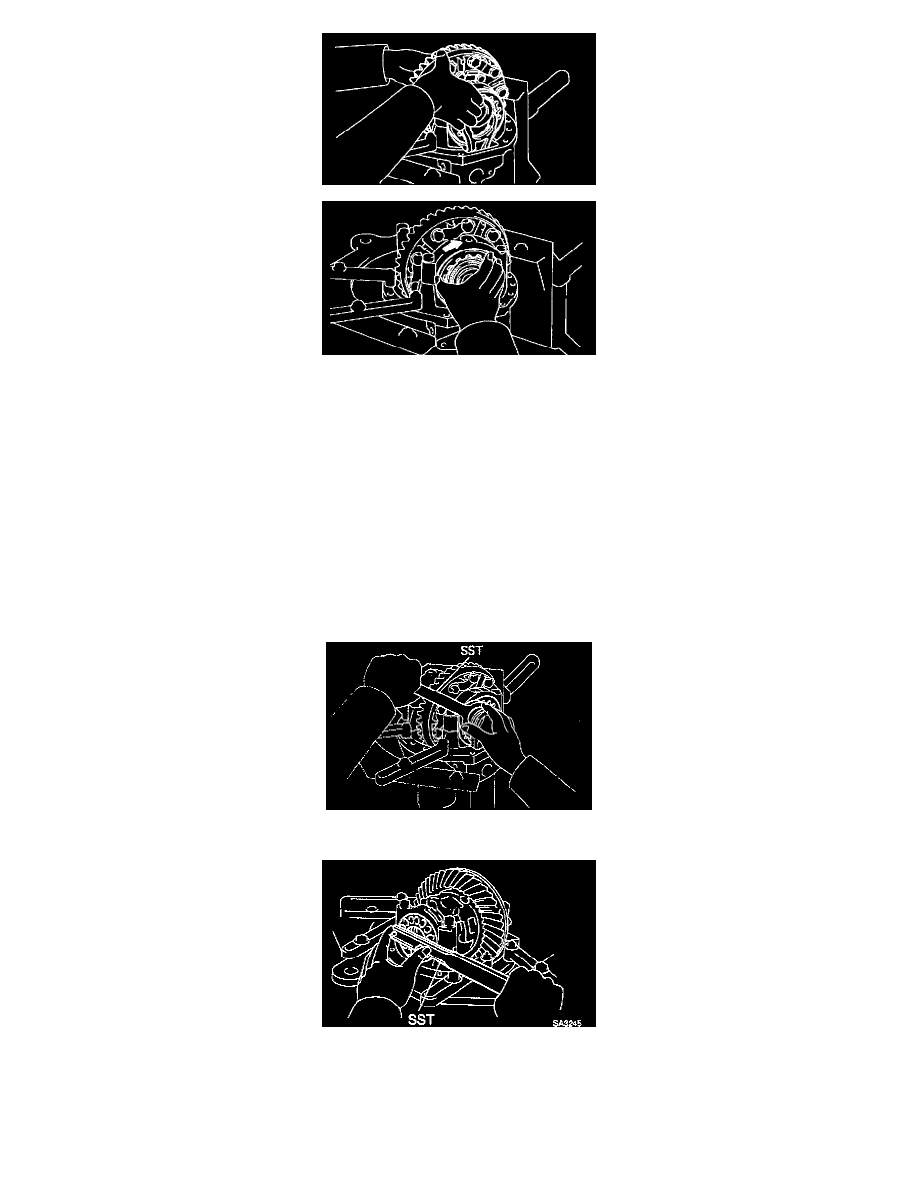
c. Using the SST 09616-30020, torque the adjusting nut on the ring gear side until the ring has a backlash of about 0.2 mm (0.008 inch).
d. While turning the ring gear, use the SST 09616-30020 to fully tighten the adjusting nut on the drive pinion side. after the bearings are settled,
loosen the adjusting nut on the drive pinion side.