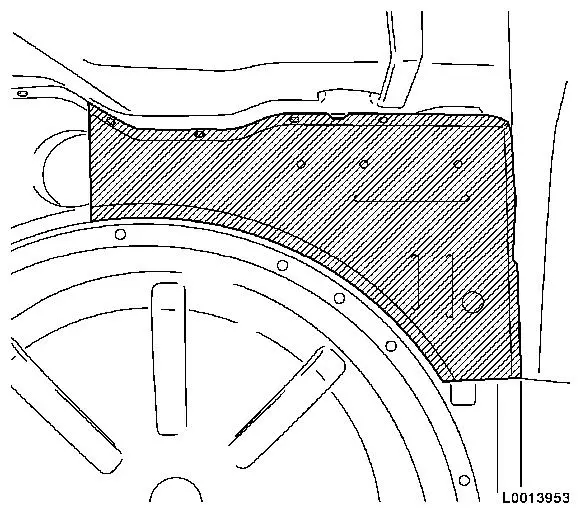
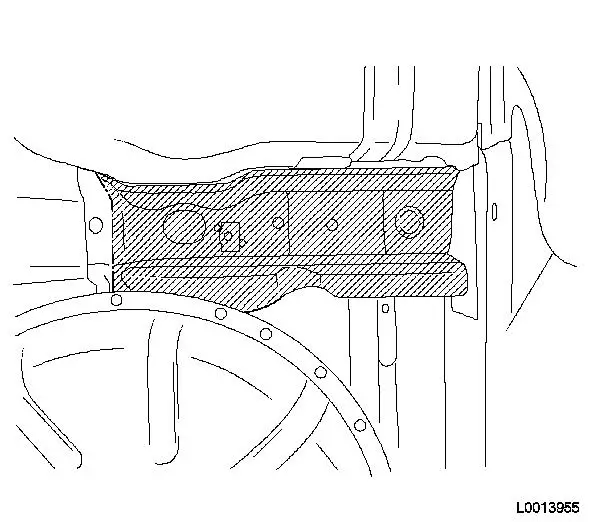
Drill open and lift up flange, rear panel crossmember
6.
Detach and drill away rear frame side members Note: Note size of new
part and cutting line!
Install
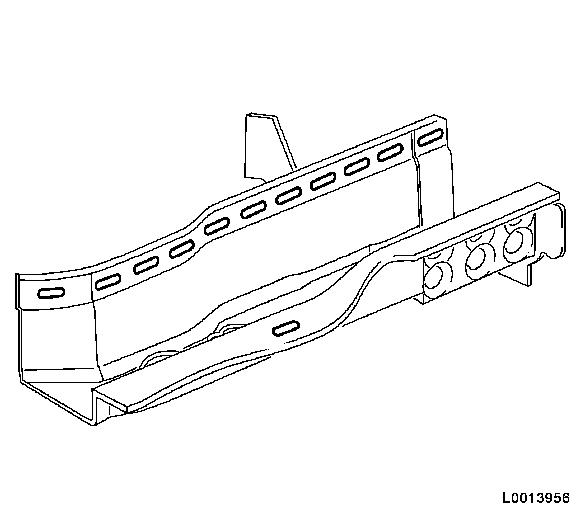
7.
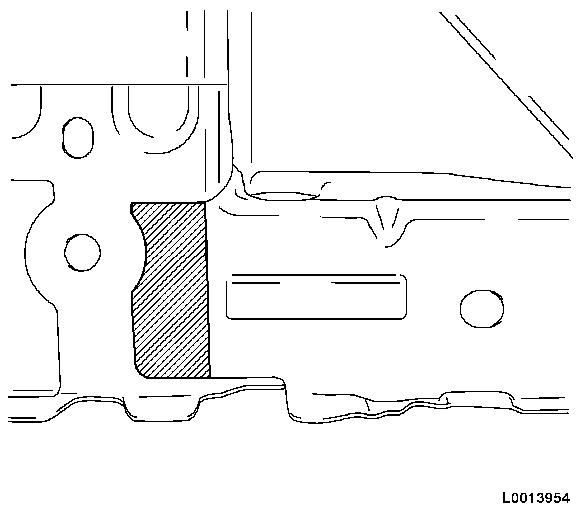
Prepare rear panel crossmember
•
Incorporate 2x ( 6x18 mm )
slot
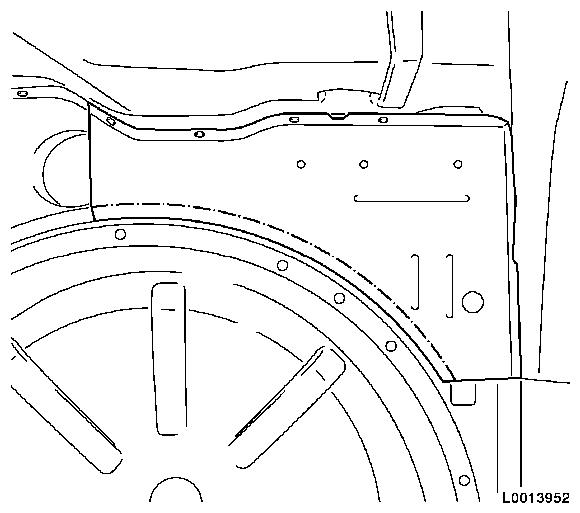
8.
Prepare and adjust rear frame side member to fit Note: Incorporate 11x (
8x24 mm ) slot
Important: Ensure the slots and
the flanges to be attached are correctly aligned!
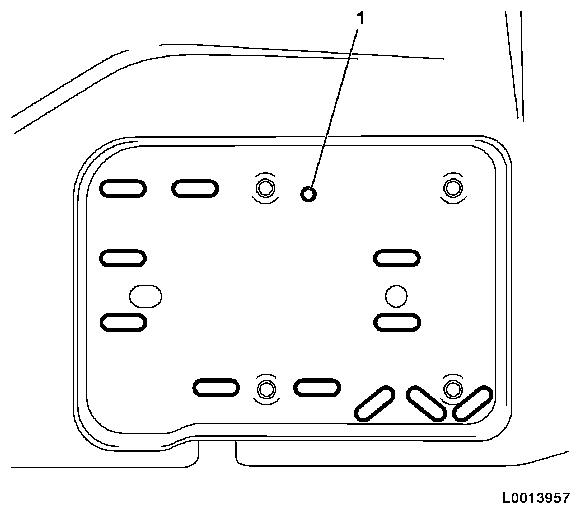
9.
Prepare rear panel anchor plate
•
Incorporate 11x ( 6x18 mm )
slot
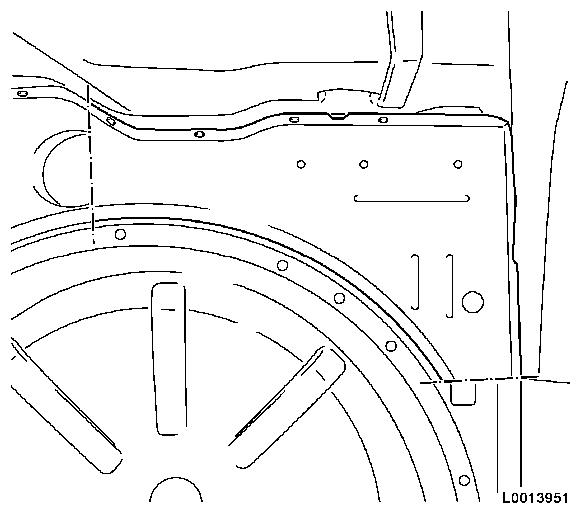
•
Drill 1x hole (1) ( 8 mm ) Note: Incorporate slots
and hole via anchor plate and rear panel! Note: Comply with
drilling template!
10.
Adjust rear frame side member to fit
11.
MIG-braze rear frame side member Note: Note
specification for welded and riveted joints.
12.
MIG-braze rear frame side member Note: Note
specification for welded and riveted joints.
13.
Set aside flange, rear panel crossmember and MIG-braze Note: Note
specification for welded and riveted joints.
14.
Weld in rear frame side member Note: Note
specification for welded and riveted joints.
15.
Grind down brazed seams in the area with which the luggage
compartment floor is in contact
16.
Prepare luggage compartment floor
•
Cut new part to size from luggage compartment floor component
supplied
•
Bend down front tab
= 20 mm
17.
Adjust luggage compartment floor to fit
•
Push bent down front tab under old luggage compartment floor
component
•
Drill 14x fastening holes for waterproof rivets Note: Do not damage
existing brazed slots!
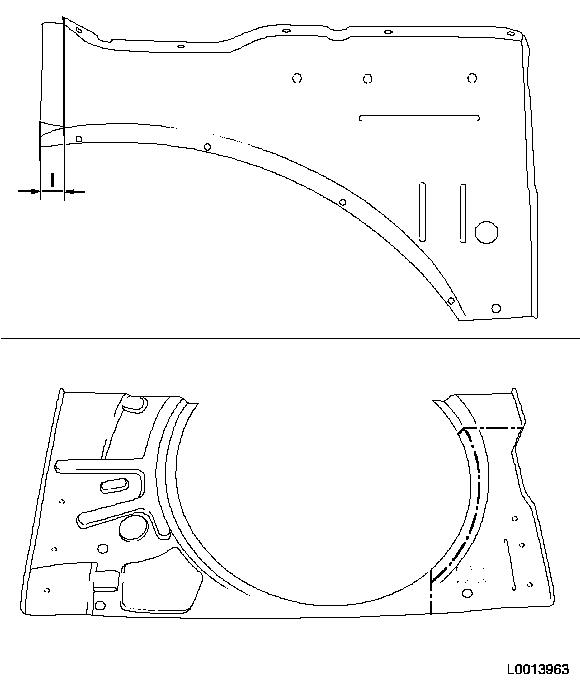
18.
Apply adhesive from corrosion protection adhesive system 93 160
535/15 05 000 to new component, luggage compartment floor
1.
= Upper side
2.
= Lower side
19.
Adjust luggage compartment floor to fit and rivet on
•
Rivet on 14x waterproof rivet (93 184 033/15 05 000)
•
Apply excess adhesive as a seam seal and corrosion protection
using a spatula or flat paintbrush Note: Note
specification for welded and riveted joints.
20.
MIG-braze anchor plate, rear panel Note: Note
specification for welded and riveted joints.
21.
Grind down brazed seams in the area with which the impact
limiter is in contact Note: Do not damage
stud bolts on anchor plate!
22.
Seal body, weld and brazing seams Note: Observe corrosion
protection measures for seam seals.
23.
Apply underseal. Note: Observe corrosion
protection measures for PVC protection.
24.
Seal cavity Note: Observe
protective wax corrosion protection measures.