Rear End Lower Panel Replacement (5-Door Hatchback 68)
Note: According to
different corrosion warranties, only the regional mandatory joining
methods are allowed.
Removal Procedure
| 3. |
Remove all related panels and
components. |
| 4. |
Visually inspect the damage.
Repair as much of the damage as possible. |
| 5. |
Remove the sealers and
anti-corrosion materials from the repair area, as necessary.
|
| 6. |
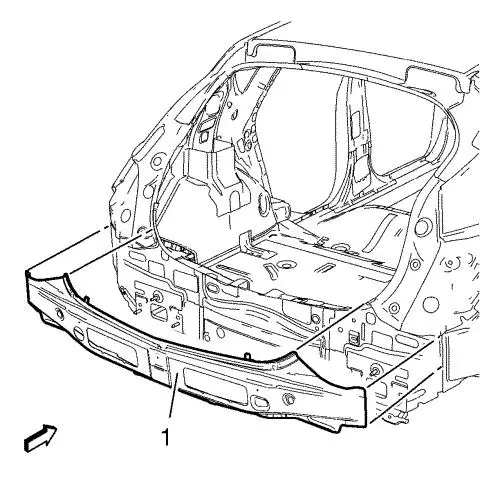
Locate and mark all the
necessary factory welds of the rear end lower panel (1).
|
|
Note: Note the number
and location of welds for installation of the service assembly.
|
| 7. |
Drill all factory
welds. |
| 8. |
Remove the rear end lower
panel (1). |
Installation Procedure
| 1. |
Clean and prepare the
attaching surfaces for welding. |
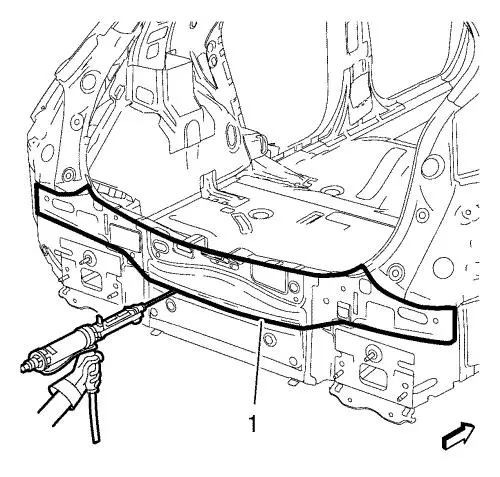
| 2. |
Apply structural adhesive (1)
to the attaching surfaces. |
| 3. |
Position the rear end lower
panel (1) on the vehicle. |
| 4. |
Verify the fit of the rear end
lower panel. |
| 5. |
Clamp the rear end lower panel
into position. |
| 6. |
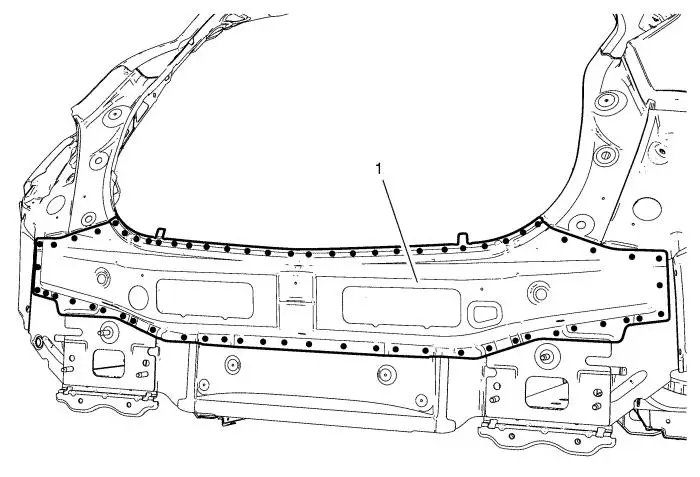
Spot weld the rear end lower
panel (1) accordingly with 64 spot welds. |
| 7. |
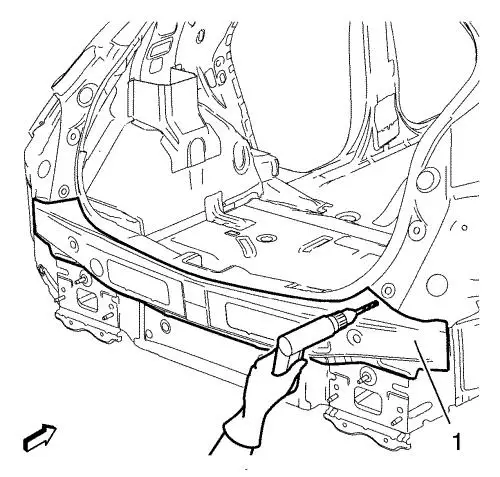
Apply the sealers and
anti-corrosion materials to the repair area, as necessary.
|
| 8. |
Paint the repaired
area. |
| 9. |
Install all related panels and
components. |
|
