|
Gear Shift Assembly, Remove and Install (F 23)
 Remove Remove
| 1. |
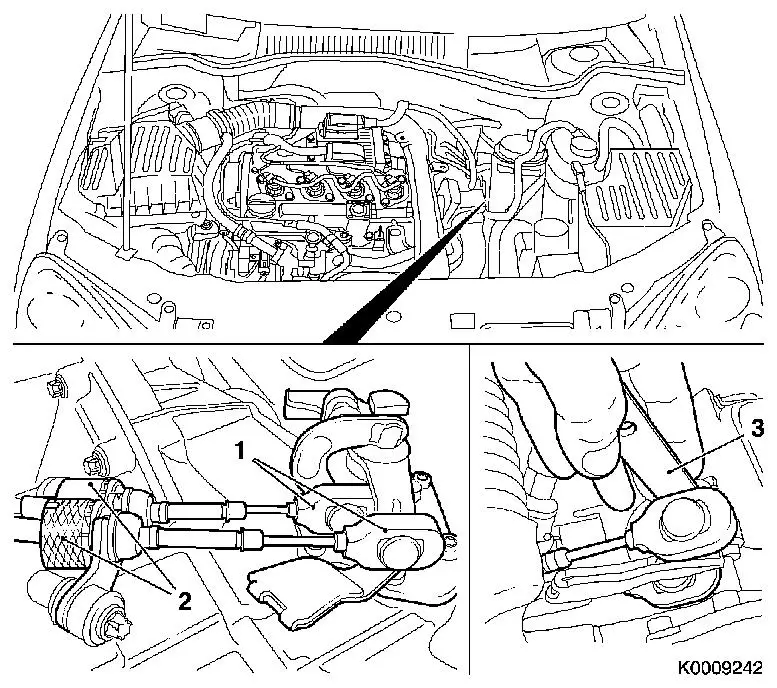
Detach crash box
Note: The fuel system
remains closed.
|
|
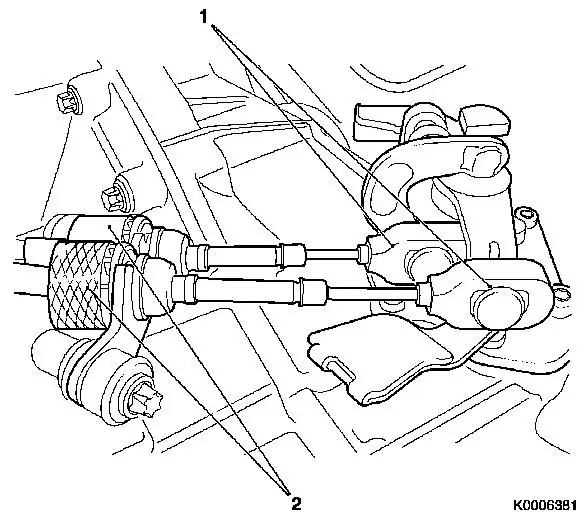
| 2. |
Detach shift cables (1) from transmission
| • |
Unclip shift cables from guide lever with KM-6042 (3)
|
| • |
Unclip 2x out of counterhold
Note: Pull back sleeve
(2) and pull cable from counterhold. Note cable arrangement.
|
|
|
|
| 3. |
Unscrew fit bolt (2) of gearshift assembly
|
| 4. |
Dismantle gear shift assembly (1)
| • |
Unscrew 5x bolt (arrows)
|
| • |
Remove gear shift assembly
|
|
|
 Install
| 5. |
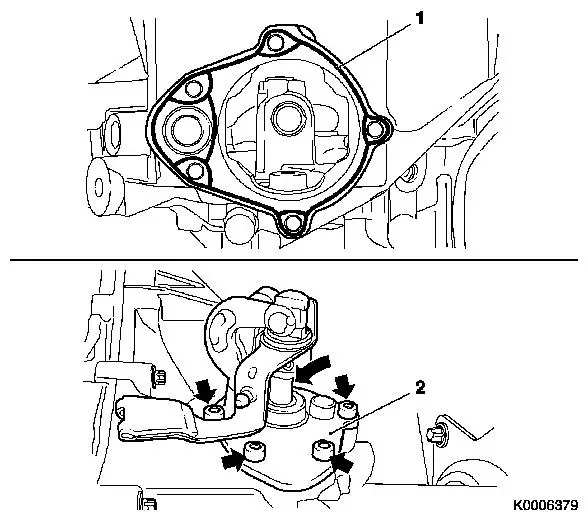
Clean sealing surfaces, thread and gear components
|
| 6. |
Inspect sealing surfaces and removed parts for damage, replace
if necessary
|
|
| 7. |
Apply sealing compound
| • |
Apply a thin coat of sealing compound to area (1)
| – |
to gear shift assembly sealing surface
|
|
|
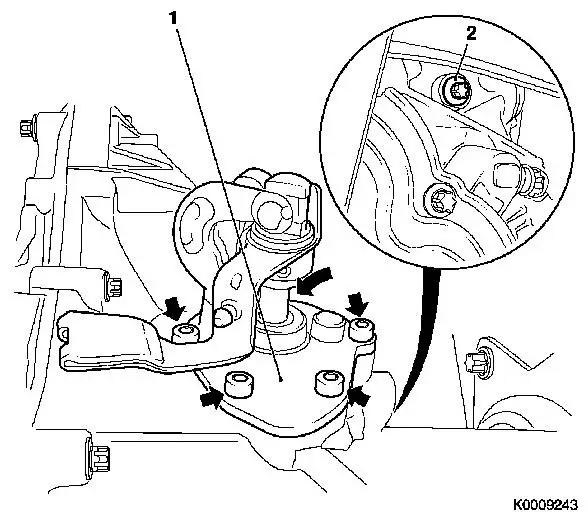
| 8. |
Install gearshift assembly
| • |
Insert gear shift assembly
| – |
Ensure that it engages in the shift forks
|
|
| • |
Fit 5x screw (arrows)
| – |
Tighten evenly in crosswise formation 25 Nm
|
|
|
|
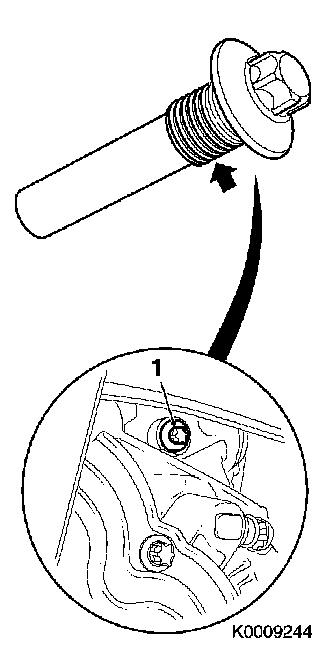
| 9. |
Install fit bolt (1) of gearshift assembly
| • |
Apply locking compound (red) to bolt threads (arrow)
|
| • |
Tighten bolt 25 Nm
Note: Fit bolt must
engage in gearshift assembly.
|
|
|
|
|
| 10. |
Attach shift cables (1) to transmission
| • |
Clip to shift linkage lever
|
| • |
Clip 2x into counterhold
Note: Pull sleeve (2)
back and insert cable in counterhold. Shift cable (black) on top,
selector cable (white) on bottom.
|
|
|
| 11. |
Check ease of gear shifting
|
| 13. |
Transmission Fluid Level, Check and Correct 
|
|
