Golf Mk3
|
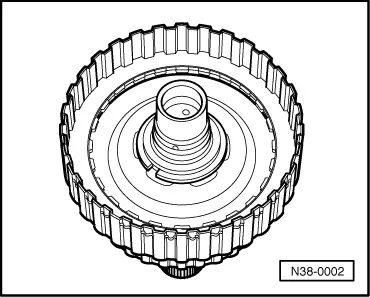
Dismantling and assembling 1st to 3rd gear clutch -K1- with turbine shaft on gearboxes up to 12.92
Dismantling and assembling 1st to 3rd gear clutch -K1- with turbine shaft on gearboxes from 01.93
|
 |
|
|
Gearboxes from 01.93 |
|
|
|
|
|
|
|
 |
|
|
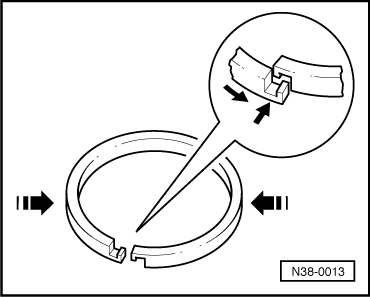
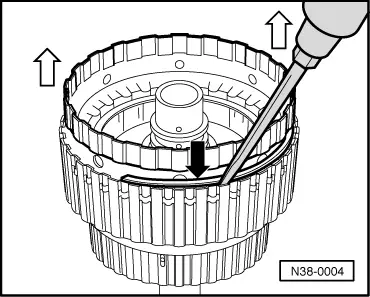
→ Fig.1 Removing and installing circlip
|
 |
|
|
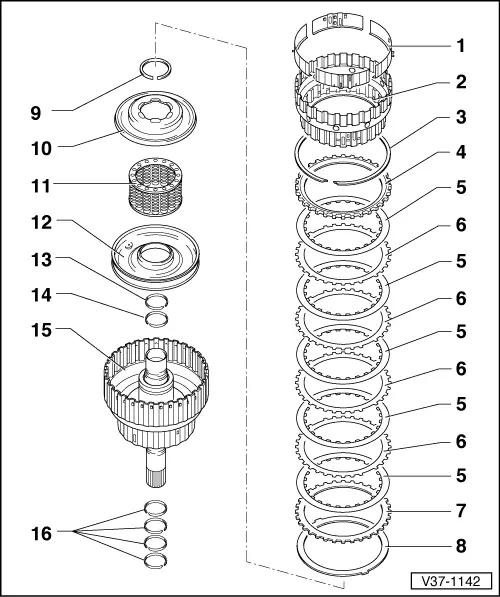
→ Fig.2 Fitting thrust plate and plates onto inner plate carrier
Notes:
|
 |
|
|
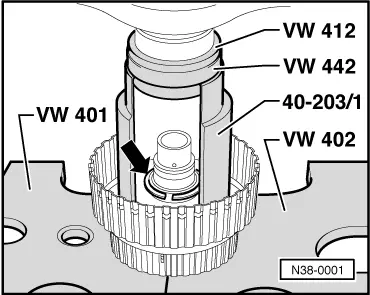
→ Fig.3 Installing corrugated washer and inner and outer plates in clutch housing
|
 |
|
|
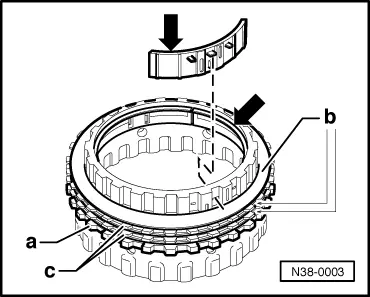
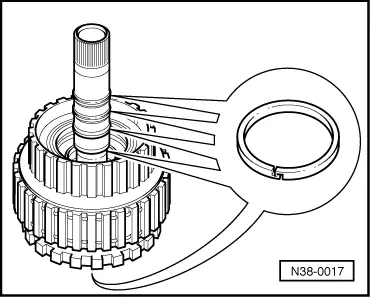
→ Fig.4 Inserting inner plate carrier and installing circlip (arrow).
|
 |
|
|
→ Fig.5 Checking seating of piston rings There are two piston rings installed on the turbine shaft inside the clutch housing.
|