Golf Mk4
|
 Note
Note
|

|

| 1 - | Cross-head screw, 4 Nm |
| 2 - | Brake disc |
| q | Thickness 25 mm |
| q | Wear limit: 22 mm |
| q | Always renew both sides |
| q | Remove brake caliper prior to removing |
| 3 - | Brake pads |
| q | Thickness 14 mm not including backplate |
| q | Checking thickness → Booklet37 |
| q | Always renew both sides |
| q | Removing and installing → Chapter |
| q | Wear limit: 2 mm excluding backing plate |
| 4 - | Retaining spring |
| q | Insert in both holes in brake caliper housing |
| 5 - | Brake carrier |
| 6 - | Brake caliper |
| q | Do not disconnect brake hose when changing brake pads |
| q | Removing: |
| q | Remove brake pads → Chapter |
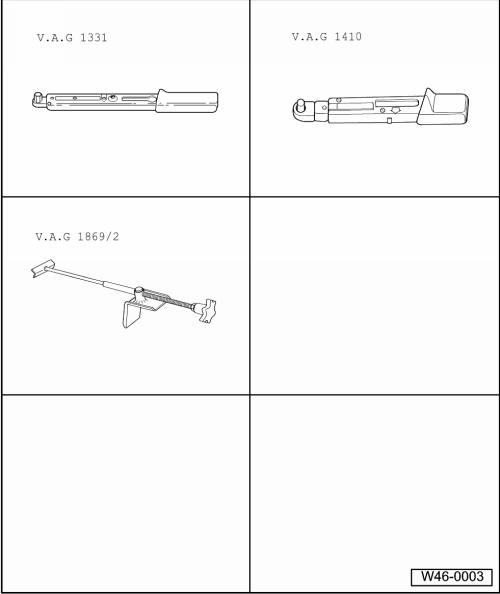
| q | Fit brake pedal depressor -V.A.G 1869/2- |
| q | Unscrew brake hose → Item from brake caliper |
| q | Installing: |
| q | Install brake pads → Chapter |
| q | Connect brake hose → Item to brake caliper |
| q | Remove brake pedal depressor -V.A.G 1869/2- |
| q | Bleed brake system → Chapter. |
| q | Repairing → Chapter |
| 7 - | Guide pin, 30 Nm |
| 8 - | Cap |
| q | Take off |
| 9 - | Brake hose with banjo union and banjo bolt, 35 Nm |
| 10 - | Self-locking combi-bolt, 125 Nm |
| q | Clean if reusing |
| 11 - | Wheel bearing housing |
| 12 - | Allen bolt, 8 Nm |
| 13 - | ABS speed sensor |
| q | Before inserting sensor, clean inner surface of fitting hole and coat with lubricating paste G 000 650 |
| 14 - | Cover plate |
| 15 - | Hexagon bolt, 10 Nm |
| 16 - | Wheel bearing |
| 17 - | Circlip |
| 18 - | Wheel hub with rotor |
| 19 - | Brake pads |
| q | With wear indicator |
| q | When wear reaches a predetermined limit (approx 4 mm) the warning lamp in dash panel insert comes on |
| q | Thickness 14 mm not including backplate |
| q | Checking thickness → Booklet37 |
| q | Always renew both sides |
| q | Removing and installing → Chapter |
| q | Wear limit: 2 mm excluding backing plate |
| 20 - | Connector |
| 21 - | Bracket |
| 22 - | Bolt |
