volkswagen Workshop Repair Guides

Volkswagen Workshop Service and Repair Manuals

Removing and installing front flexible coupling > < Assembly overview - repairing propshaft
Removing and installing propshaft
Special tools and workshop equipment required
   
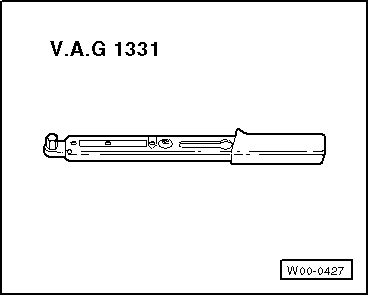
t  Torque wrench -V.A.G 1331-
  W00-0427
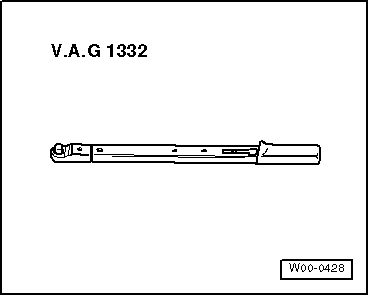
t  Torque wrench -V.A.G 1332-
Additional required information
t  Workshop Manual Golf 1998 ►, Bora 1999 ► Engine, mechanics
t  Workshop Manual Golf 1998 ►, Bora 1999 ►, Running gear, axles, steering - front and four-wheel drive
A twin pillar lifting platform should be used when working on the propshaft.
  Note
t  Before removing, mark positions of all parts relative to each other. Reinstall in the same position otherwise imbalance will be excessive, the mountings could be damaged causing rumbling noises.
t  Keep propshaft straight; store and transport fully extended only.
Removing
  W00-0428
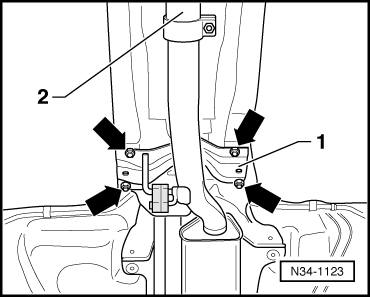
–  Remove retainer -1- above exhaust system -arrows-.
–  Separate exhaust system at double clamp -2- and remove with catalytic converter (2nd mechanic).
–  Remove rear part of exhaust system → Rep. Gr.26.
–  Now remove rear and front heat shield.
  N34-1123
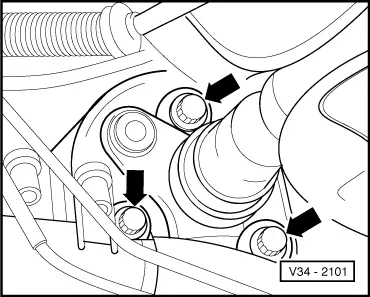
–  Unbolt front propshaft tube with flexible coupling from bevel box flange -arrows-.
  V34-2101
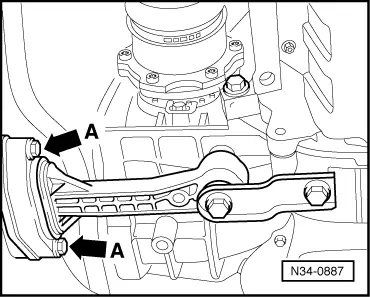
–  Remove pendulum support from subframe -arrows A-.
  N34-0887
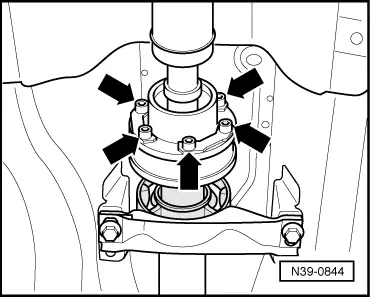
–  Separate front propshaft from rear propshaft -arrows-.
–  Carefully press engine and gearbox forwards.
–  Carefully pull front propshaft off centring pin.
  Note
  N39-0844
When removing and installing do not damage seals in propshaft flanges.
–  Swing front propshaft down and remove.
  V39-1817
–  Unbolt rear propshaft with flexible coupling and vibration damper from rear final drive -arrows-.
–  Unbolt propshaft intermediate bearing from vehicle.
–  Carefully pull rear propshaft off centring pin.
  Note
t  Flexible coupling and vibration damper cannot be separated from one another.
  N39-0681
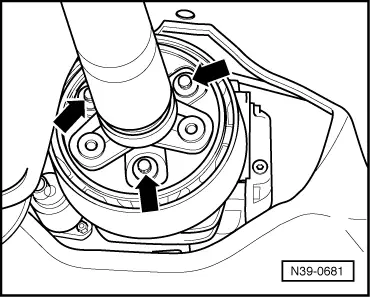
t  Do not cant propshaft during removal; pull horizontally off centring pin. Centring sleeve seal must not be damaged -arrow-; otherwise the complete propshaft must be renewed.
Installing
Install in the reverse order of removal, observing the following:
  Note
  V39-1817
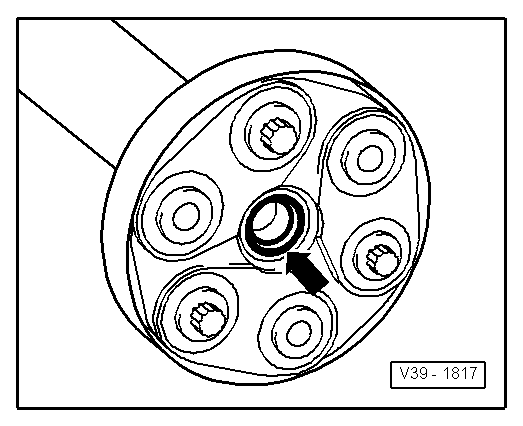
t  Do not damage seals in propshaft flanges -arrow- during removal and installation.
t  Renew propshaft if damaged.
t  Do not cant front or rear propshaft tube; push horizontally onto respective centring pin.
  V39-1817
Installation position for rear flexible coupling
t  Three projecting sleeves each on Haldex coupling flange and propshaft flange engage in mounting holes of flexible coupling.
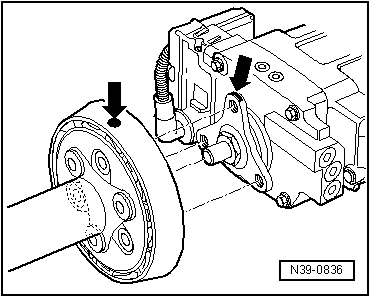
–  Attach propshaft to Haldex coupling flange so that markings -arrows- align.
  N39-0836
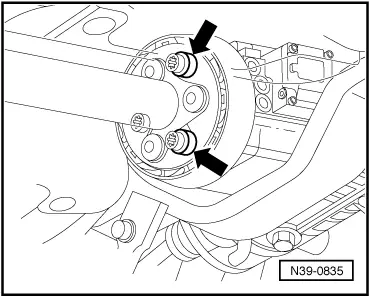
From 06.99, new balancing discs and new securing bolts between propshaft and Haldex coupling flange have been used -arrows-.
The new securing bolts have 12-point socket heads.
  N39-0835
Two of the new securing bolts might be installed with one balancing disc each.
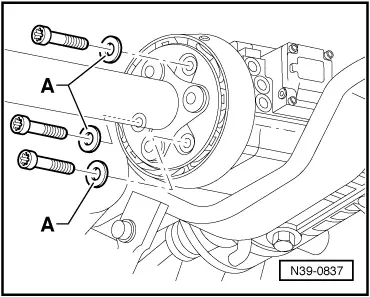
–  Balancing discs must always be replaced with washers -A-.
Allocation of washers → ETKA (Electronic parts catalogue)
  N39-0837
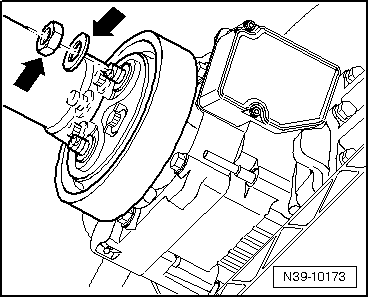
From 09.02 onwards: Securing bolts with balancing nuts and balancing washers for propshaft on flexible coupling -arrows-.
Balancing washers -A- (⇒ previous Fig.) are discontinued in that case.
Installing intermediate bearing free of tension.
–  Align intermediate bearing in its elongated holes so that propshaft is not under tension.
–  Do not tighten intermediate bearing bolts to body until after propshaft has been installed.
  Note
t  If droning noises occur during travel, note the following:
t  Unbolt propshaft with flexible coupling from Haldex coupling flange and offset it by one hole.
t  If droning noises are still audible, front propshaft must be rotated one more hole.
Specified torques
  N39-10173
Pendulum support on subframe -arrows A- → Running gear, axles, steering - front and four-wheel drive; Rep. Gr.40.
Intermediate bearing to body → Item.
Flexible coupling with damper to Haldex coupling flange → Item.
Flexible joint with heat shield to bevel box flange → Item
Connecting bolts to constant velocity joint → Item.
Flexible coupling with heat shield to propshaft → Item
Flexible coupling with vibration damper to propshaft → Item
  N34-0887

Removing and installing front flexible coupling > < Assembly overview - repairing propshaft