Golf Mk4
|
|
|
|
|
 WARNING
|
|
|
|
|
|
 Note
Note
|
|
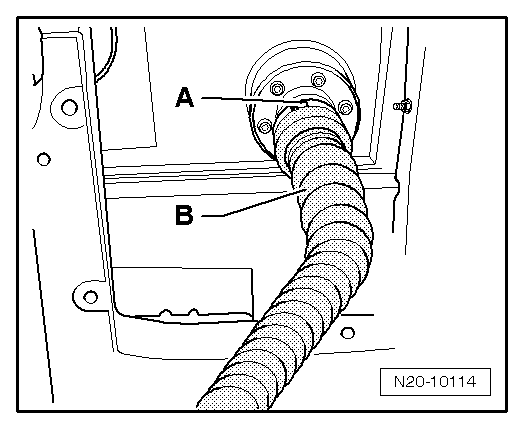
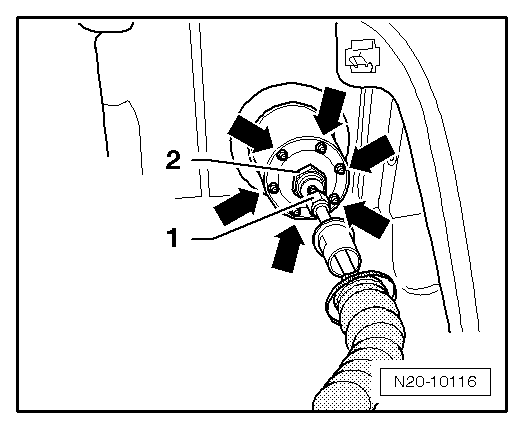
| Sleeve on filling connection | 15 Nm |
| Filling connection on filling connection retainer | 1 Nm |

|
|
|
|
|
|
|
|
|
|
|
Note
|
|
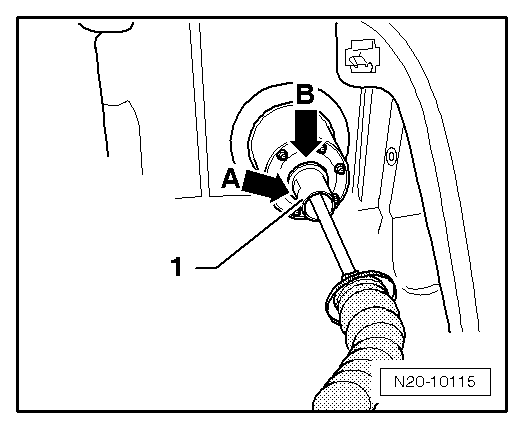
| Sleeve on filling connection | 15 Nm |
| Filling connection on filling connection retainer | 1 Nm |