| Remove any residual paint and/or corrosion on thread and splines of outer joint. |
| –
| Before installing drive shaft, lightly lubricate: |
| t
| splines on outer joint, |
| t
| contact surface and thread of 12-point nut |
| –
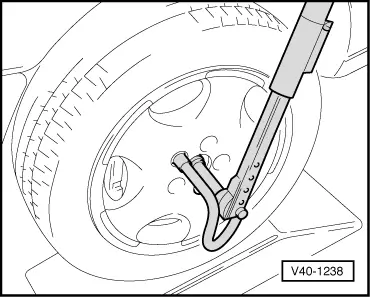
| Guide outer joint into wheel hub splines as far as possible. |
| –
| Pull outer joint into wheel hub until outer joint lies against wheel bearing. |
| –
| Position drive shaft inner joint and tighten bolts diagonally to 10 Nm. |
| –
| Tighten multi-point socket head bolts diagonally to 40 Nm. |
| –
| Lower vehicle until the wheel touches the ground. |
| –
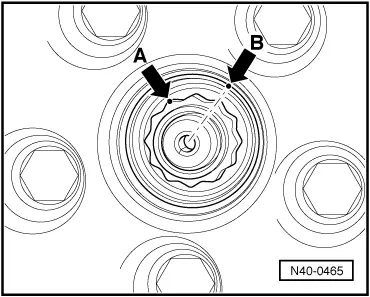
| Tighten 12-point nut to 200 Nm and then loosen one half turn. |
|
|
|