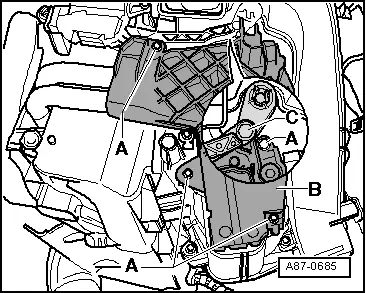
The figure shows the version with auxiliary air heater element -Z35-.
t
If the lever -C- to temperature flap is positioned so that the upper bolt -A- is not accessible. Change the position of the temperature flap at the heater and fresh air controls. On vehicles with Climatronic, at the control and display unit (e.g. the setting „Hi“).
–
Cover carpet in area under heat exchanger with waterproof foil and water absorbing paper.
–
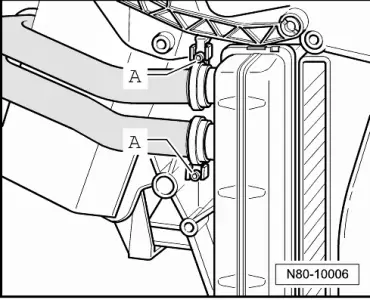
Open pipe clamps -A- and pull coolant pipes out of heat exchanger.
 WARNING
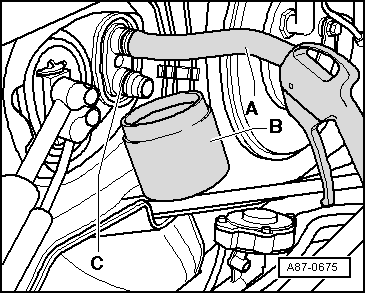
 Note
Note