
Golf Mk5
| Dismantling and assembling differential |

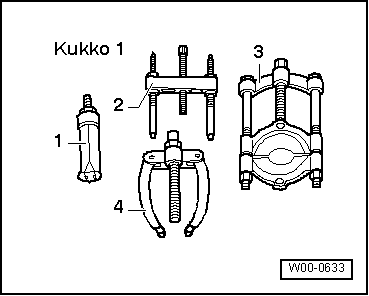
| Special tools and workshop equipment required |
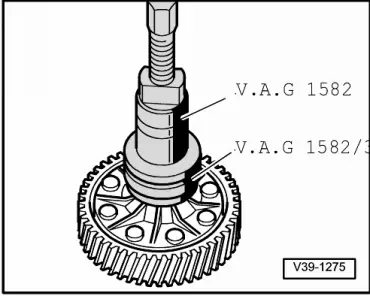
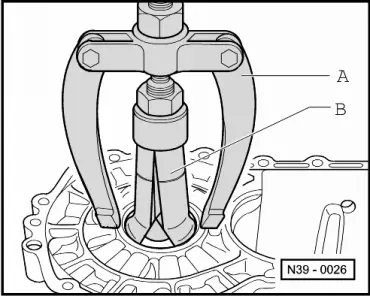
| t | Tapered roller bearing puller -V.A.G 1582- |
| t | Adapter -V.A.G 1582/3- |
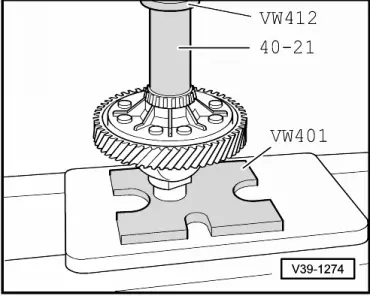
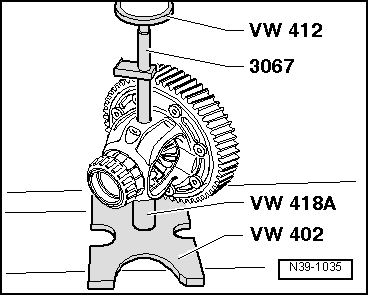
| t | Press tool -VW 412- |
| t | Pressure plate -VW 401- |
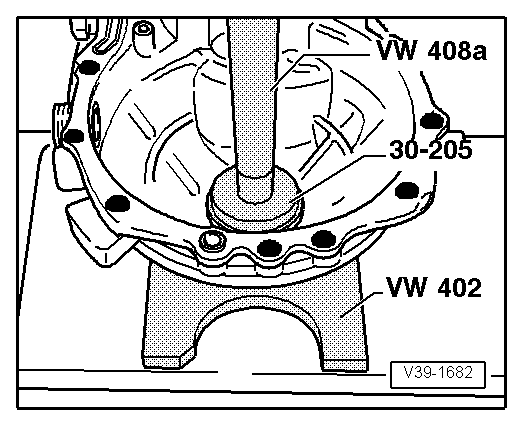
| t | Pressure plate -VW 402- |

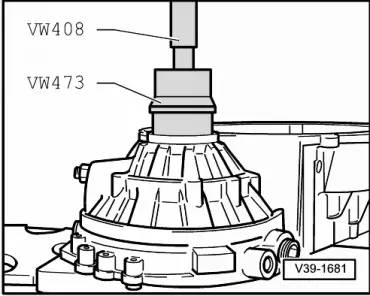
| t | Press tool -VW 408 A- |
| t | Thrust piece -VW 473- |
| t | Thrust plate -30 - 205- |
| t | Sleeve -3144- |
| t | Thrust piece -2007- |
| t | Torque wrench -V.A.G 1332- |
|
|
|
|
|
|
|
|
 Note
Note
|
|
|
|
|

|
|
|
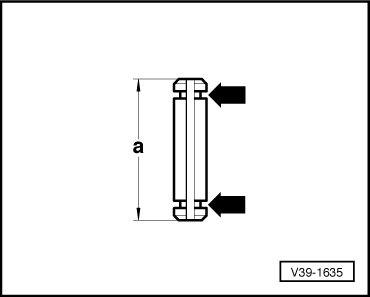
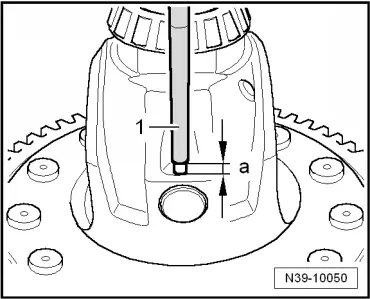
| Dim. „a“ mm | Identification |
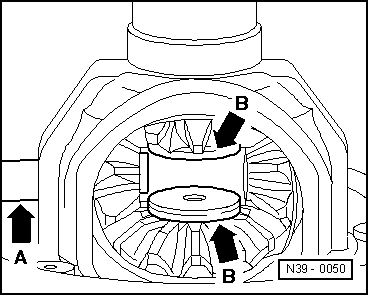
| 28.5 (short spring pin) Removing and installing → Fig. | Circumferential groove -arrows- |
| 36.0 (long spring pin), Removing → Fig., Installing → Fig. | No circumferential groove |
|

|
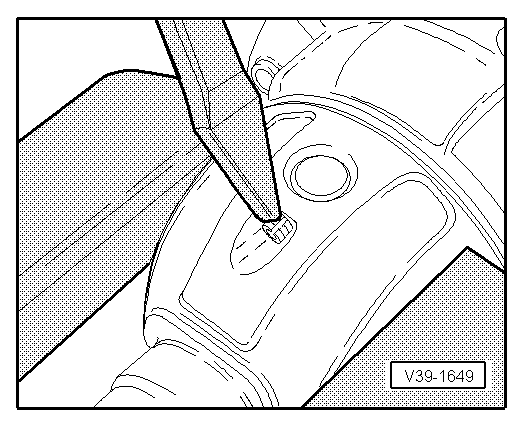
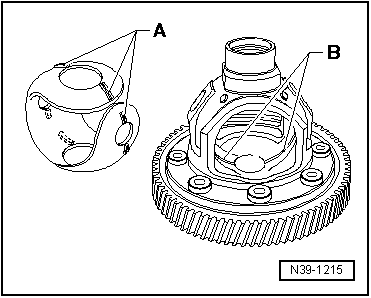
| Hole | Length of spring pin (mm) |
| -A- | 28.5 (short spring pin) |
| -A- and -B- | 36.0 (long spring pin) |
|
|
|
|
|
|
|
|
|
|
|
|