Note | t
| Bear two things in mind when pressing: |
| t
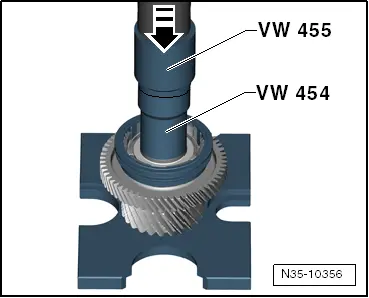
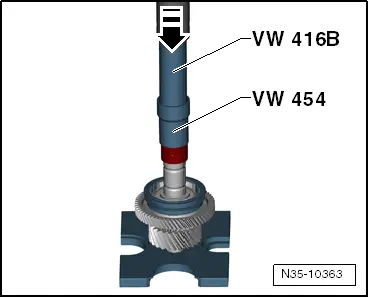
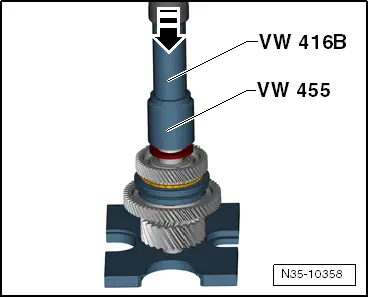
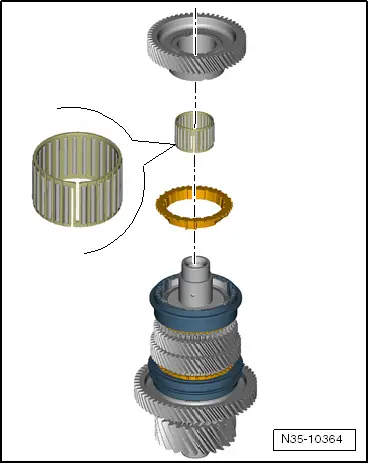
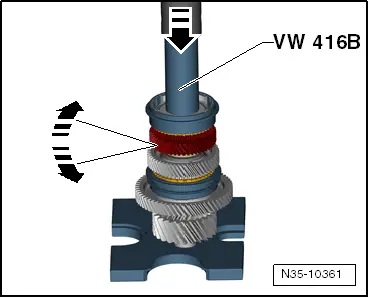
| Raise gear wheel and turn it at same time. This allows synchro-ring to locate its installation position before ring is clamped by synchro-hub. |
| t
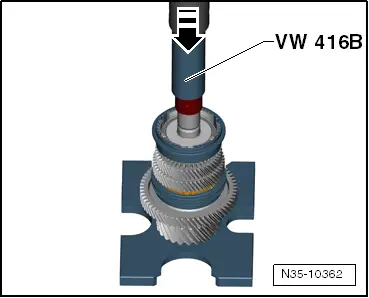
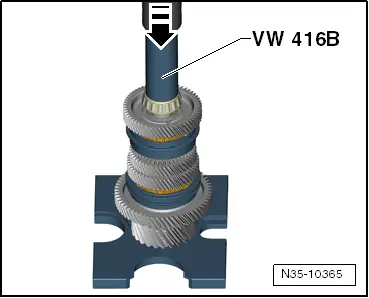
| Once ring has located its seat, pay attention to force required for pressing. Stop pressing as soon as you feel a stop (increased force requirement). Synchromeshed gear for 3rd gear must have axial play. Gear has reached its installation position as soon as force during pressing rises. If you continue pressing then you will be pressing synchro-hub against needle bearing, thus damaging it. |
| t
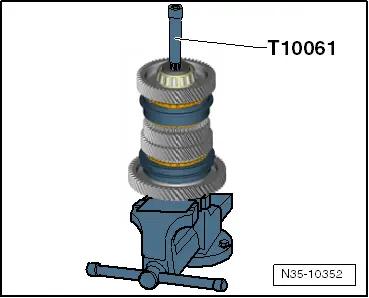
| After pressing, gear wheel must turn »freely« when shaft is in horizontal position. |
|
|
|