
Golf Mk5
 Note
Note
|

| Special tools and workshop equipment required |
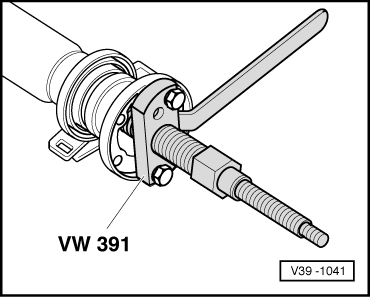
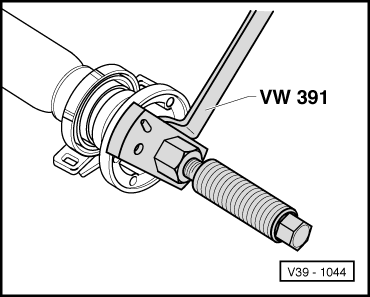
| t | Drive shaft fitting appliance -VW 391- |
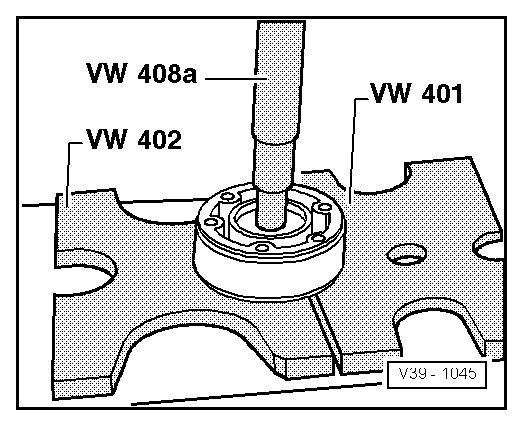
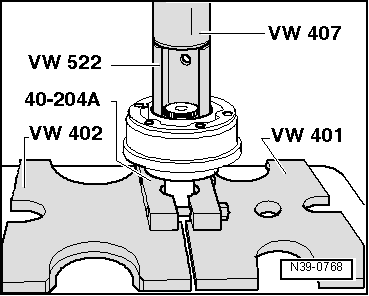
| t | Pressure plate -VW 401- |
| t | Pressure plate -VW 402- |
| t | Press tool -VW 407- |
| t | Press tool -VW 408A- |
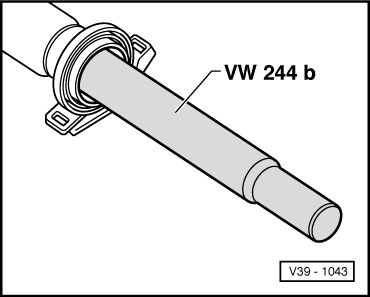
| t | Drift sleeve -VW 244B- |

| t | Support sleeve -VW 522- |
| t | Tensioner -V.A.G 40-204A- |
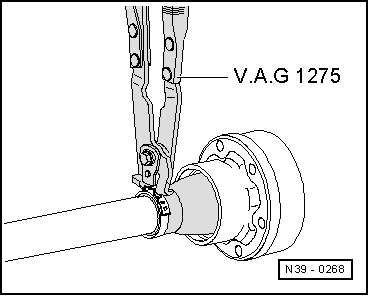
| t | Hose clip pliers -V.A.G 1275- |
| t | Torque wrench -V.A.G 1331- |
| t | Circlip pliers -VW 161A- |
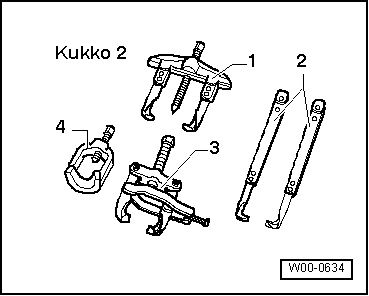
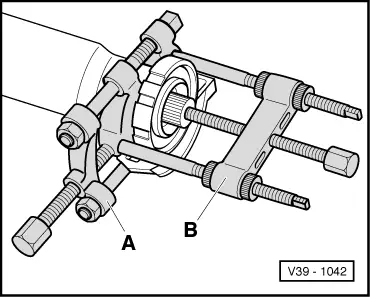
| t | Puller -2 - Kukko 18/0- |
| t | Splitter -3 - Kukko 17/1- |
|
|
|
|
|
|
|
|
|
|
|
|
|
|
|
|
|
|
|
|
|
|
|
|
|
|