volkswagen Workshop Repair Guides

Volkswagen Workshop Service and Repair Manuals

Removing and installing lower transverse link > < Renew vehicle level sender in vehicle
Removing and installing upper transverse link
Special tools and workshop equipment required
   
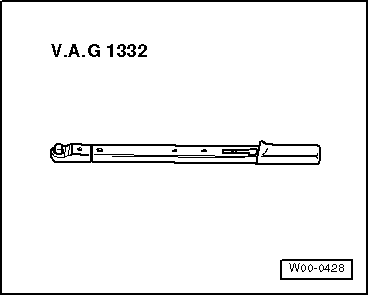
t  Torque wrench -V.A.G 1332-
Removing
–  Remove wheel.
–  Remove coil spring → Chapter.
  W00-0428
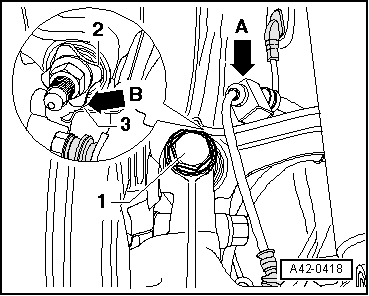
–  Unhook speed sensor line -arrow A- from upper transverse link.
–  Remove bolt -1-.
  A42-0418
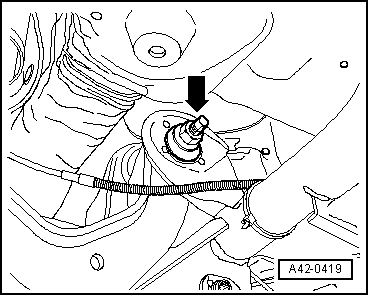
–  Mark position of eccentric bolt -arrow- relative to subframe using e.g. a felt tip pen.
–  Remove bolt -arrow-.
–  Remove upper transverse link.
Installing
Carry out installation in the reverse sequence, noting the following:
The threaded connections of the wishbone may only be tightened when the dimension measured between the centre of wheel hub and edge of wheel housing before starting the work has been attained → Chapter.
  A42-0419
–  Observe mark made for position of eccentric bolt -arrow- relative to subframe.
  Note
  A42-0419
Washer -2- must be installed so that there is a gap -arrow B- between washer and splash plate -3-.
–  Perform wheel alignment → Chapter.
  A42-0418
Specified torques
ComponentSpecified torque
Upper transverse link to wheel bearing housing
t  Use new nuts and bolts
t  Tighten threaded connections only when vehicle is in the normal running position
130 Nm + 90°
Upper transverse link to subframe
t  Use new nut
t  Tighten threaded connections only when vehicle is in the normal running position
95 Nm
t  To tighten nuts, set torque wrench -V.A.G 1332- to 80 Nm.
t  Applies only in conjunction with insert tool, 18 mm -T10179-


Removing and installing lower transverse link > < Renew vehicle level sender in vehicle