| –
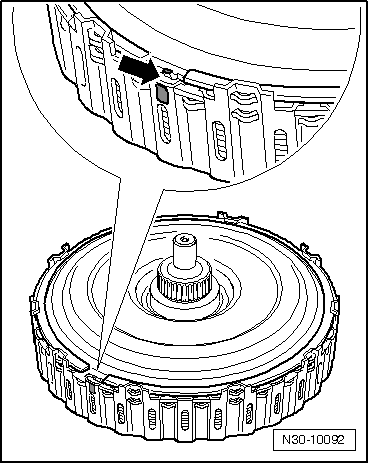
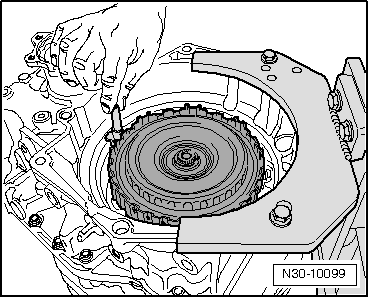
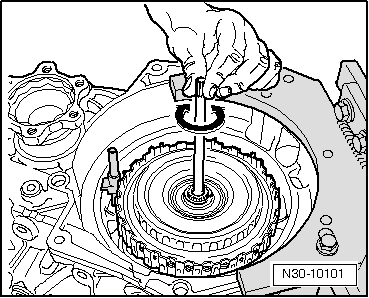
| Install clutch cover so that lug aligns with marking. |
| –
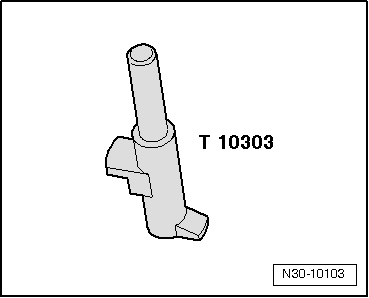
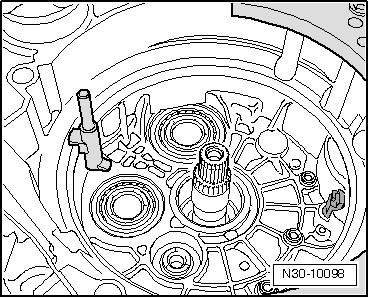
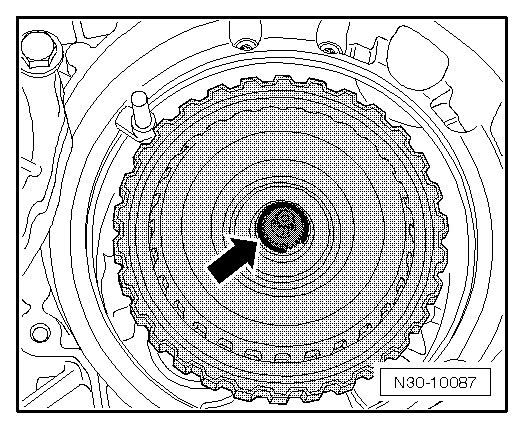
| Remove retaining pin -T10303-. |
| –
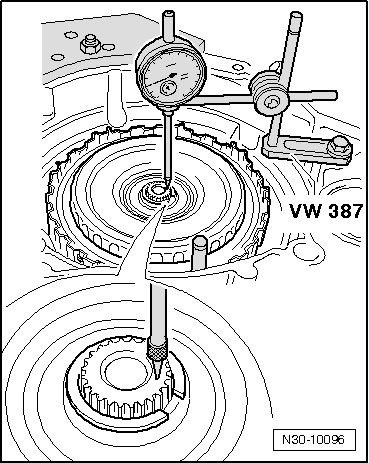
| After installing gearbox, perform basic measurement of mechatronic unit for dual clutch gearbox -J743-. |
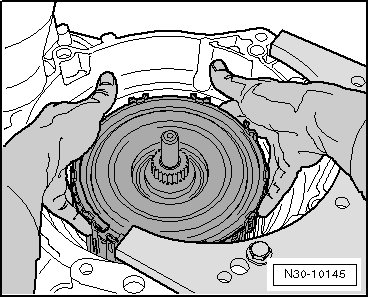
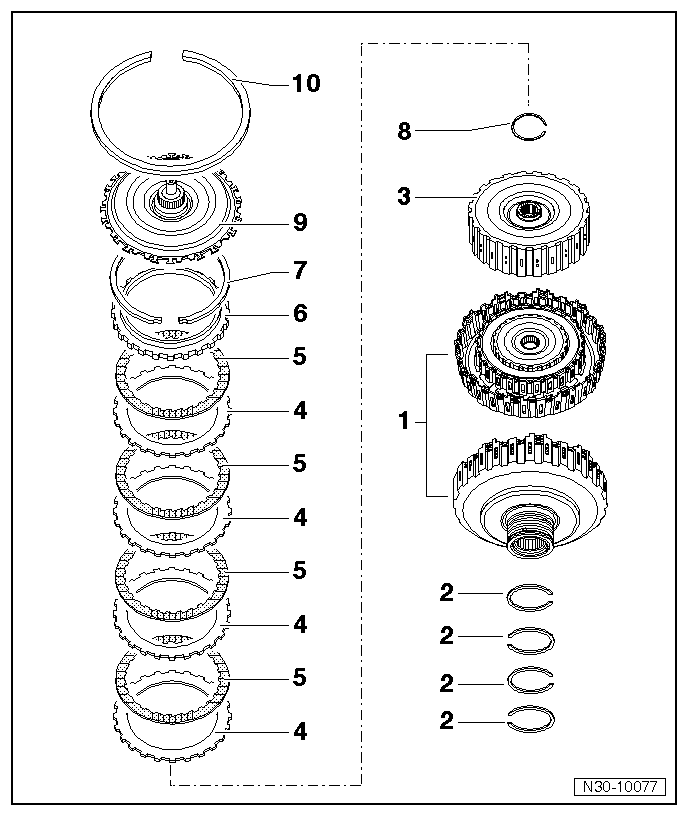
| The assembly of the multi-clutch requires special care because all components have been balanced together during manufacture. If parts are turned relative to each other, imbalances result which reduce ease of shifting and service life. |
| If parts of clutch have slipped out or plate carriers have been lifted, the large plate carrier as well as the small one can be threaded into all inner plates by hand with gentle turning movements. |
| The clutch cover should always be installed in the same position as was the case in the delivery of the new clutch → Fig.. |
|
|
|


 Note
Note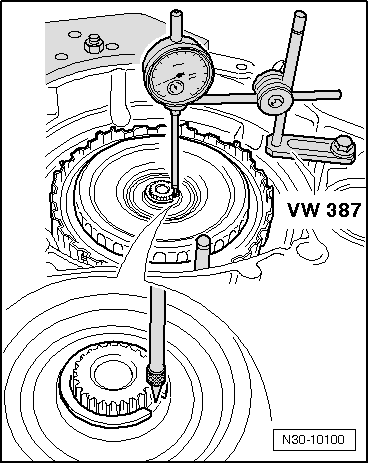
 Caution