volkswagen Workshop Repair Guides

Volkswagen Workshop Service and Repair Manuals

Specified torques > < Removing
Installing
Installing
Install in the reverse order of removal, observing the following:
  Note
Renew self-locking nuts.
   
Some cars have damping -arrow- on the clutch pedal mounting bracket.
  N30-10195
–  Install crash bar -1- and tighten bolt -2- to specified torque → Chapter.
  N34-11204
–  Mount cable guide -2- on steering column.
–  Install foot well vent -3-. → Heating, air conditioning; Rep. gr.80
Golf
–  Install knee airbag bracket. → Interior equipment; Rep. gr.69
Continuation for all
–  Install trim and cover below trim on drive side → General body repairs, interior; Rep. gr.68.
  N30-10001
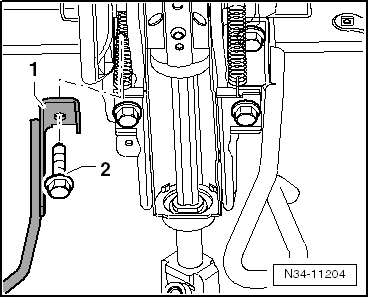
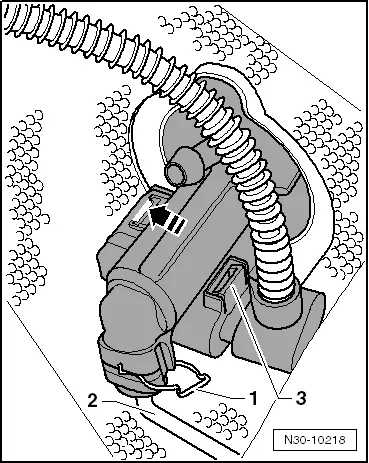
–  Press line -2- with seal into connection of master cylinder.
–  Clip in securing clip -1-.
–  Test line by tugging on it.
–  Clip clutch position sender -G476- into master cylinder with electrical connector -3- attached -arrow-.
To install line -2- and clutch position sender-3-, hook -3438- can be used.
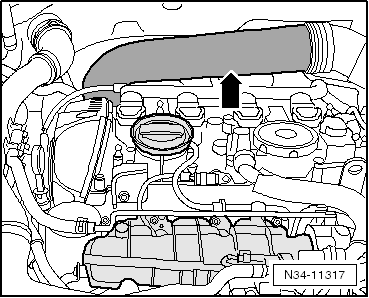
–  After removing hose clamp -3094-, return supply hose to its original position, if necessary.
  N30-10218
–  If present, fold heat shield around the pipe/hose line -arrows-.
  N34-11205
Vehicles with turbo diesel engine and particle filter
–  Install shielding -A- onto particle filter → Rep. gr.26.
  N30-10220
Vehicles with petrol engine
–  Install air pipe -arrow- → Rep. gr.21.
Continuation for all
–  Bleed clutch system → Chapter.
–  If disconnected, connect battery → Electrical system; Rep. gr.27.
  N34-11317

Specified torques > < Removing