Golf Mk6
| Assembly overview - clutch |
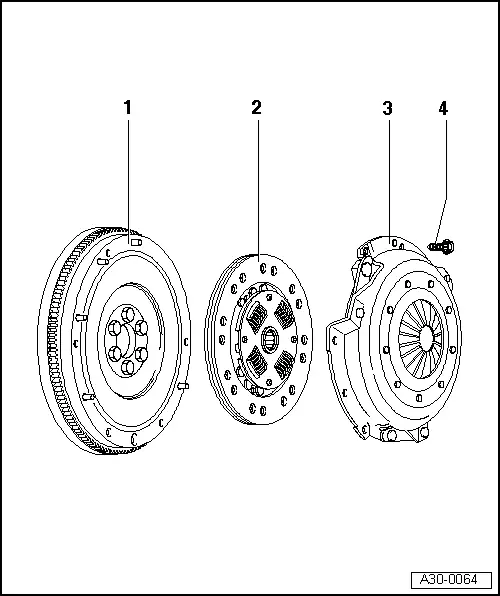
| 1 - | Flywheel |
| q | Removing and installing → Engine, mechanics; Rep. gr.13 |
| q | Ensure that centring pins fit tightly |
| 2 - | Clutch plate |
| q | Allocation → Electronic parts catalogue |
| q | Removing and installing → Chapter |
| q | Centring for engines having a crankshaft of smaller diameter or having needle bearings in the crankshaft - → Fig. |
| q | Installation position: lettering on „gearbox side“ faces pressure plate |
| 3 - | Pressure plate |
| q | Removing and installing → Chapter |
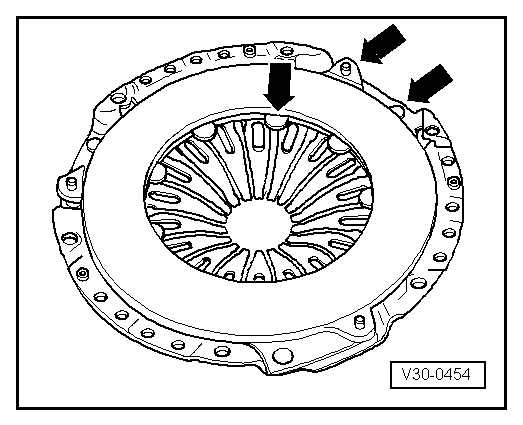
| q | Check ends of diaphragm spring → Fig. |
| q | Checking spring connections and riveted connections → Fig. |
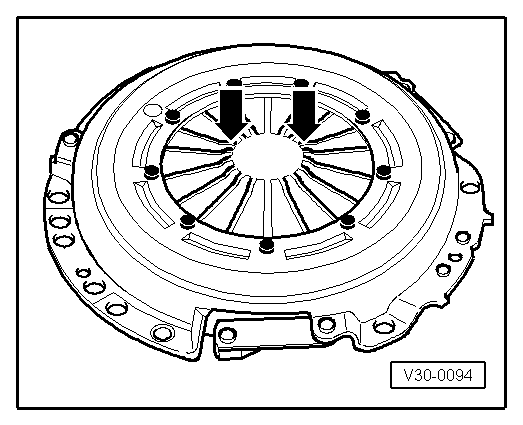
| q | Contact surface for clutch lining must be free of grooves, oil and grease |
| 4 - | M6 bolt - 13 Nm, M7 bolt - 20 Nm |
| q | Allocation → Electronic parts catalogue |
| q | Loosen or tighten diagonally in small steps |
 Note
Note
|
|