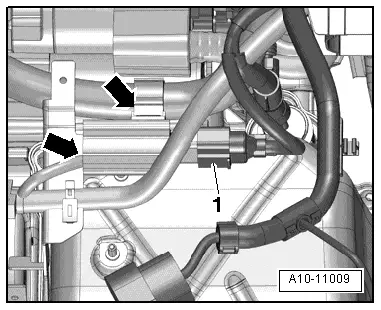
volkswagen Workshop Repair Guides

Volkswagen Workshop Service and Repair Manuals

Checking oil pressure and oil pressure switch > < Assembly overview - oil filter, oil pressure switch
Removing and installing oil filter housing
Special tools and workshop equipment required
t  Assembly tool -T10118-
t  Oil drip tray
Removing
–  Remove air filter housing → Chapter.
–  Drain coolant → Chapter.
–  Remove radiator cowl → Chapter.
   
–  Free wiring harnesses -arrows- and connector -1- at charge air pipe on »hot side«.
  A10-11009
–  Unscrew securing bolt -1- and remove bracket.
–  Pull coolant hoses off oil cooler.
  A17-0348
–  Loosen clamp -2-, raise retaining clip -1- and remove connecting hose from charge air cooler on »cold side«.
–  Remove securing bolts -arrows- from charge air pipe and separate connector -1- from charge air pressure sender -G31-.
  A21-10336
–  Open clamp -2-, lay coolant hose -3- to side and remove charge air pipe.
  A21-10177
–  Remove securing bolt -arrow- and push coolant circulation pump 2 -V178- aside.
–  Remove connecting hose → Item.
  A19-10639
–  Remove securing bolts -arrows- of oil dipstick guide tube.
–  Pull guide tube upwards out of crankcase and press it slightly aside.
  A17-10363
–  Separate connector -1- from oil pressure switch -F1- using assembly tool -T10118- and unscrew oil pressure switch.
–  Remove oil supply line -3- from the oil filter bracket. If necessary, counterhold with an open-ended spanner.
–  Place oil drip tray below engine.
  A17-10409
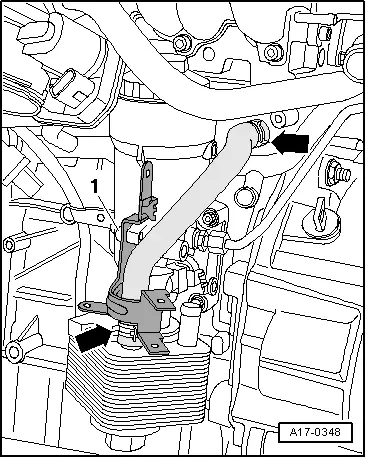
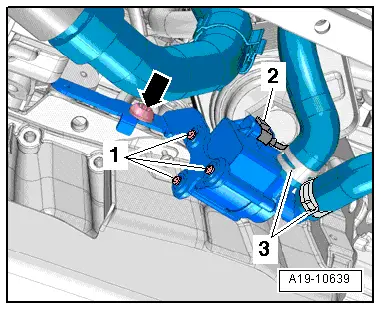
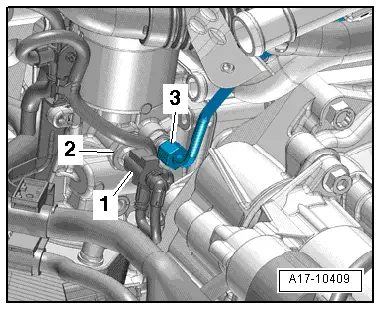
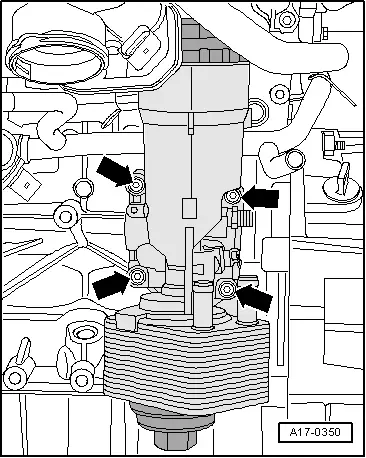
–  Unscrew securing bolts -arrows- and remove oil filter bracket.
Installing
Installation is carried out in the reverse order. When installing, note the following:
t  Renew gaskets, seals and O-rings.
t  Specified torques for oil filter bracket → Chapter
t  
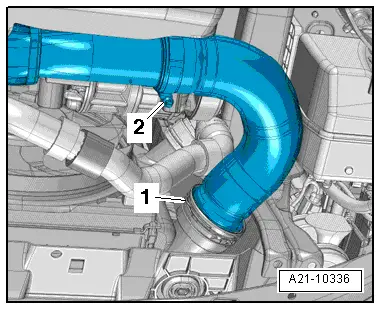
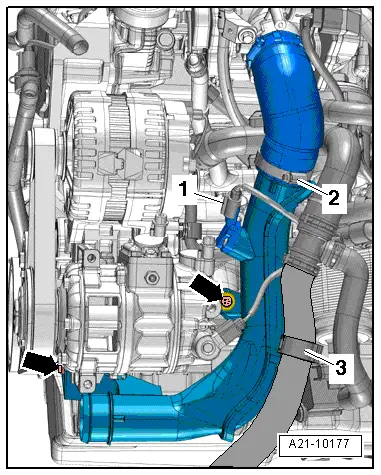
Specified torques for charged air routing → Chapter
t  Filling with coolant → Chapter
  A17-0350

Checking oil pressure and oil pressure switch > < Assembly overview - oil filter, oil pressure switch