volkswagen Workshop Repair Guides

Volkswagen Workshop Service and Repair Manuals

Repairing fuel supply > < Emptying fuel tank if it is less than 3/4 full
Removing and installing fuel tank
Special tools and workshop equipment required
   
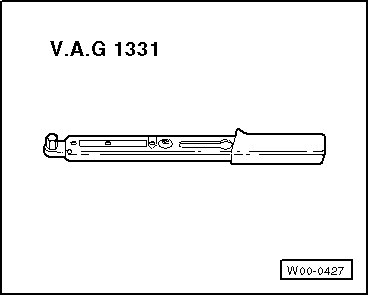
t  Torque wrench (5…50 Nm) -V.A.G 1331-
  W00-0427
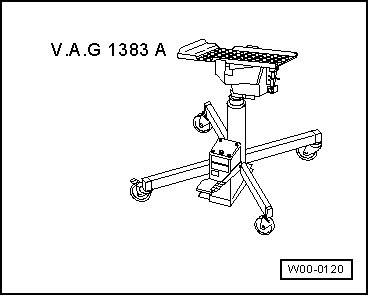
t  Engine and gearbox jack -V.A.G 1383 A-
Removing fuel tank:
–  Note safety precautions before beginning work → Chapter.
–  Unscrew tank flap unit securing bolt and remove tank flap unit → General body repairs, exterior; Rep. Gr.55.
–  Drain fuel tank and clean fuel filler neck and surrounding area.
–  Remove rear seat bench (Golf Plus: rear right seat) → General body repairs, interior; Rep. Gr.72.
  W00-0120
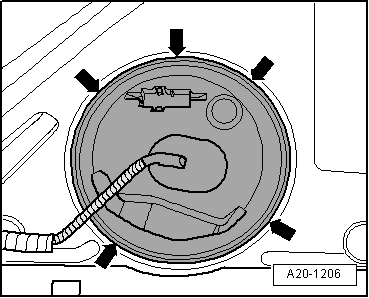
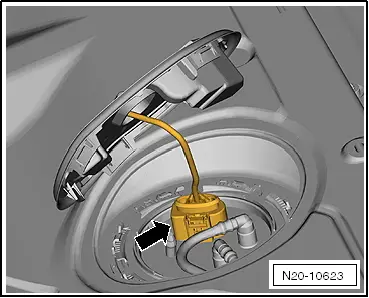
–  Remove covers from fuel pump unit.
  A20-1206
–  Pull off connector -arrow-.
  Note
For vehicles with auxiliary heater the metering pump -V54- connector must be separated additionally.
–  Remove right rear wheel.
–  Remove rear right wheel housing liner → General body repairs, exterior; Rep. Gr.66.
  N20-10623
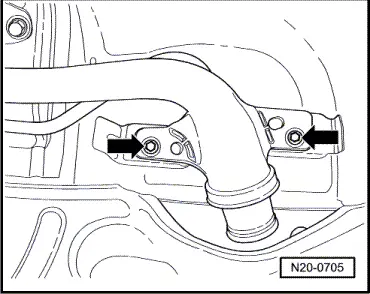
–  Unbolt fuel filler neck from body -arrows-.
–  Unclip electrical line from filler neck.
–  Remove centre and rear silencers.
  WARNING
The fuel supply line is under pressure! Wear eye protection and protective clothing to avoid injuries and skin contact. Before loosening hose connections, wrap a cloth around the connection. Then release pressure by carefully pulling hose off connection.
  N20-0705
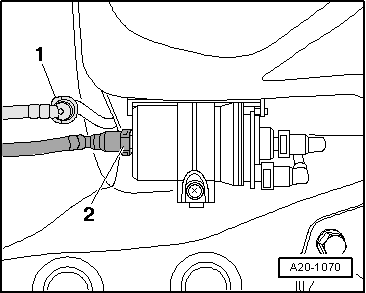
–  Disconnect breather hose -1- (white) and supply hose -2- (black) at connecting point.
  Note
t  Press in securing ring to release fuel lines.
t  Vehicles with auxiliary heater, the fuel line of the metering pump -V54- must also be separated.
  A20-1070
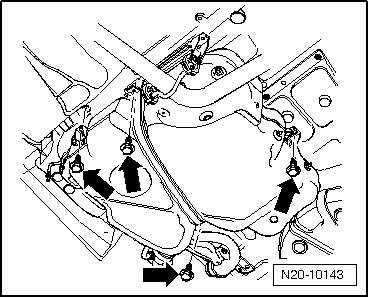
–  Remove securing strap and securing bolts -arrows-. When doing this, support fuel tank with engine and gearbox jack -V.A.G 1383 A-.
–  Lower fuel tank.
Installing fuel tank:
Installation is performed in the reverse sequence. In the process, note the following:
t  To secure the securing straps for the fuel tank, only bolts with loose washers must be used. If different bolts are used, the securing straps may twist during tightening. Bolts → ETKA (electronic parts catalogue).
t  Install breather and fuel lines free of kinks.
t  Do not interchange supply and return line (return line blue or with blue markings, supply line black).
t  Ensure wiring/line connections are secured properly by pulling back.
t  Check earth connection on fuel tank and body to filler neck.
t  After installing fuel tank, check that the supply, return and breather lines are still clipped onto the fuel tank.
t  Bleed fuel system → Chapter.
  N20-10143

Repairing fuel supply > < Emptying fuel tank if it is less than 3/4 full