volkswagen Workshop Repair Guides

Volkswagen Workshop Service and Repair Manuals

Removing and installing loudspeakers, Golf Plus > < Removing and installing front treble loudspeakers
Removing and installing rear treble loudspeakers
  Note
t  
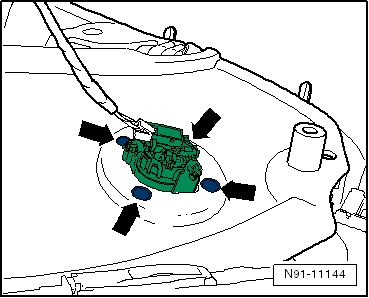
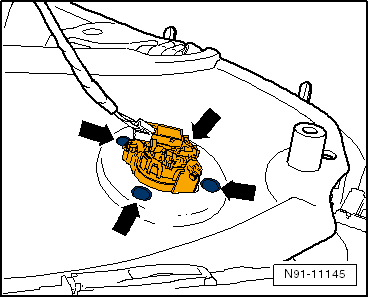
Treble loudspeakers are secured to side panel trim or door panel trim from the rear.
t  When renewing loudspeaker trim always renew treble loudspeaker as well.
t  Removal and installation is performed in the same manner on the left and right sides.
Removing:
Before beginning dismantling work, perform the following steps:
–  Switch off ignition and all electrical consumers and remove ignition key.
To renew a loudspeaker on a two-door vehicle, the side panel trim must first be removed → General body repairs, interior; Rep. gr.70.
To renew a loudspeaker on a four-door vehicle, the door trim must first be removed → General body repairs, interior; Rep. gr.70.
Continued for all:
–  Disconnect connector from wire to loudspeaker.
   
–  Cut out welded plastic clips -arrows- and remove loudspeaker together with loudspeaker trim out of trim.
Installing:
–  Fit loudspeaker together with new loudspeaker trim into trim.
  N91-11144
–  Use a soldering iron to bond the plastic clips -arrows- of the loudspeaker trim and of the loudspeaker.
Remainder of installation is carried out in reverse order of removal.
  N91-11145

Removing and installing loudspeakers, Golf Plus > < Removing and installing front treble loudspeakers