Golf III L4-1984cc 2.0L SOHC (1993)

6.5 Nm (58 in. lb)
14. Door check strap cover
Self-adhesive, attached to A-pillar
15. Door hinge
Bolted to door and A-pillar
Hinge bolts inserted into box section and secured with screw
16. Torx bolt T45
36 Nm (27 ft lb)
17. Screw
23 Nm (17 ft lb)
Power Window Regulator Removal
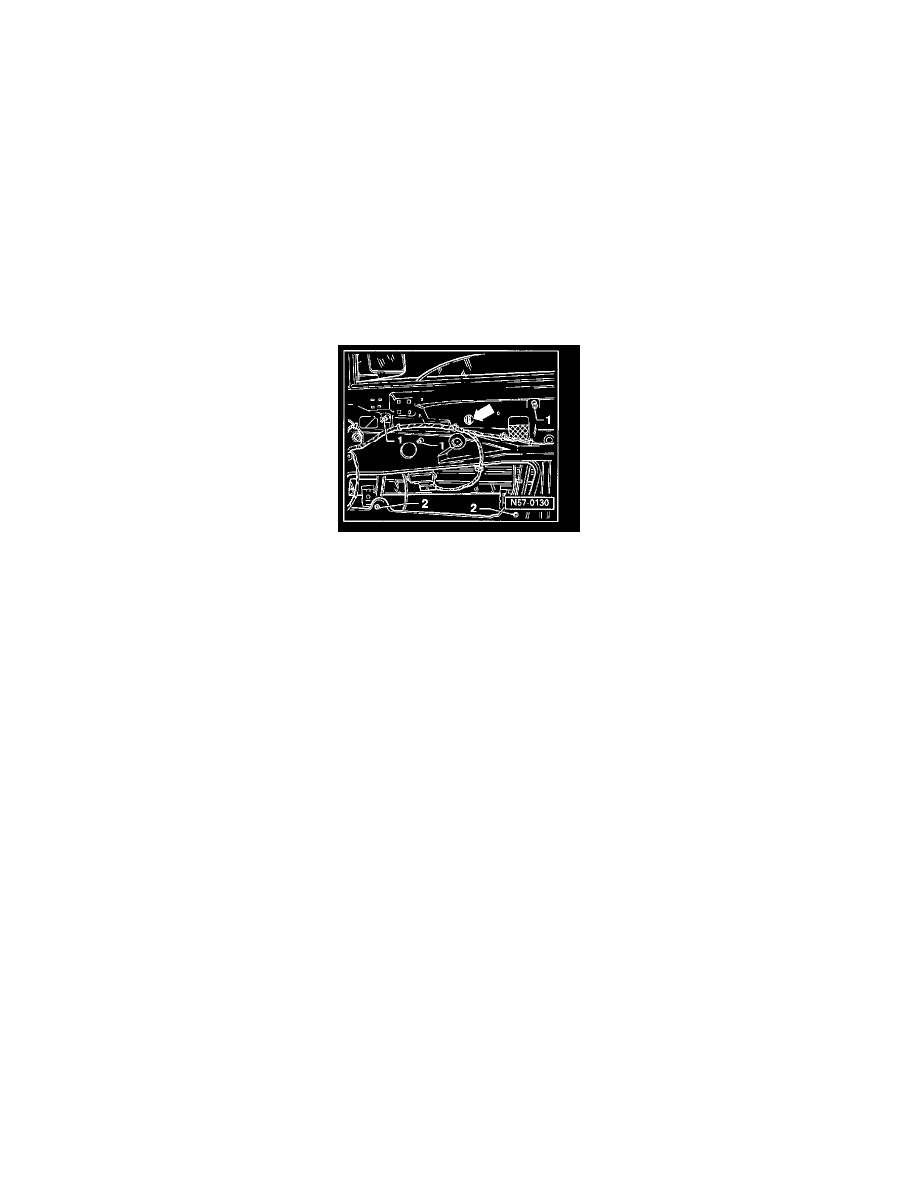
Door window regulator, removing and installing
Door window, removing
Remove cable clip (arrow).
Loosen hex-head screws 1 and 2.
Lift window regulator slightly so that hex-head screws 1 can be pulled through installation openings.
Pull window regulator out downward through installation opening.
Install in reverse order of removal.
Tightening torque (screws -2-): 10 Nm (7 ft lb)
Power Window Regulator Repair
Power window regulators, servicing
The following images and procedures are for servicing the front window regulator assembly.
Servicing the rear window regulator follows the same principle.
Remove door trim. See: Front Door Panel/Service and Repair
Partially remove vapor barrier.
Remove door window.
Remove window regulator. See: Power Window Regulator Removal
CAUTION:
Do not damage vapor barrier.
Water leaks will occur if damaged vapor barriers are installed.
Always replace damaged vapor barriers.
Do not wrinkle vapor barrier when installing.
Water leaks will occur if vapor barriers are wrinkled when installed.
Removal
