
Golf III L4-1984cc 2.0L SOHC (1993)
13. Hex-head bolt
25 Nm (18 ft lb)
14. Side impact member
Revised m.y. 1997. See figure below
15. Door check strap sleeve
16. Door check strap
17. Hex-head screw
7.5 Nm 166 in lb)
18. Console
19. Bolt
9 Nm (80 in lb)
20 - Door hinge
Bolted to door and B-pillar
21 - Torx bolt T45
36 Nm (27 ft lb)
22 - Screw
23 Nm (17 ft lb)
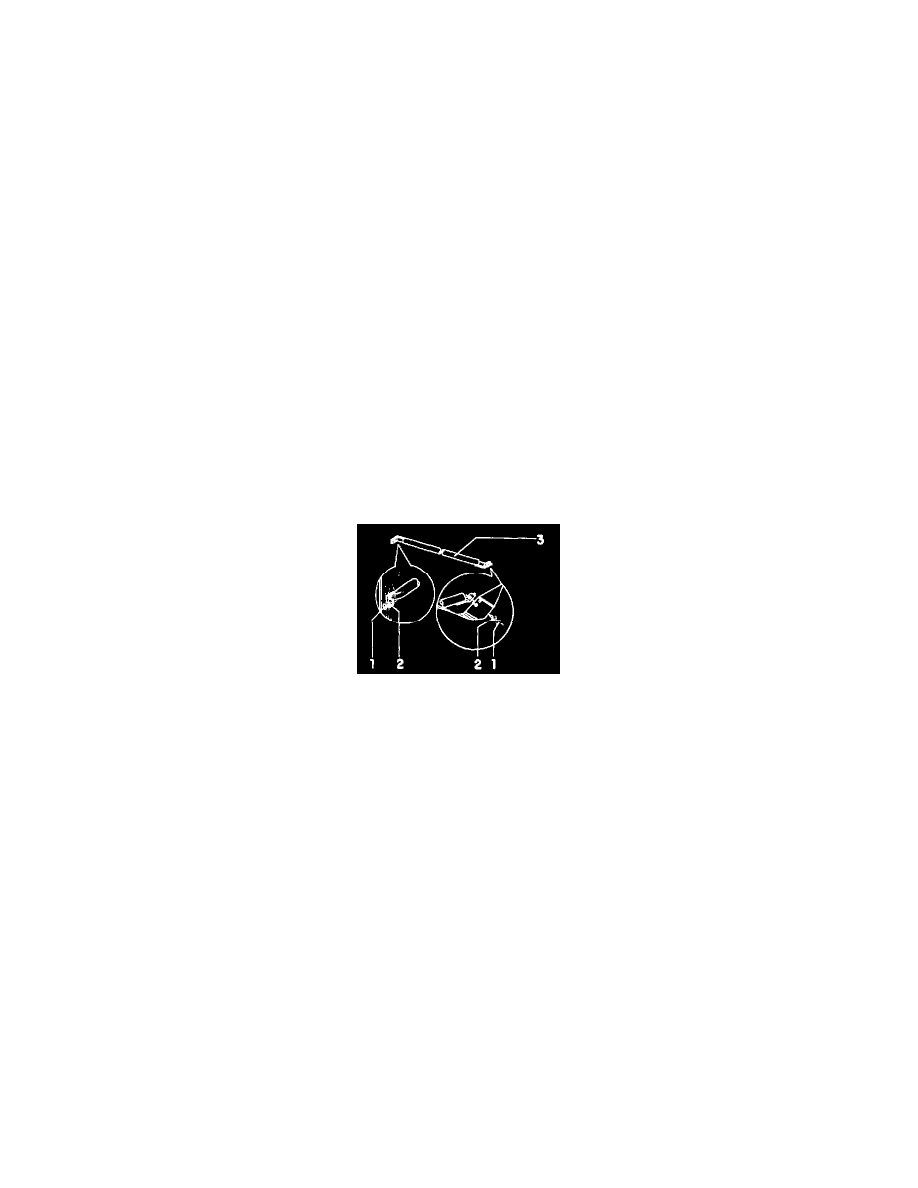
Revised side-impact member, m.y. 1997
1. Cover
2. Hex-head bolt
25 Nm (18 ft lb)
3. Side-impact member
Window Regulator Repair
Power window regulators, servicing
The following images and procedures are for servicing the front window regulator assembly.
Servicing the rear window regulator follows the same principle.
Remove door trim. See: Body and Frame/Doors, Hood and Trunk/Doors/Front Door/Front Door Panel/Service and Repair
Partially remove vapor barrier.
Remove door window.
Remove window regulator.
CAUTION:
Do not damage vapor barrier.
Water leaks will occur if damaged vapor barriers are installed.
Always replace damaged vapor barriers.
Do not wrinkle vapor barrier when installing.
Water leaks will occur if vapor barriers are wrinkled when installed.