
Jetta L4-1588cc 1.6L DSL SOHC Turbo (1985)
Fuel Injector: Testing and Inspection
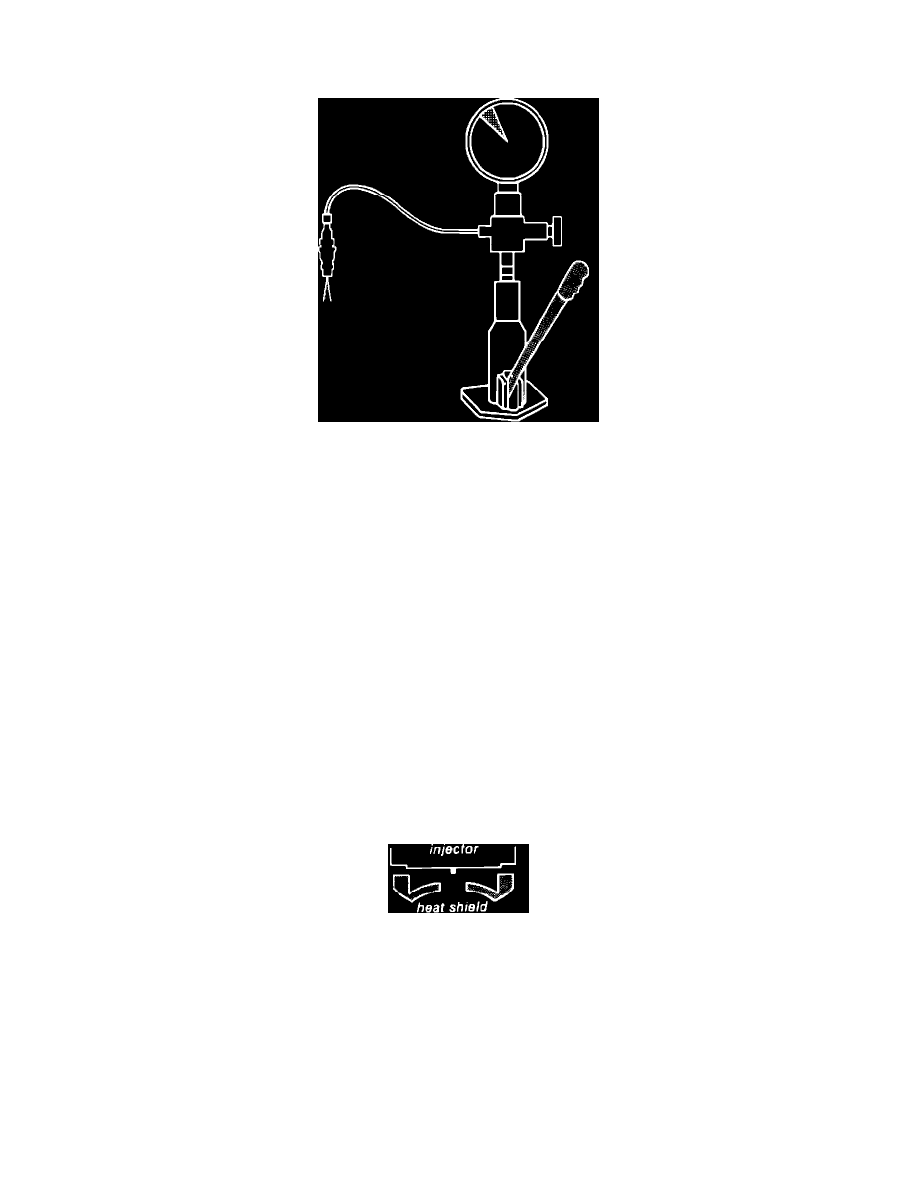
Injector Testing
Fig. 8 Injector testing
Always keep hands/arms away from nozzle end of injector when it is installed in the ``pop'' tester. The high pressure spray can penetrate
skin and cause serious injury. When using compressed air for cleaning or when operating the "pop" tester, always wear approved eye
protection.
1.
Using compressed air, clean fuel connections and area around injectors.
2.
Remove injector lines as an assembly.
3.
Remove injectors.
4.
Install injector on a suitable ``pop'' tester (tools US1322, US1111 or equivalent). Ensure knob is closed,
Fig. 8.
5.
Operate gauge lever with rapid strokes to prime tester and injector. Ensure injector sprays with compact, even cone pattern and does not drip.
Replace any injector that fails this step.
6.
Operate lever with slow strokes. Injector should make a pinging sound if nozzle is in good condition. The injectors should not make any heavy
clicking or clacking. Replace any injector that fails this step.
7.
Turn knob out to open gauge and operate lever slowly. Note gauge reading when injector begins to spray. For new injectors the readings should
be:
Non-Turbo
New
1849 - 2031 psi (130 - 138 bar)
Used
1706 psi (120 bar) minimum
Turbo
New
2248 - 2364 psi (155 - 163 bar)
Used
2030 psi (140 bar) minimum
8.
Operate lever carefully to hold pressure at 1564 psi (110 bar). The injector should not drip within approximately 10 seconds. Repair, adjust, or
replace injectors as needed.
Fig. 9 Heat shield installation
9.
Install new injector heat shields with larger diameter sealing surface facing injector,
Fig. 9.
10.
Install injectors in cylinder head and torque to 51 ft. lbs. (71 Nm).
11.
Install injector lines. Run engine and check for leaks.