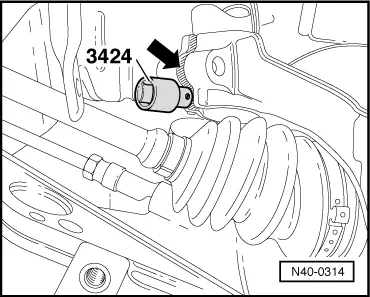
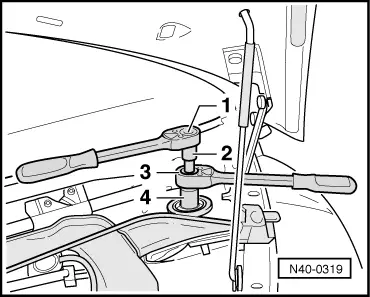
volkswagen Workshop Repair Guides

Volkswagen Workshop Service and Repair Manuals

Installing > < Removing and installing suspension strut
Removing
Removing
–  Raise vehicle.
–  Remove wheel.
   
–  On vehicles equipped with a brake pad wear indicator, unplug connector -1-.
  N46-0263
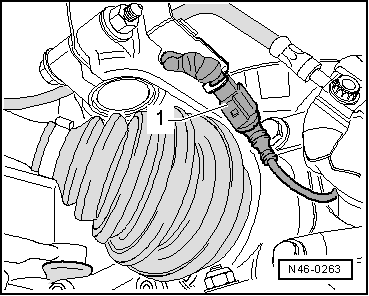
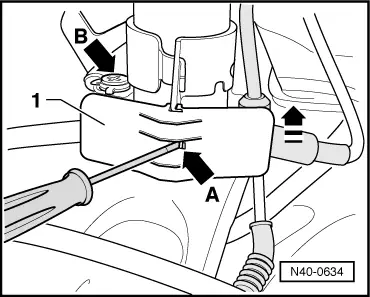
–  Remove the heat shield -1-.
–  To do this, press tab -arrow A- in with a screwdriver and, at the same time, slide heat shield -1- up in direction of -arrow-.
–  In vehicles with brake wear indicator, remove bolt -arrow B- to remove brake wear indicator bracket.
  N40-0634
–  Unscrew and remove both guide pins -arrows- from brake caliper.
–  Remove brake caliper housing and tie up with wire so that weight of brake caliper does not stretch or damage brake hose.
–  Detach coupling rod from suspension link.
–  Detach wire for speed sensor from suspension strut.
Right suspension strut
Additional steps are necessary when removing the right suspension strut.
  A46-0087
–  Remove noise insulation tray -arrows-.
Vehicles with TDI engine
–  Remove charge air pipe between charge air cooler and turbocharger.
Continuation for all vehicles
–  Remove right noise insulation.
–  Unbolt drive shaft from gearbox flange shaft.
The following procedure is the same for both sides.
  N37-0673
–  Remove bolt and nut securing wheel bearing housing/suspension strut.
  N40-0455
–  Insert spreader -3424- into slot -arrow-.
–  Turn ratchet handle through 90° and pull off -3424-.
–  Press brake disc towards suspension strut by hand.
Otherwise the shock absorber tube can cant in the hole of the wheel bearing housing.
–  Pull wheel bearing housing downwards off shock absorber tube.
–  Remove wiper arms → Electrical system; Rep. Gr.92.
–  Remove outer plenum chamber cover → General body repairs, exterior; Rep. Gr.50.
  N40-0314
Remove hexagon nut for upper shock absorber mounting
1 - Commercially available ratchet handle
2 - -T10001/8-
3 - -T10001/11-
4 - -T10001/5-
–  Remove suspension strut.
  N40-0319

Installing > < Removing and installing suspension strut