
Passat (B3)
|
Removing and installing engine
Notes on removing
Note: If necessary the anti-theft coding for the radio must be obtained first.
=> Running gear; Repair group 48; Assembly overview: vane pump, reservoir, hydraulic pipes
Vehicles with air conditioner:
Vehicles with manual gearbox
=> 5-Speed manual gearbox 02A; Repair group 30; Servicing clutch control |
 |
|
=> 5-Speed manual gearbox 02A; Repair group 34; Servicing selector mechanism
Warning!
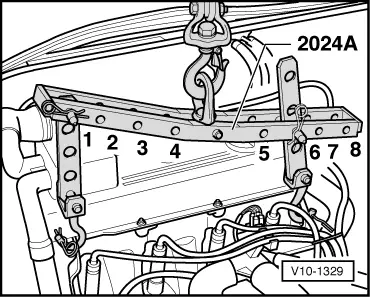
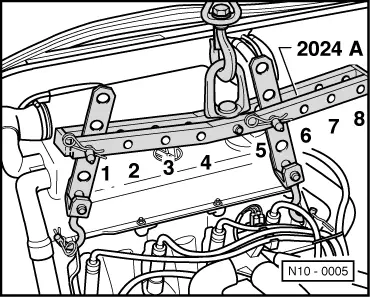
The hooks and locating pins must be secured with locking pins. Notes:
Vehicles with automatic gearbox |
 |
|
Pulley end:
Warning!
The hooks and locating pins must be secured with locking pins. Notes:
Continuation for all vehicles |
 |
|
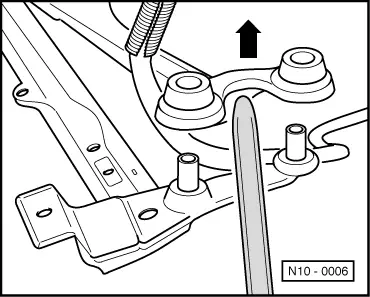
Note: When the assembly is lifted off, it must be carefully guided to prevent damage to the bodywork. When working on the engine, it should be secured to the engine stand using the engine bracket VW 540. |