volkswagen Workshop Repair Guides

Volkswagen Workshop Service and Repair Manuals

Removing and installing sealing flange and flywheel > < Part III
Removing and installing poly V-belt
Special tools and workshop equipment required
   
t  Mandrel -T10060 A-
t  Spanner, 15 mm
Removing
–  Remove noise insulation tray → Rep. Gr.50.
–  Remove connecting pipe between charge air cooler intake and air mass meter.
–  Mark direction of rotation of poly V-belt.
  W00-10235
–  Swing tensioning device -in direction of arrow- to relieve tension on poly V-belt.
  A13-0083
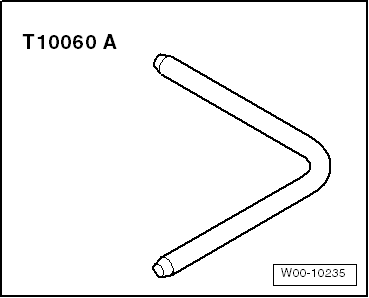
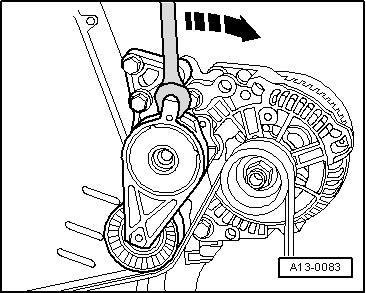
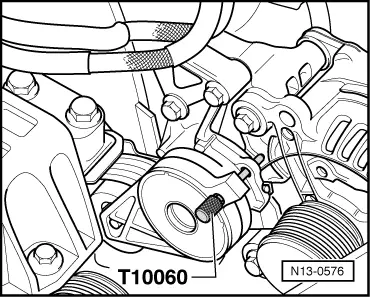
–  Lock tensioning element in position with locking pin -T10060 A-.
–  Remove poly V-belt.
Installing
–  Installation is carried out in the reverse sequence of removal.
  Note
t  Before installing poly V-belt, ensure that all ancillary assemblies (alternator, air conditioner compressor, power assisted steering vane pump) are secured tightly.
t  
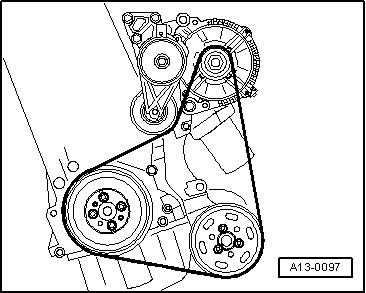
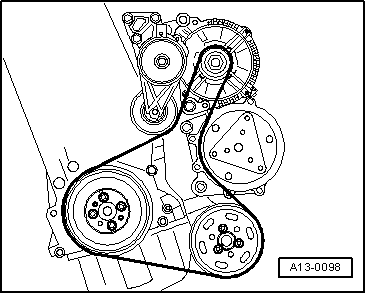
When fitting poly V-belt, check direction of belt rotation and proper seating of belt in pulleys.
t  For vehicles without air conditioning, put poly V-belt over alternator last.
t  For vehicles with air conditioning, position poly V-belt on air conditioning compressor last.
After completing repairs always:
–  Start engine and check belt running.
  N13-0576
Belt drive without air conditioner compressor
  A13-0097
Belt drive with air conditioner compressor
  A13-0098

Removing and installing sealing flange and flywheel > < Part III