volkswagen Workshop Repair Guides

Volkswagen Workshop Service and Repair Manuals

Checking semi-automatic toothed belt tensioning roller > < Dismantling and assembling engine
4-Cyl. injection engine (2 valve, roller rocker finger), Mechanics
Dismantling and assembling engine
Removing and installing ribbed belt
 
W00-0298

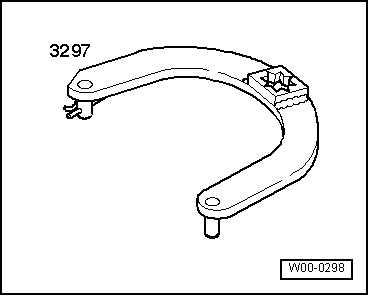
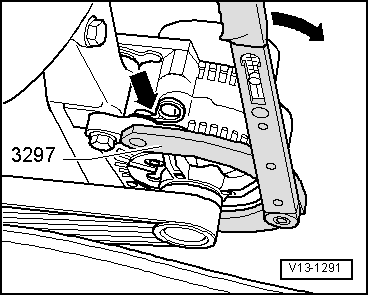
Vehicles without power assisted steering

Special tools, workshop equipment, testers, measuring instruments and auxiliary items required
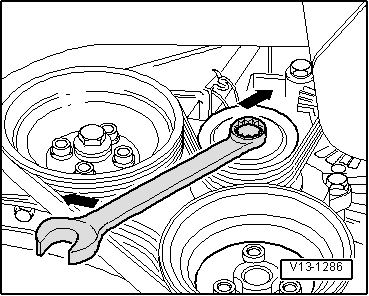
  • ◆ → 3297 Tensioning lever

Work sequence

  • ‒ Mark direction of rotation of ribbed belt.
  • ‒ Loosen alternator securing bolts.
 
V13-1291
  • ‒ → Install tensioning lever 3297, secure with spring clip and swivel alternator down (to turn 3297 use e.g. torque wrench).
  • ‒ Remove/fit ribbed belt

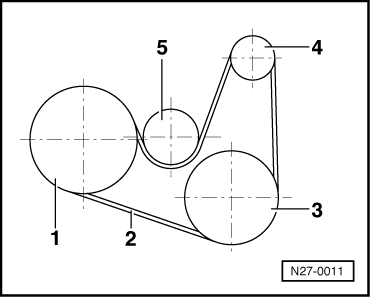
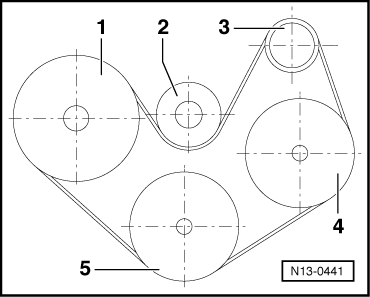
Note:

When installing the ribbed belt ensure that it sits correctly in the pulleys.

  • ‒ After fitting ribbed belt with alternator loose, rotate engine several times (approx. 10 revolutions of engine by operating starter briefly.
  • ‒ First tighten lower and then upper alternator bolts to
         25 Nm.

Vehicles with power assisted steering

Removing
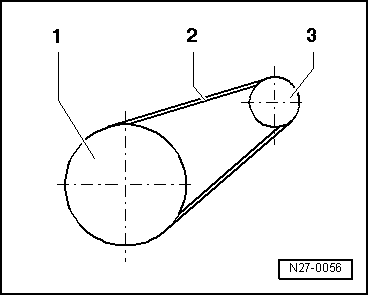
  • ‒ Remove ribbed belt cover.
  • ‒ Mark ribbed belt direction of rotation.
 
V13-1286
  • ‒ → Using a spanner on the securing bolt swivel tensioning roller in direction of arrow.
  • ‒ Remove ribbed V-belt.

Installing

  • ‒ Place ribbed V-belt onto crankshaft pulley first. Slide belt onto tensioning roller last.

Ribbed belt routing

 
N27-0056

→ Basic belt drive

  •      1 -     Crankshaft/pulley
  •      2 -     Ribbed belt
  •      3 -     Pulley - Alternator
 
N27-0011

→ Belt drive without air conditioner compressor

  •      1 -     Crankshaft/pulley
  •      2 -     Ribbed belt
  •      3 -     Pulley - P.A.S. vane pump
  •      4 -     Pulley - Alternator
  •      5 -     Tensioner
 
N13-0441

→ Belt drive with air conditioner compressor

  •      1 -     Crankshaft/pulley
  •      2 -     Tensioner
  •      3 -     Pulley - Alternator
  •      4-      Air conditioner compressor
  •      5 -     Pulley - P.A.S. vane pump

Note:

When installing the ribbed V-belt, ensure the belt runs in the right direction and seats correctly on the belt pulleys.

The rest of the assembly is basically a reverse of the dismantling sequence.

Checking semi-automatic toothed belt tensioning roller > < Dismantling and assembling engine