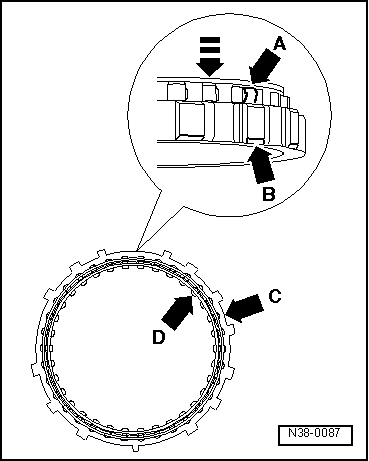
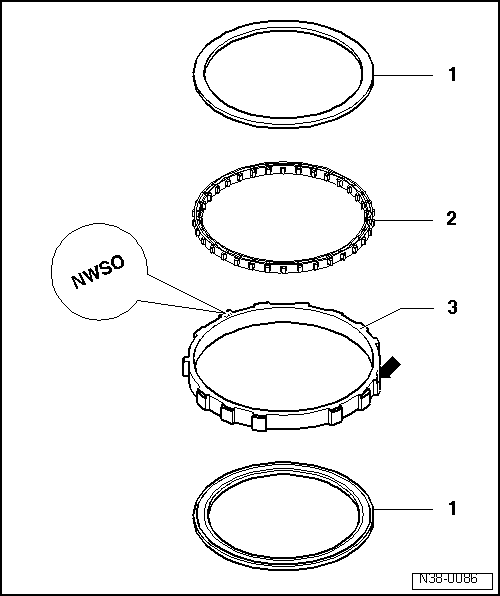
| Fig.1 - Assemble the idler pinion |
| –
| Place the external ring -arrow C- over the workbench so the bevel -arrow B- faces downwards. |
| –
| Place the cage -arrow D- over the external ring so the conical guide flaps -arrow A- face downwards. |
| –
| Push the fastening elements inwards at the same time you fit the cage to the external ring by means of the guide flaps. |
| –
| Place the driving washers over the cage. |
| –
| Check the idler pinion operation: |
| –
| Place the idler pinion in assembly position (with the inscription and the bevel facing upwards). |
| –
| Put the planetary gear bearer in the cage. |
| Turn the planetary gear bearer to the left - "idler pinion opened". |
| Turn the planetary gear bearer to the right - "idler pinion closed". |
|
|

|


