
Polo Mk5
 Note
Note
|
|

|
|
|
|
|
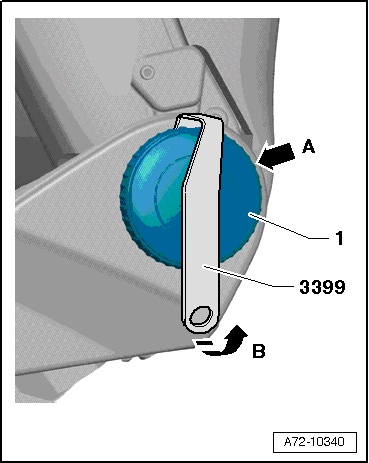
| – | Unscrew 4 bolts -1- (2 Nm). |
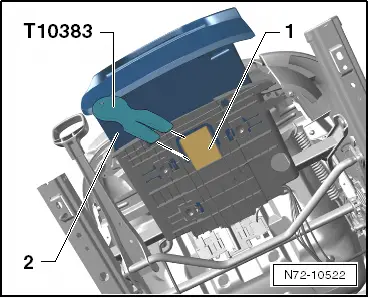
| – | Pull handle -3- upwards and press metal tab of retaining clip -2- inwards using a small screwdriver. Pull handle off adjuster lever -4-. |
Note| For greater clarity, the retaining clip is shown removed in the illustration. |
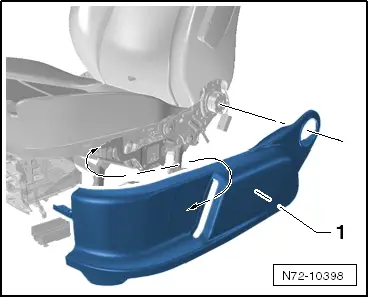
| – | Remove retaining clip -2- from adjustment lever -4-. |

|
|