volkswagen Workshop Repair Guides

Volkswagen Workshop Service and Repair Manuals

Removing and installing intake manifold (vehicles without intake manifold flapV157) > < Assembly overview - intake manifold with attachments (vehicles without intake manifold flap)
Removing and installing intake manifold (vehicles with intake manifold flapV157)
Removing and installing intake manifold (vehicles with intake manifold flap -V157-)
Special tools and workshop equipment required
   
t  Torque wrench -V.A.G 1331-
  W00-0427
t  Pliers -3314-
  W00-0019
t  Allen key, long reach -T10405-
»Carry out the following work sequence«
Removing
–  Remove engine cover panel → Chapter.
  Caution
Make sure that no wiring connections are damaged when disconnecting the connectors. Otherwise the whole wiring harness will need to be renewed. Do not compress the pliers -3314- too firmly to separate the connectors, otherwise the support sleeve may be damaged.
  W00-10757
–  Open cable guide fasteners -arrows- to free wiring harness.
  A23-10431
–  Position pliers -3314- with groove -arrow A- on support sleeve shoulder -arrow B- and pull plugs off glow pin plugs.
  M97-0523
–  Carefully pull connector off glow pin plug in -direction of arrow-.
  M97-0524
–  Unclip vacuum lines -arrow- and lay to side.
  N23-10289
–  Unclip coolant return hose -arrows- and place coolant line to one side.
The arrangement of the coolant return hose can vary.
  N23-10301
–  Remove securing bolts -arrows-.
  N23-10326
–  Disconnect connector -3- from intake manifold flap motor -V157- (if there is one).
Remove high-pressure accumulator → Chapter.
  A23-10424
–  Pull connector -2- off throttle valve module -J338-.
–  Remove bolt -3- from dipstick connection.
  N23-10425
–  Remove bolts -arrows-.
  A21-10435
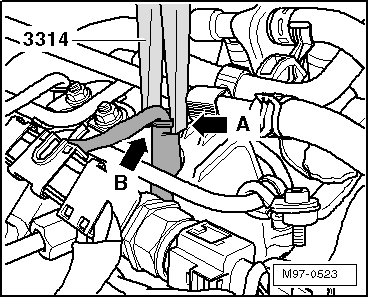
–  Remove exhaust gas recirculation connecting pipe.
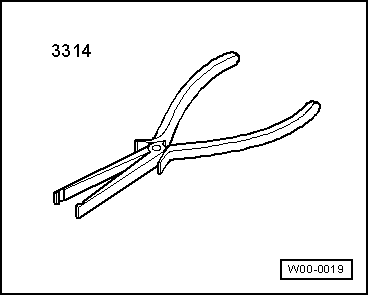
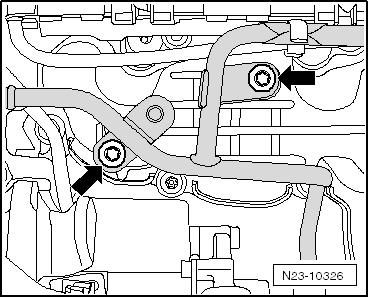
–  To do this, open clip -1-.
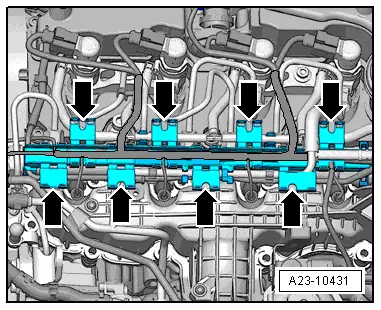
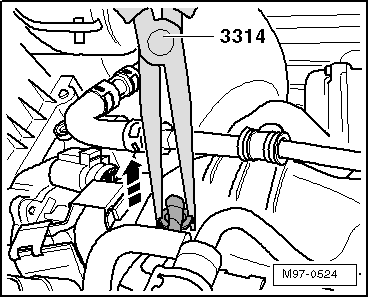
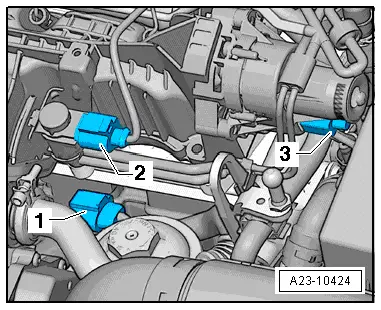
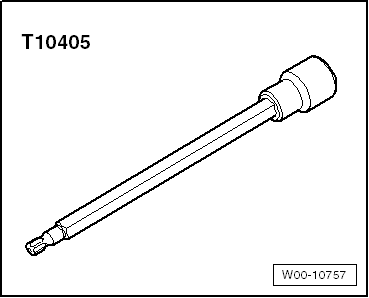
–  Unscrew securing bolts from intake manifold from the outside to the inside in diagonal sequence with hexagon key extension -T10405-.
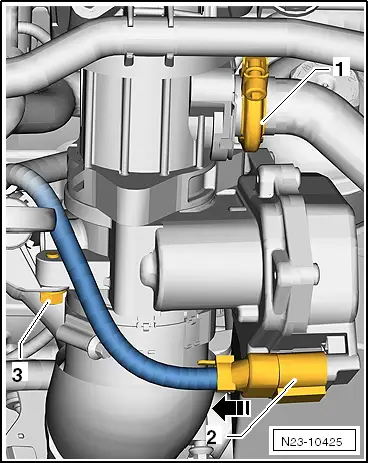
–  Carefully remove intake manifold.
Installing
Installation is carried out in the reverse order. When installing, note the following:
  Note
t  An intake manifold with no intake manifold flap -V157- may be installed as a replacement part, → ETKA (Electronic parts catalogue).
t  Item is installed: after completing procedures, install intake manifold with no intake manifold flap -V157- → Chapter.
–  Renew seals
–  Now you need to insert the securing bolts into the holes in the intake manifold.
–  Carefully guide the intake manifold together with the seals and securing bolts to the installation location.
–  Tighten the intake manifold securing bolts from the outside to inside in diagonal sequence. Specified torque.
Install high-pressure accumulator → Chapter.
  N23-10425

Removing and installing intake manifold (vehicles without intake manifold flapV157) > < Assembly overview - intake manifold with attachments (vehicles without intake manifold flap)