volkswagen Workshop Repair Guides

Volkswagen Workshop Service and Repair Manuals

Renewing crankshaft sealing flange - flywheel end > < Renewing crankshaft oil seal - pulley end
Removing and installing crankshaft pulley
   
Removing and installing crankshaft pulley
Special tools and workshop equipment required
t  Torque wrench -V.A.G 1601-
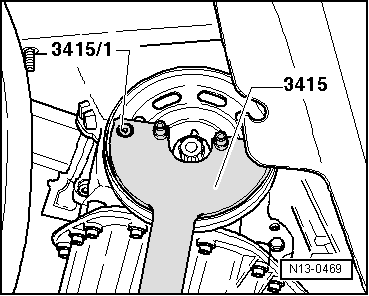
t  Counterhold tool -3415-
t  Pin -3415/1- (not illustrated)
t  Locking pin -T10340-
t  Torque wrench -V.A.G 1331-

   
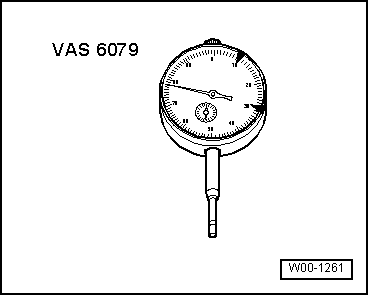
t  Dial gauge -VAS 6079-
  W00-1261
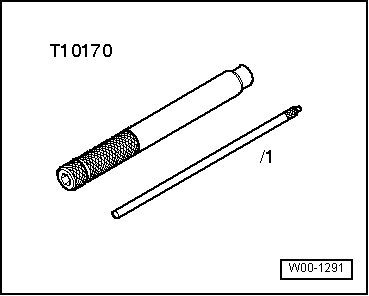
t  Dial gauge adapter -T10170- or dial gauge adapter -T10170 A-
Removing
–  Remove poly V-belt → Chapter.
  W00-1291
–  Loosen pulley bolt. Hold belt pulley with counterhold -3415- and -3415/1-.
Installing
–  Install pulley with new bolt and tighten bolt hand-tight.
  N13-0469
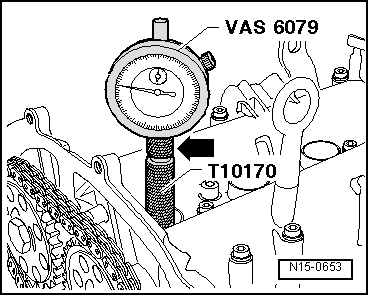
–  Turn crankshaft in engine direction of rotation to TDC for No. 1 cylinder:
  N15-0653
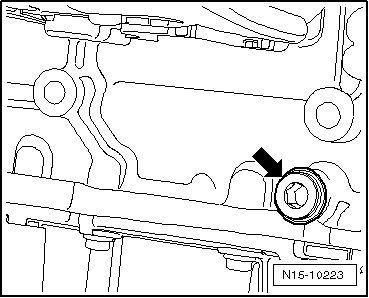
–  Undo the screw plug in the crankcase.
–  Screw threaded locking pin -T10340- into crankcase as far as it will go.
–  Tighten threaded locking pin -T10340- to 30 Nm.
  N15-10223
Locking pin -T10340- locks crankshaft in direction of engine rotation.
  Note
t  Note that all contact surfaces from the securing bolt to the crankshaft chain sprocket must be free of oil and grease.
t  Always use a new bolt.
Specified torque: 150 Nm + 1/2 turn (180°) further.
Hold belt pulley with counterhold -3415- and -3415/1-.
  N15-10227
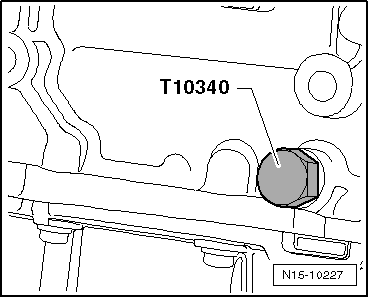
–  Unscrew threaded locking pin -T10340- from crankcase.
–  Screw screw plug into the crankcase.
  N15-10227
Specified torque: 30 Nm
–  Install poly V-belt → Chapter.
Further assembly is basically the reverse of the dismantling sequence.
  N15-10223

Renewing crankshaft sealing flange - flywheel end > < Renewing crankshaft oil seal - pulley end