volkswagen Workshop Repair Guides

Volkswagen Workshop Service and Repair Manuals

Removing and installing fuel gauge sender > < Fuel delivery unit, fuel gauge sender
Removing and installing fuel delivery unit, fuel gauge sender
   
Removing and installing fuel delivery unit, fuel gauge sender
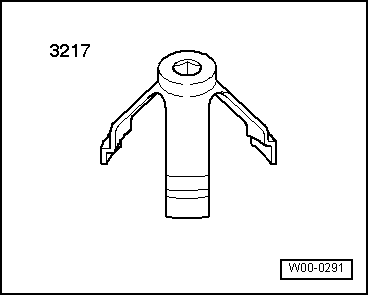
  W00-0291
t  Union nut tool -3217-
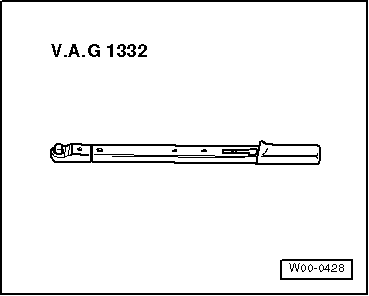
t  Torque wrench -V.A.G 1332-
Removing
–  Note safety precautions before beginning work → Chapter.
–  Observe rules for cleanliness → Chapter.
–  First check whether a coded radio is fitted. If so, obtain anti-theft coding.
–  With the ignition switched off, disconnect battery earth strap.
–  Fold rear seat forwards.
–  Remove cover from fuel delivery unit.
  WARNING
Fuel supply lines are under pressure! Wear eye protection and gloves to avoid injuries and skin contact. Before loosening hose connections, wrap a cloth around the connection. Then release pressure by carefully pulling hose off connection.
  W00-0428
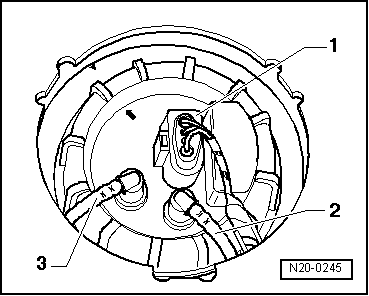
–  Pull connector -1- and supply and return lines -2- and -3- off flange. Detach push-on connectors → Chapter
  N20-0245
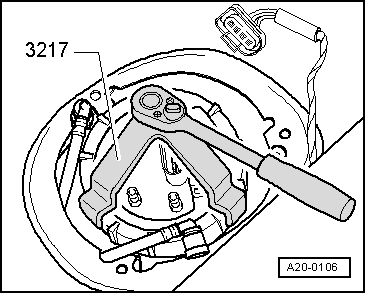
–  Unscrew union nut with union nut tool -3217-.
–  Pull fuel delivery unit and seal out of the opening in fuel tank.
  Note
If delivery unit is to be renewed, drain old delivery unit before disposal.
Installing
–  Installing the fuel delivery unit is carried out in reverse order of removal.
  Note
t  When inserting fuel delivery unit, ensure that fuel gauge sender is not bent.
t  Insert seal for fuel delivery unit dry into opening of fuel tank.
t  Moisten seal with fuel only when installing fuel delivery unit.
  A20-0106
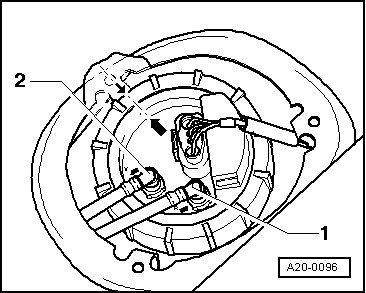
t  Note installation position of fuel delivery unit flange: mark on flange must align with mark on fuel tank -arrows-.
t  Ensure that fuel hose connections are tight.
t  Do not interchange supply and return lines.
t  After installing fuel delivery unit, check that the supply, return and breather lines are still clipped onto the fuel tank.
  A20-0096

Removing and installing fuel gauge sender > < Fuel delivery unit, fuel gauge sender