
Polo Mk5
| Assembly overview - shock absorber |

| 1 - | Protective cap |
| q | Allocation → Electronic parts catalogue “ETKA”. |
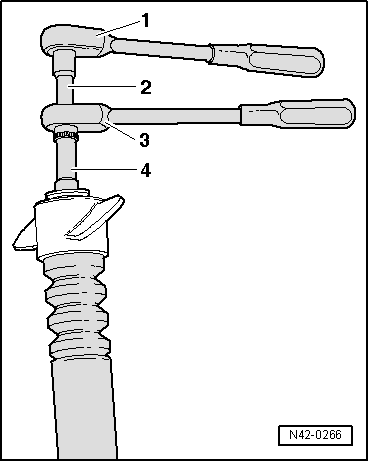
| 2 - | Nut |
| q | 25 Nm |
| q | Self-locking. |
| q | Always renew after removing. |
| q | Removing → Fig.. |
| 3 - | Shock absorber mounting |
| 4 - | Bump stop |
| 5 - | Securing ring |
| 6 - | Protective tube |
| 7 - | Protective cap |
| 8 - | Gas-filled shock absorber |
| q | Can be renewed separately. |
| q | Allocation → Electronic parts catalogue “ETKA”. |
| Checking function |
| Compress shock absorber by hand. It should be possible to press in the piston rod smoothly and with uniform force over the full travel. |
| The piston rod will return to its initial position if there is sufficient gas pressure in the shock absorber. |
| If the piston rod does not return to its initial position by itself, the shock absorber may still be usable, provided there is no loss of fluid. |
|
|