Rabbit Convertible L4-1715cc 1.7L SOHC (1982)

Ignition Coil: Testing and Inspection
To avoid damaging control unit, ensure that a 1000 ohm suppressor is connected to each end of coil wire when checking for spark.
1.
Inspect the coil and replace if any of the following are found:
a. Cracks in the metal casing or the ceramic top.
b. Leaking coolant oil from around the casing, or through the expansion plug on top of the coil.
c. Burn marks in the ceramic top caused by arcing.
d. Loose or corroded primary or secondary terminals.
2.
Disconnect coil wire from center of distributor cap and hold end of wire 1/4-3/8 in. from a suitable ground while cranking engine. A strong blue
spark should be present.
3.
If no spark is observed, check the Digital Idle Stabilizer.
4.
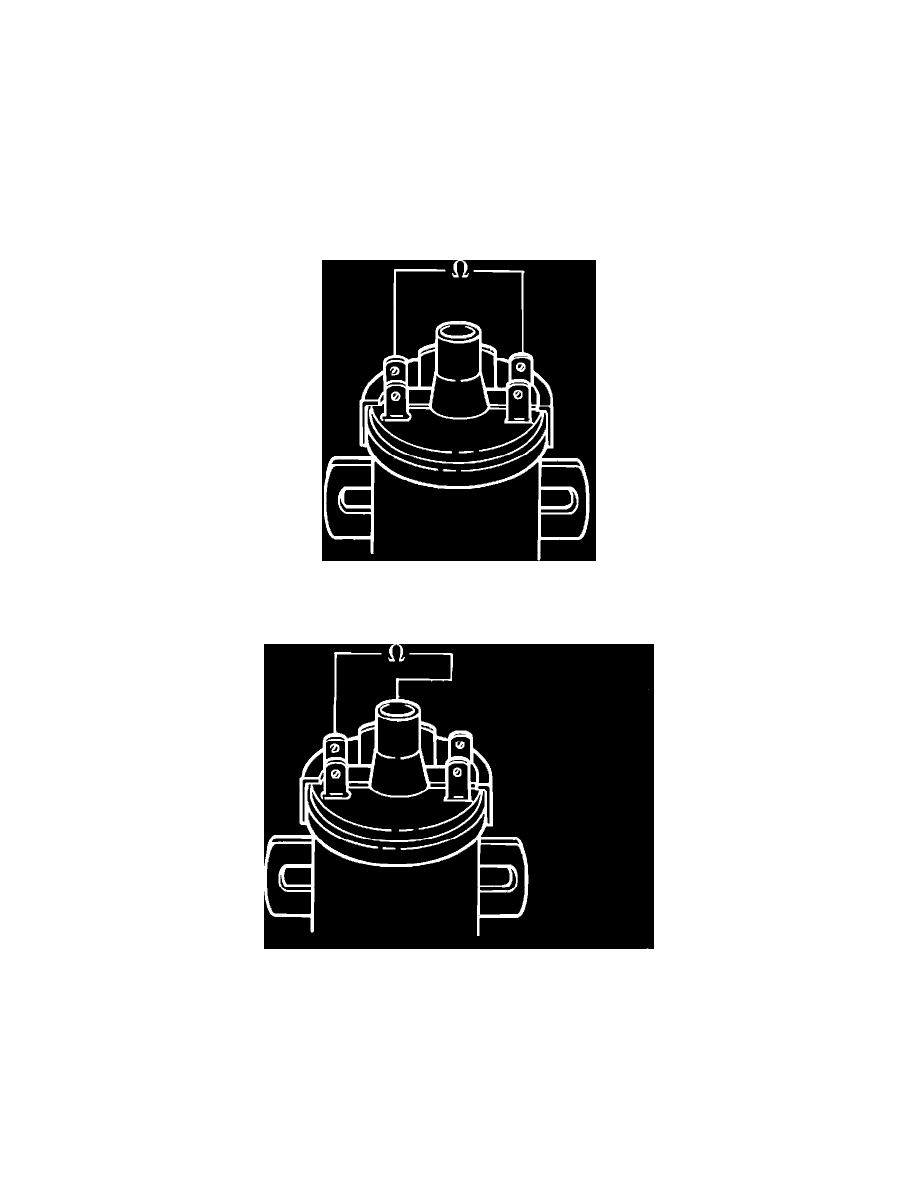
If spark is observed, test coil windings. Resistance should be:
Fig. 20 Ignition Coil Test, Terminals 1 & 15
Between terminals 1 and 15 (primary windings) .......................................................................................................................... 0.52-0.76 ohms
Fig. 19 Ignition Coil Test, Terminals 1 & 4
Between terminals 1 and 4 (secondary windings) ....................................................................................................................... 2400-3500 ohms
5.
If resistance is not within specifications, or if the coil is burned or leaking, replace the coil and check the Hall control unit.
6.
If coil is satisfactory, test remaining secondary ignition components and replace as needed.
7.
If all components are satisfactory, condition is not caused by ignition system.
